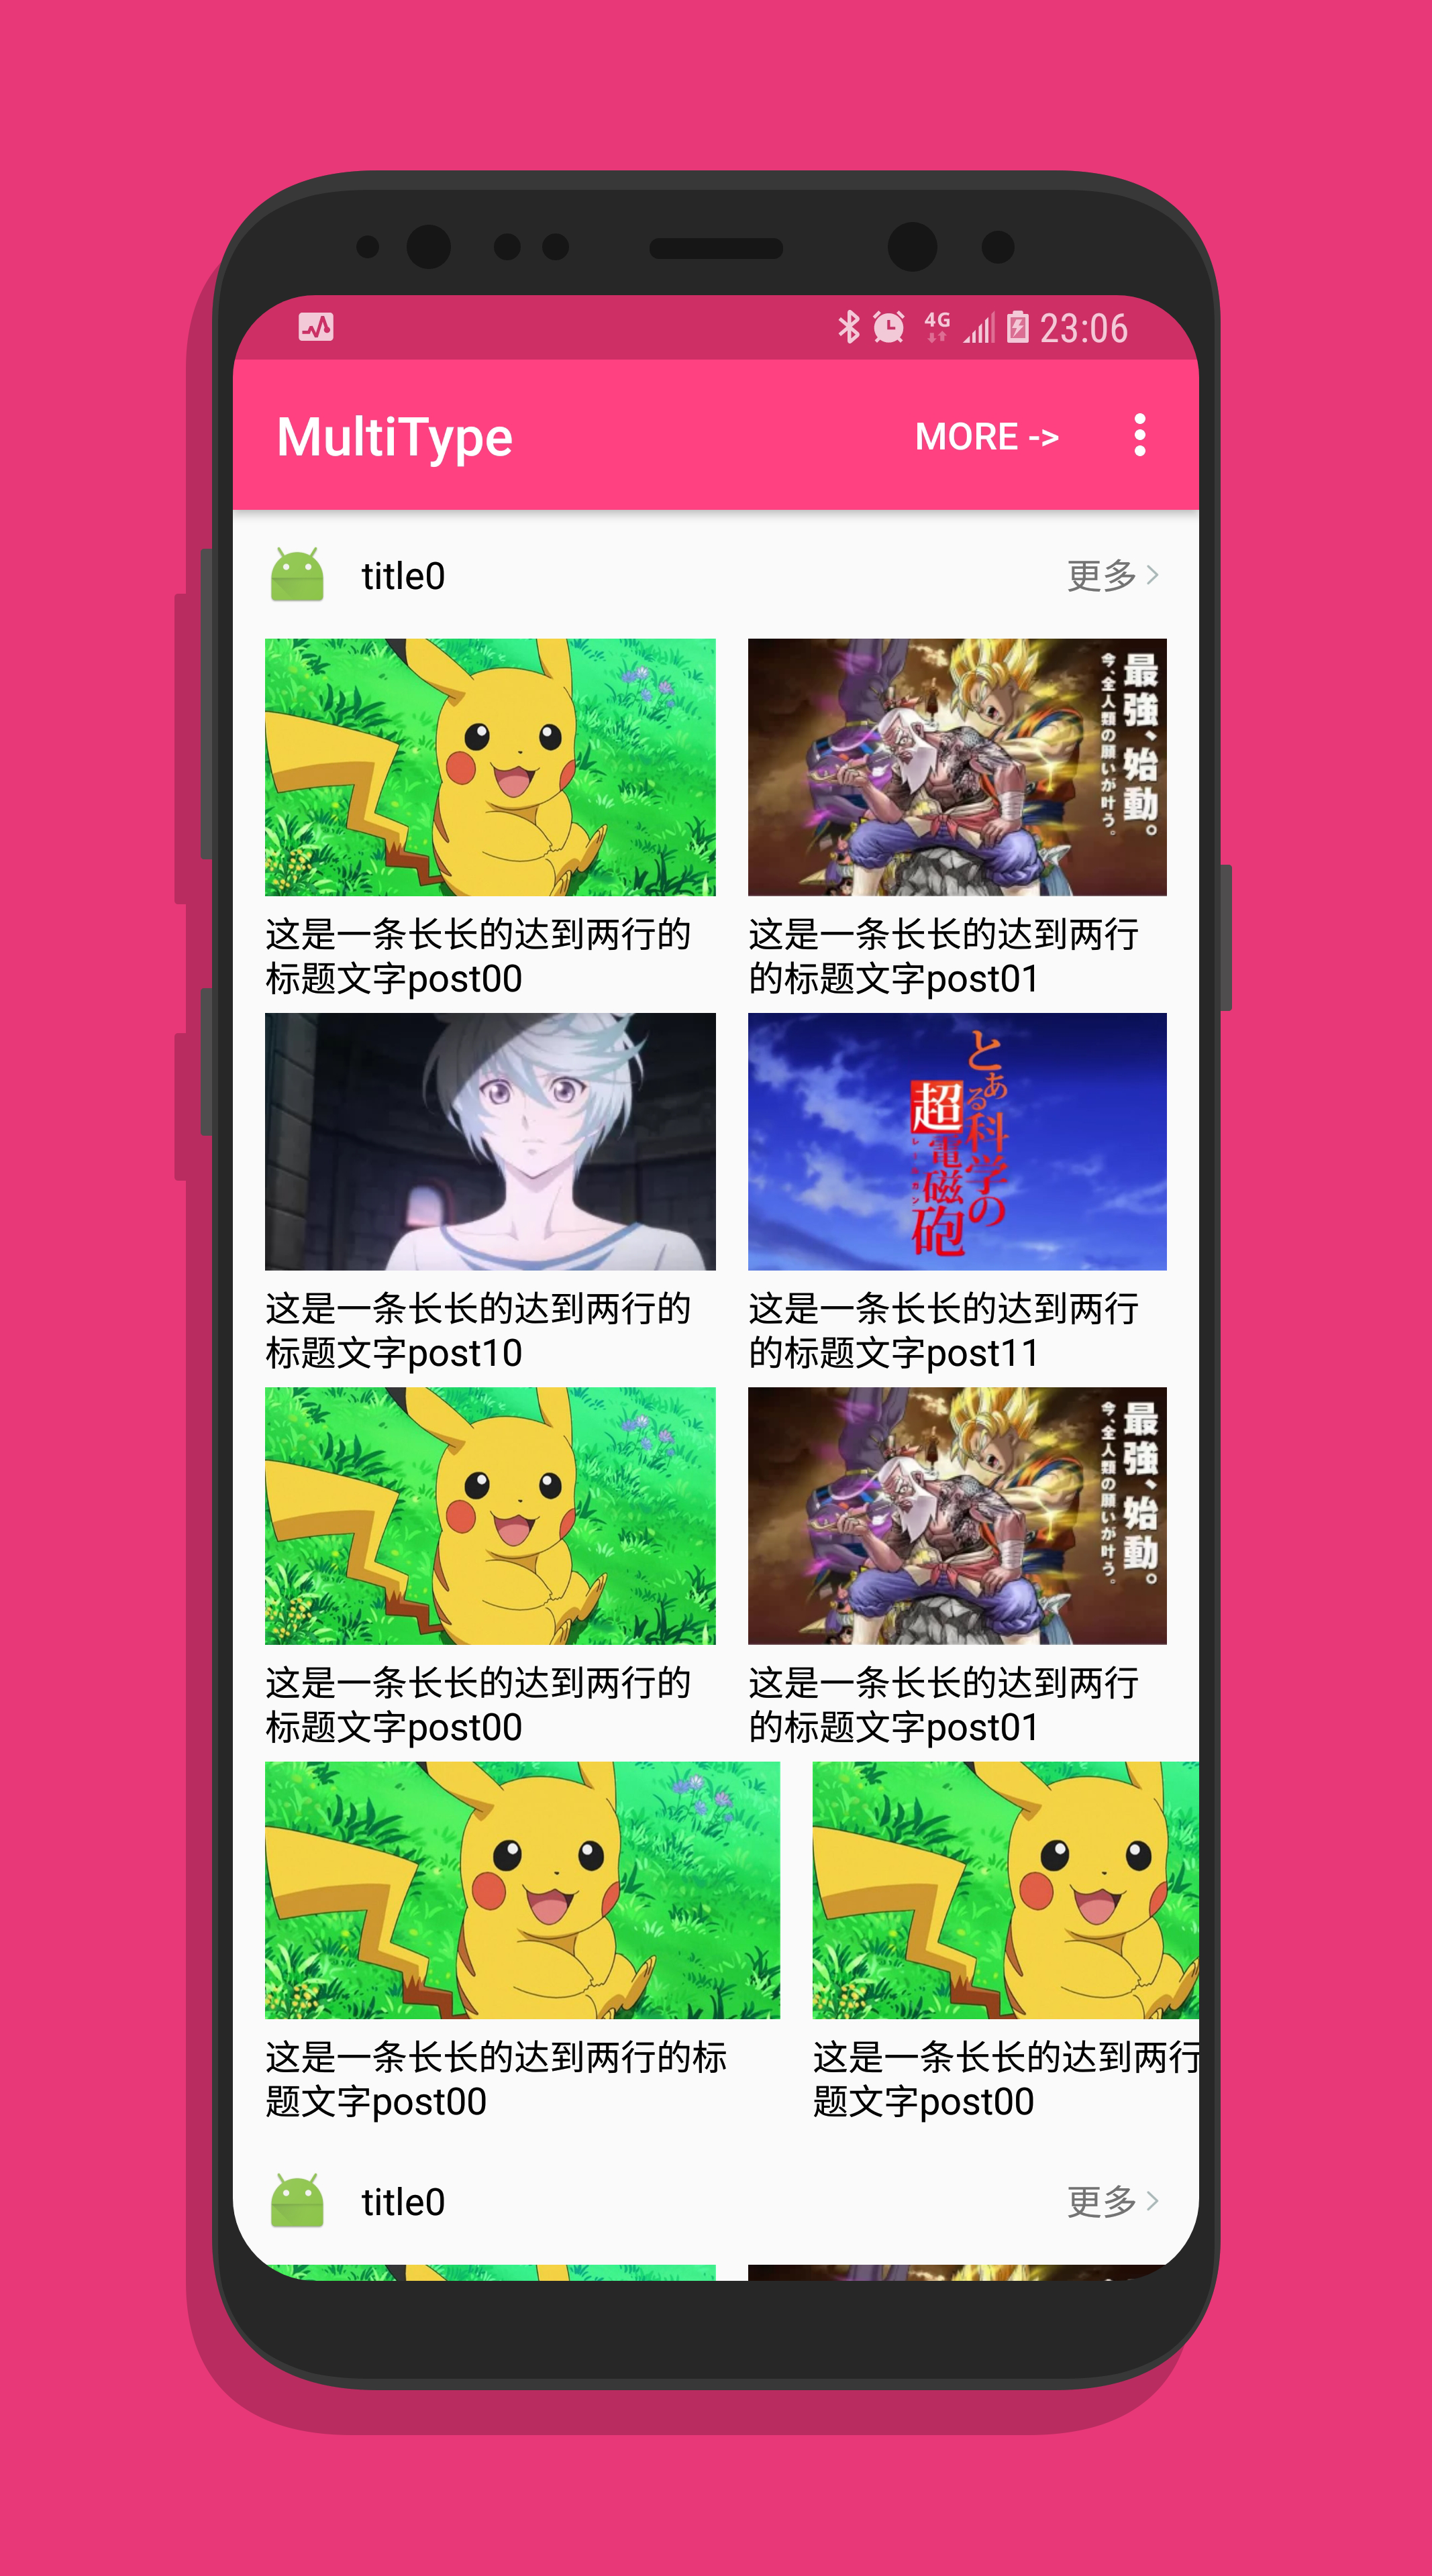
Easier and more flexible to create multiple types for Android RecyclerView.
Previously, when we need to develop a complex RecyclerView / ListView, it is difficult and
troublesome work. We should override the getItemViewType() of RecyclerView.Adapter , add some types, and create some ViewHolders relating to those types. Once we need to add a new item type, we have to go to the original adapter file and modify some old codes carefully,
and these adapter classes will get more complicated.
Nowadays, I created a new intuitive and flexible way to easily create complex RecyclerViews, with the MultiType library, we could insert a new item type without changing any old adapter codes and make them more readable.
In your build.gradle:
MultiType has been rebuilt based on AndroidX. If you are still using the android support library, please use me.drakeet.multitype:multitype:3.4.4 and me.drakeet.multitype:multitype-kotlin:3.4.4.
In addition, since 4.0.0 we have migrated to fully build with Kotlin. If you don't want to use Kotlin, you can use the last stable version me.drakeet.multitype:multitype:3.5.0 and see 3.x.
dependencies {
  implementation 'com.drakeet.multitype:multitype:4.3.0'
}data class Foo(
val value: String
)class FooViewDelegate: ItemViewDelegate<Foo, FooViewDelegate.ViewHolder>() {
override fun onCreateViewHolder(context: Context, parent: ViewGroup): ViewHolder {
// If you want a LayoutInflater parameter instead of a Context,
// you can use ItemViewBinder as the parent of this class.
return ViewHolder(FooView(context))
}
override fun onBindViewHolder(holder: ViewHolder, item: Foo) {
holder.fooView.text = item.value
Log.d("ItemViewDelegate API", "position: ${holder.bindingAdapterPosition}")
Log.d("ItemViewDelegate API", "items: $adapterItems")
Log.d("ItemViewDelegate API", "adapter: $adapter")
Log.d("More", "Context: ${holder.itemView.context}")
}
class ViewHolder(itemView : View): RecyclerView.ViewHolder(itemView) {
val fooView: TextView = itemView.findViewById(R.id.foo)
}
}The
ViewDelegateis a simpleItemViewDelegatethat does not require to declare and provide aRecyclerView.ViewHolder.
class FooViewDelegate : ViewDelegate<Foo, FooView>() {

  override fun onCreateView(context: Context): FooView {
    return FooView(context).apply { layoutParams = LayoutParams(MATCH_PARENT, WRAP_CONTENT) }
  }

  override fun onBindView(view: FooView, item: Foo) {
    view.imageView.setImageResource(item.imageResId)
    view.textView.text = item.text

    view.textView.text = """
      |${item.text}
      |viewHolder: ${view.holder}
      |layoutPosition: ${view.layoutPosition}
      |absoluteAdapterPosition: ${view.absoluteAdapterPosition}
      |bindingAdapterPosition: ${view.bindingAdapterPosition}
    """.trimMargin()
  }
}
(See RichViewDelegate & RichView examples for more details)
class SampleActivity : AppCompatActivity() {

  private val adapter = MultiTypeAdapter()
  private val items = ArrayList<Any>()

  override fun onCreate(savedInstanceState: Bundle?) {
    super.onCreate(savedInstanceState)
    setContentView(R.layout.activity_list)
    val recyclerView = findViewById<RecyclerView>(R.id.list)

    adapter.register(TextItemViewDelegate())
    adapter.register(ImageItemViewDelegate())
    adapter.register(RichItemViewDelegate())
    recyclerView.adapter = adapter

    val textItem = TextItem("world")
    val imageItem = ImageItem(R.mipmap.ic_launcher)
    val richItem = RichItem("小艾大人赛高", R.drawable.img_11)

    for (i in 0..19) {
      items.add(textItem)
      items.add(imageItem)
      items.add(richItem)
    }
    adapter.items = items
    adapter.notifyDataSetChanged()
  }
}
That's all, you're good to go!
One to many:
adapter.register(Data::class).to(
  DataType1ViewDelegate(),
  DataType2ViewDelegate()
).withKotlinClassLinker { _, data ->
  when (data.type) {
    Data.TYPE_2 -> DataType2ViewDelegate::class
    else -> DataType1ViewDelegate::class
  }
}
See OneDataToManyActivity, OneToManyFlow and OneToManyEndpoint for more details.
More methods that you can override from ItemViewDelegate:
open fun onBindViewHolder(holder: VH, item: T, payloads: List<Any>)
open fun getItemId(item: T): Long
open fun onViewRecycled(holder: VH)
open fun onFailedToRecycleView(holder: VH): Boolean
open fun onViewAttachedToWindow(holder: VH)
open fun onViewDetachedFromWindow(holder: VH)An intellij idea plugin for Android to generate MultiType Item and ItemViewDelegate easily.
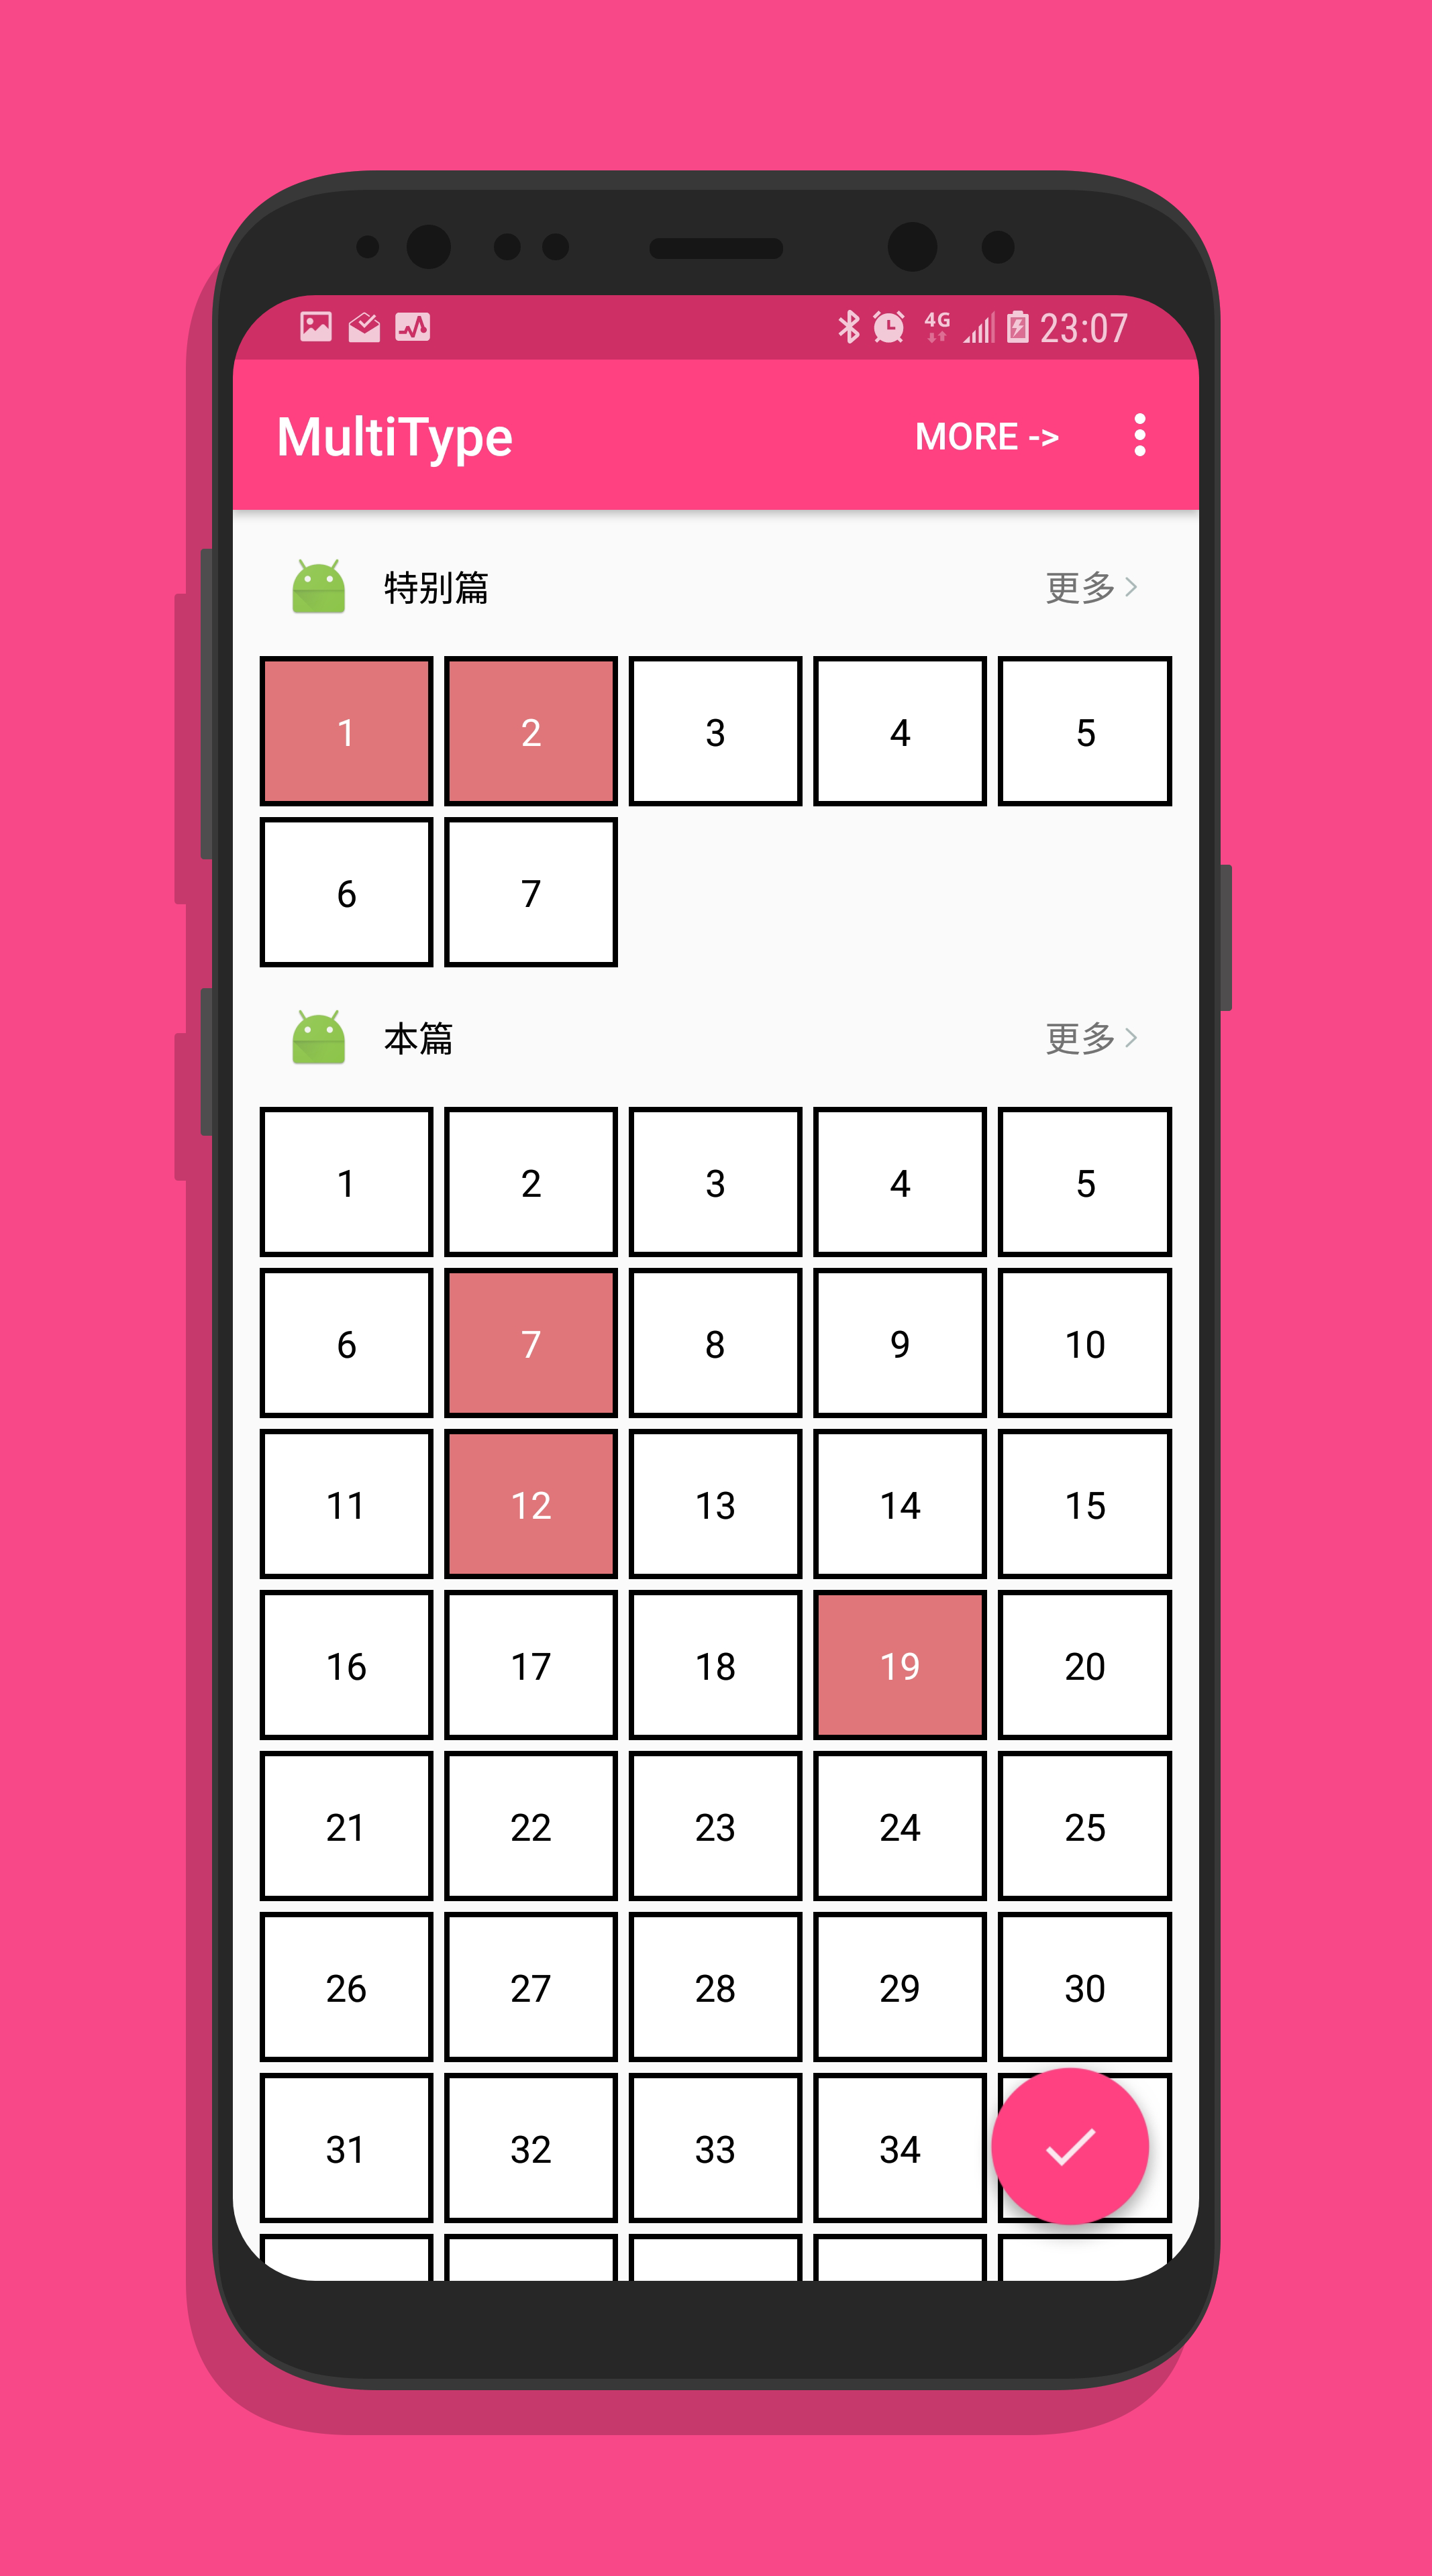
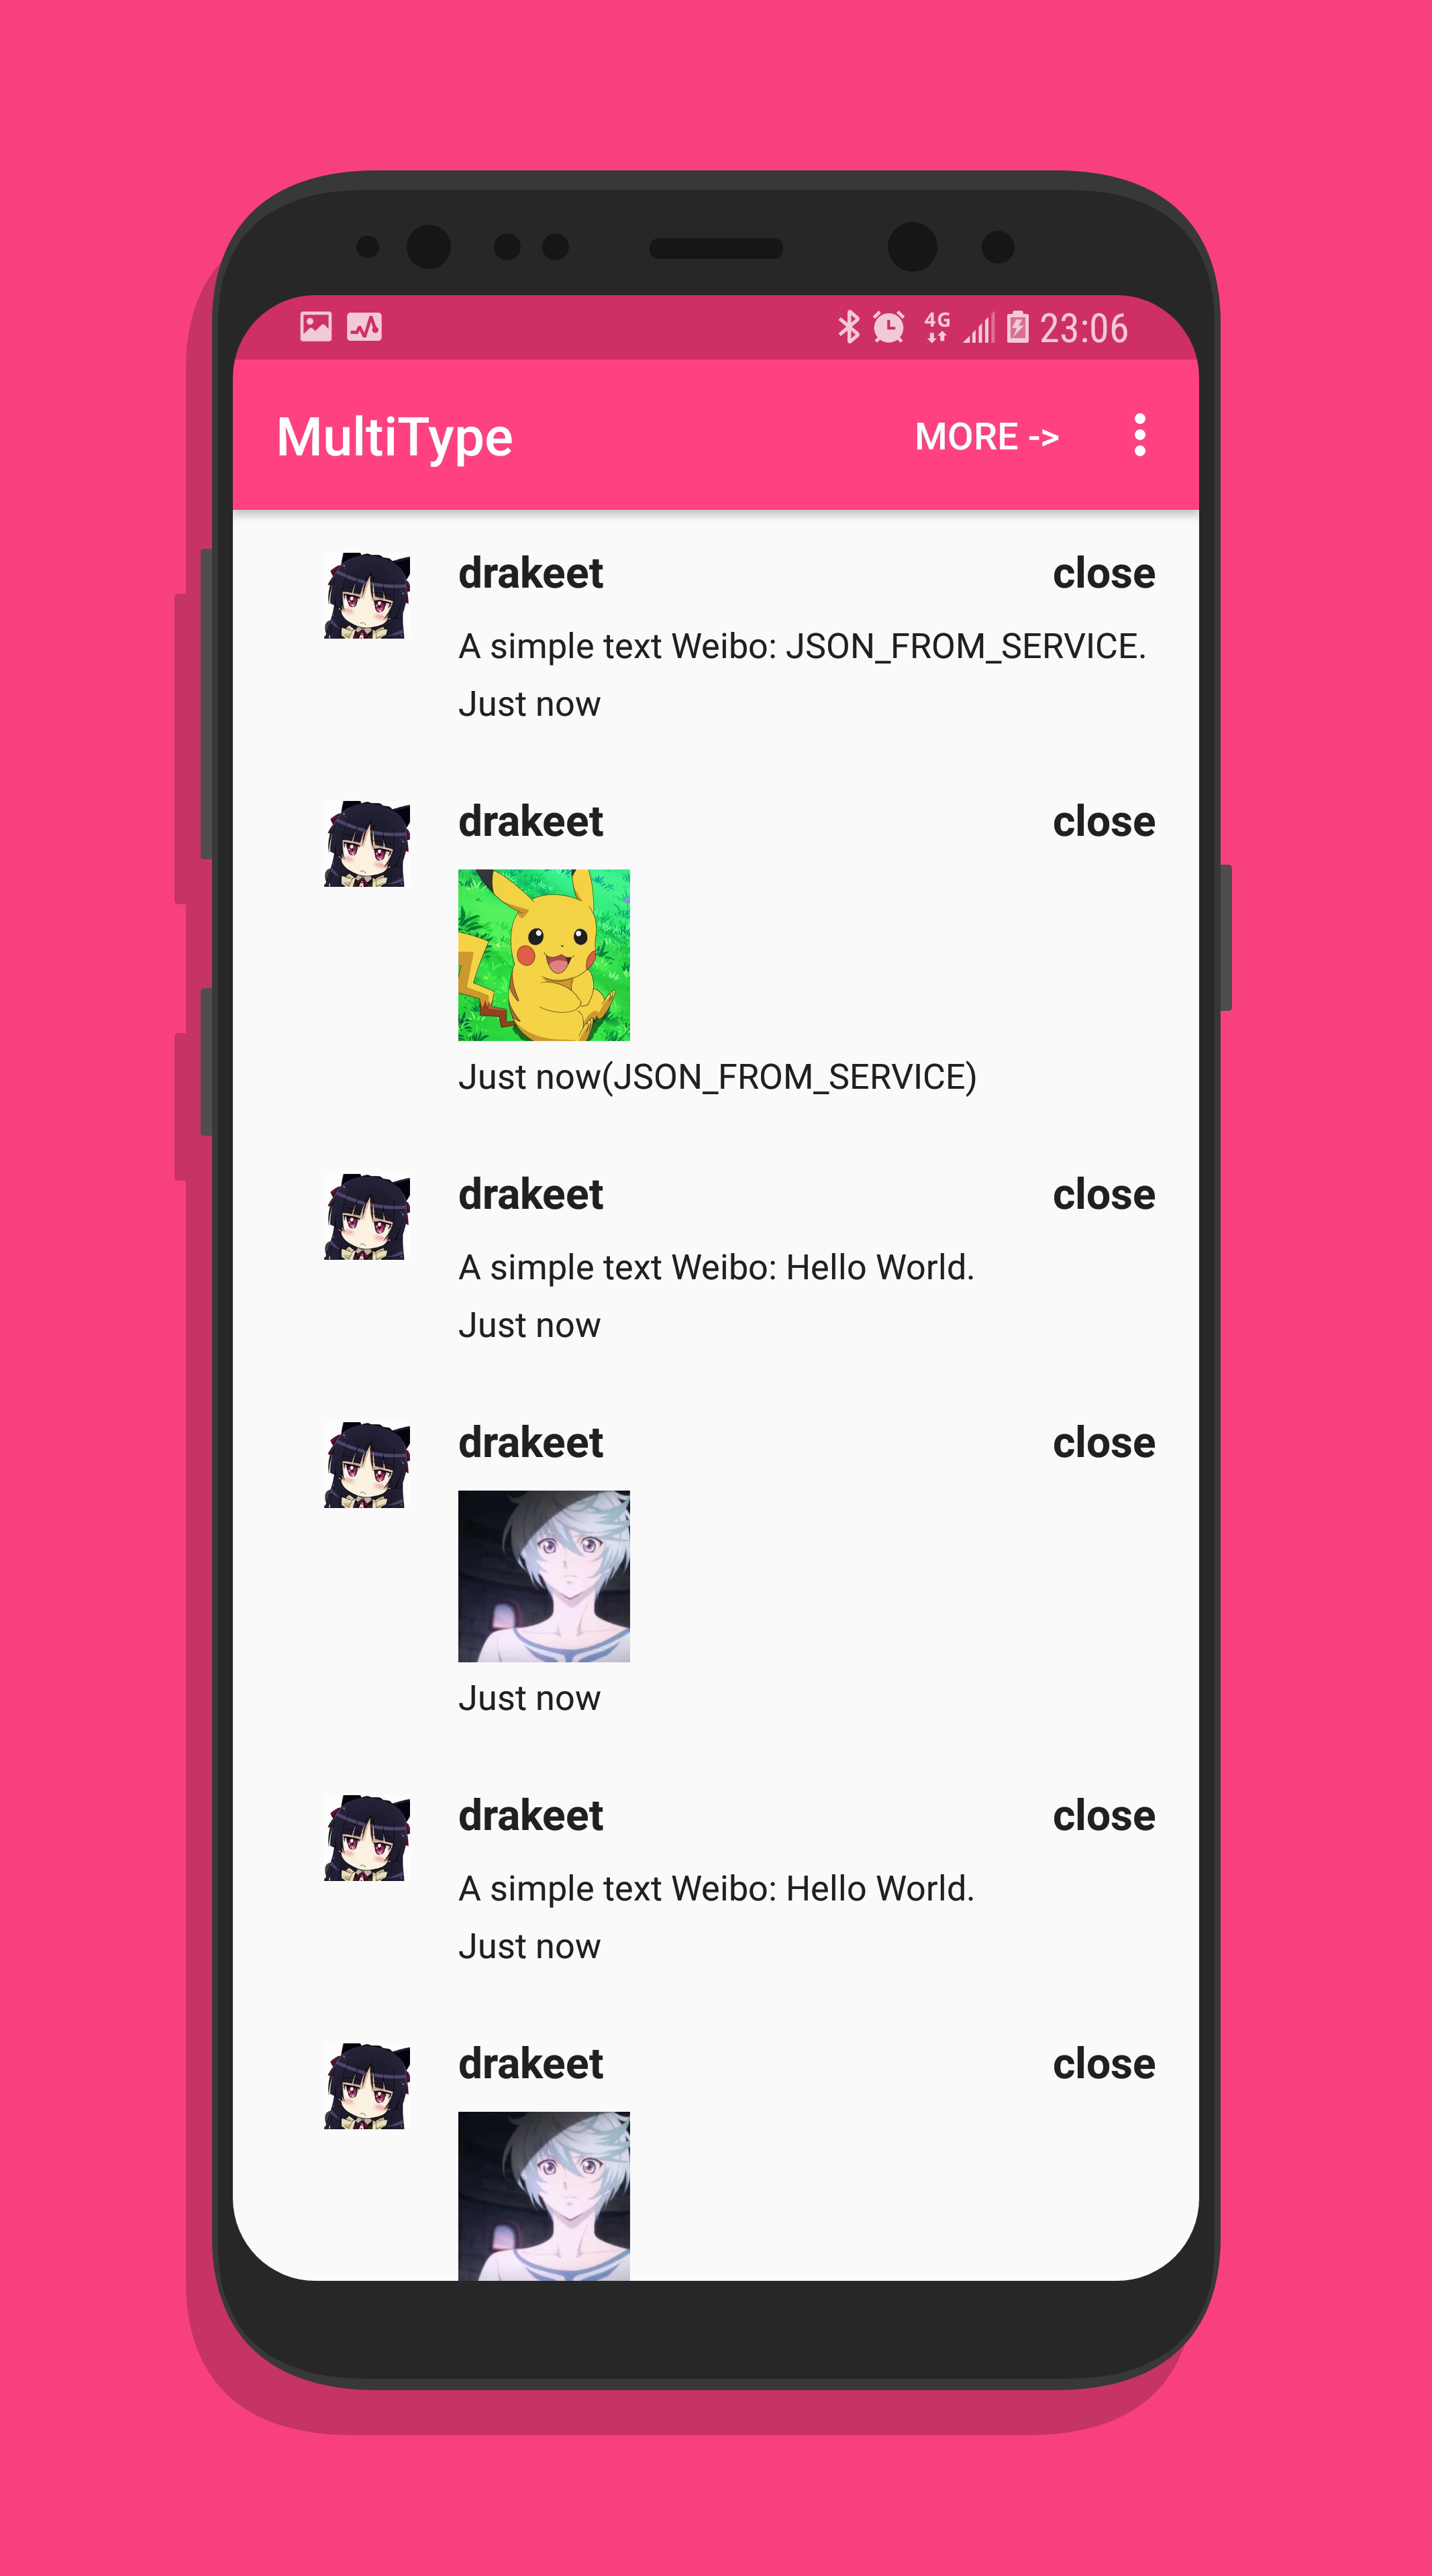
Pages created with MultiType:
Copyright (c) 2016-present. Drakeet Xu

Licensed under the Apache License, Version 2.0 (the "License");
you may not use this file except in compliance with the License.
You may obtain a copy of the License at

   http://www.apache.org/licenses/LICENSE-2.0

Unless required by applicable law or agreed to in writing, software
distributed under the License is distributed on an "AS IS" BASIS,
WITHOUT WARRANTIES OR CONDITIONS OF ANY KIND, either express or implied.
See the License for the specific language governing permissions and
limitations under the License.


