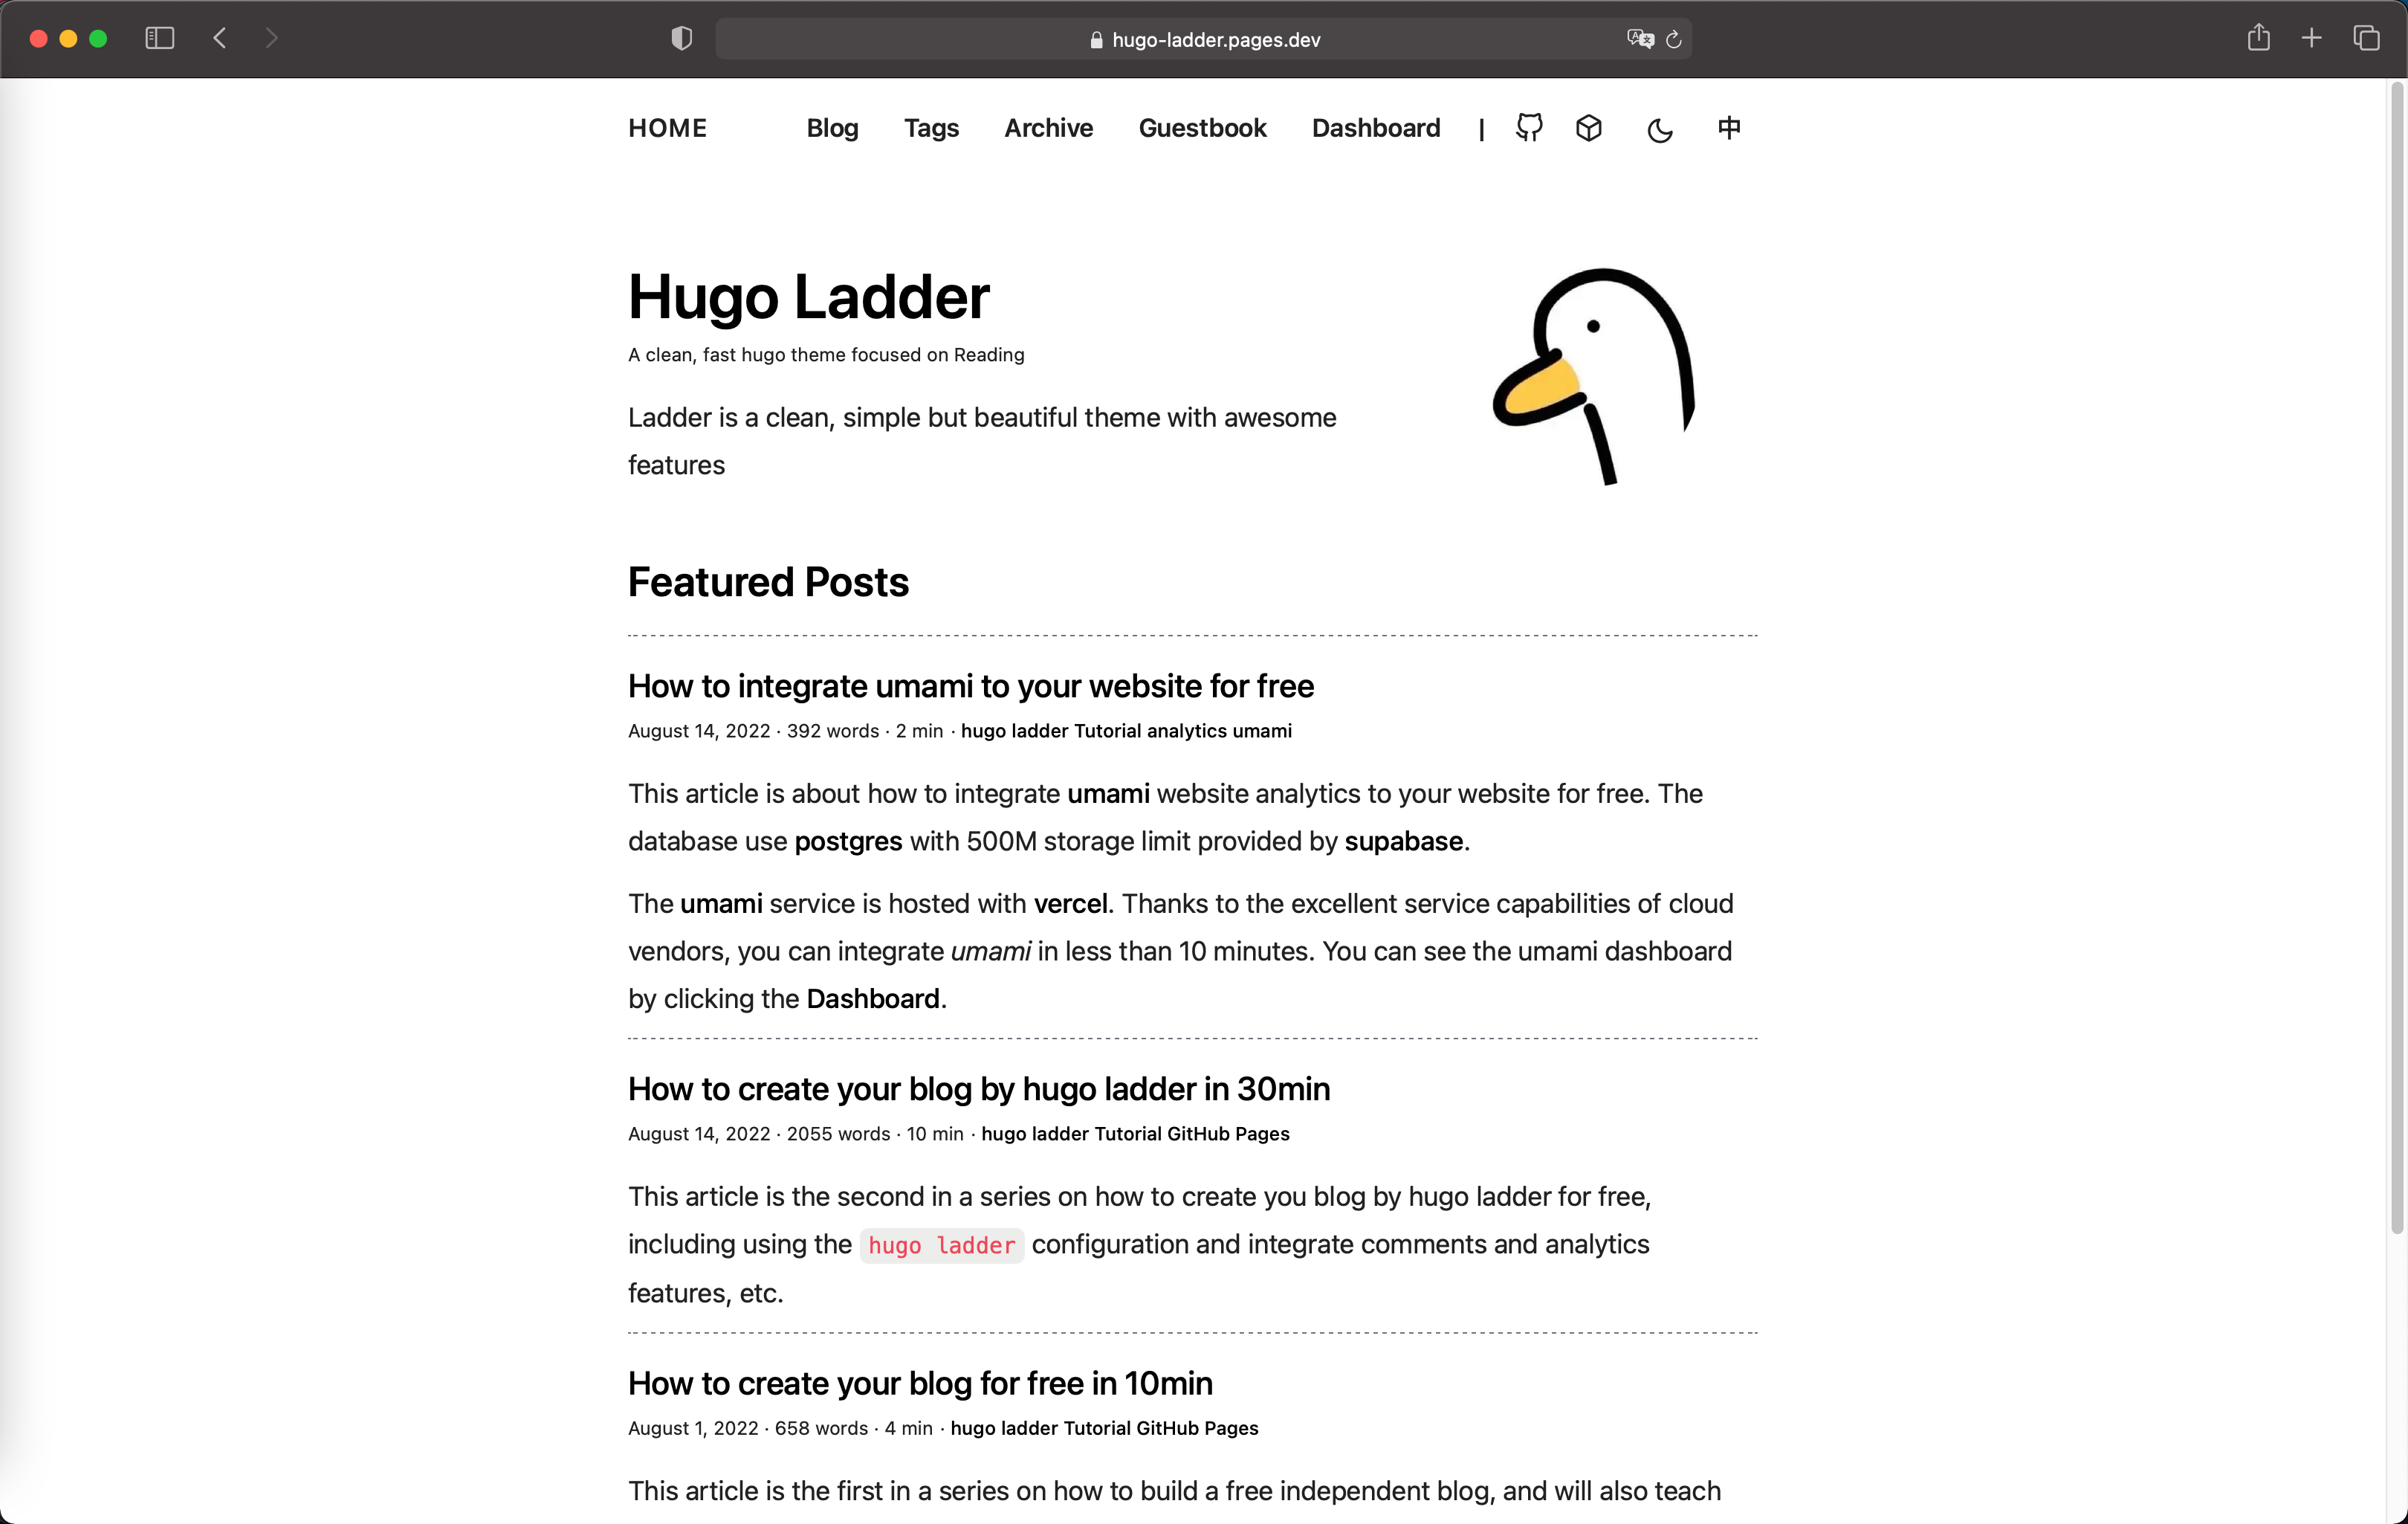
Hugo Theme Ladder | Demo
English README | 简体中文说明
The Demo | ExampleSite includes a lot of documentation about Installation, Features with a few more stuff. Make sure you visit it, to get an awesome hands-on experience and get to know about the features ...
Demo is built up with exampleSite Source Code (https://github.com/guangzhengli/hugo-ladder-exampleSite) as source.
Documentations docs
See docs folder.
Use this command to start.
hugo server -s exampleSite --themesDir=../.. --disableFastRenderOr click Use this template to create your blog site in the exampleSite Repository.
Create a new repository(GitHub Pages) from hugo-ladder-exampleSite to enter : username.github.io.
replace the username by your GitHub account
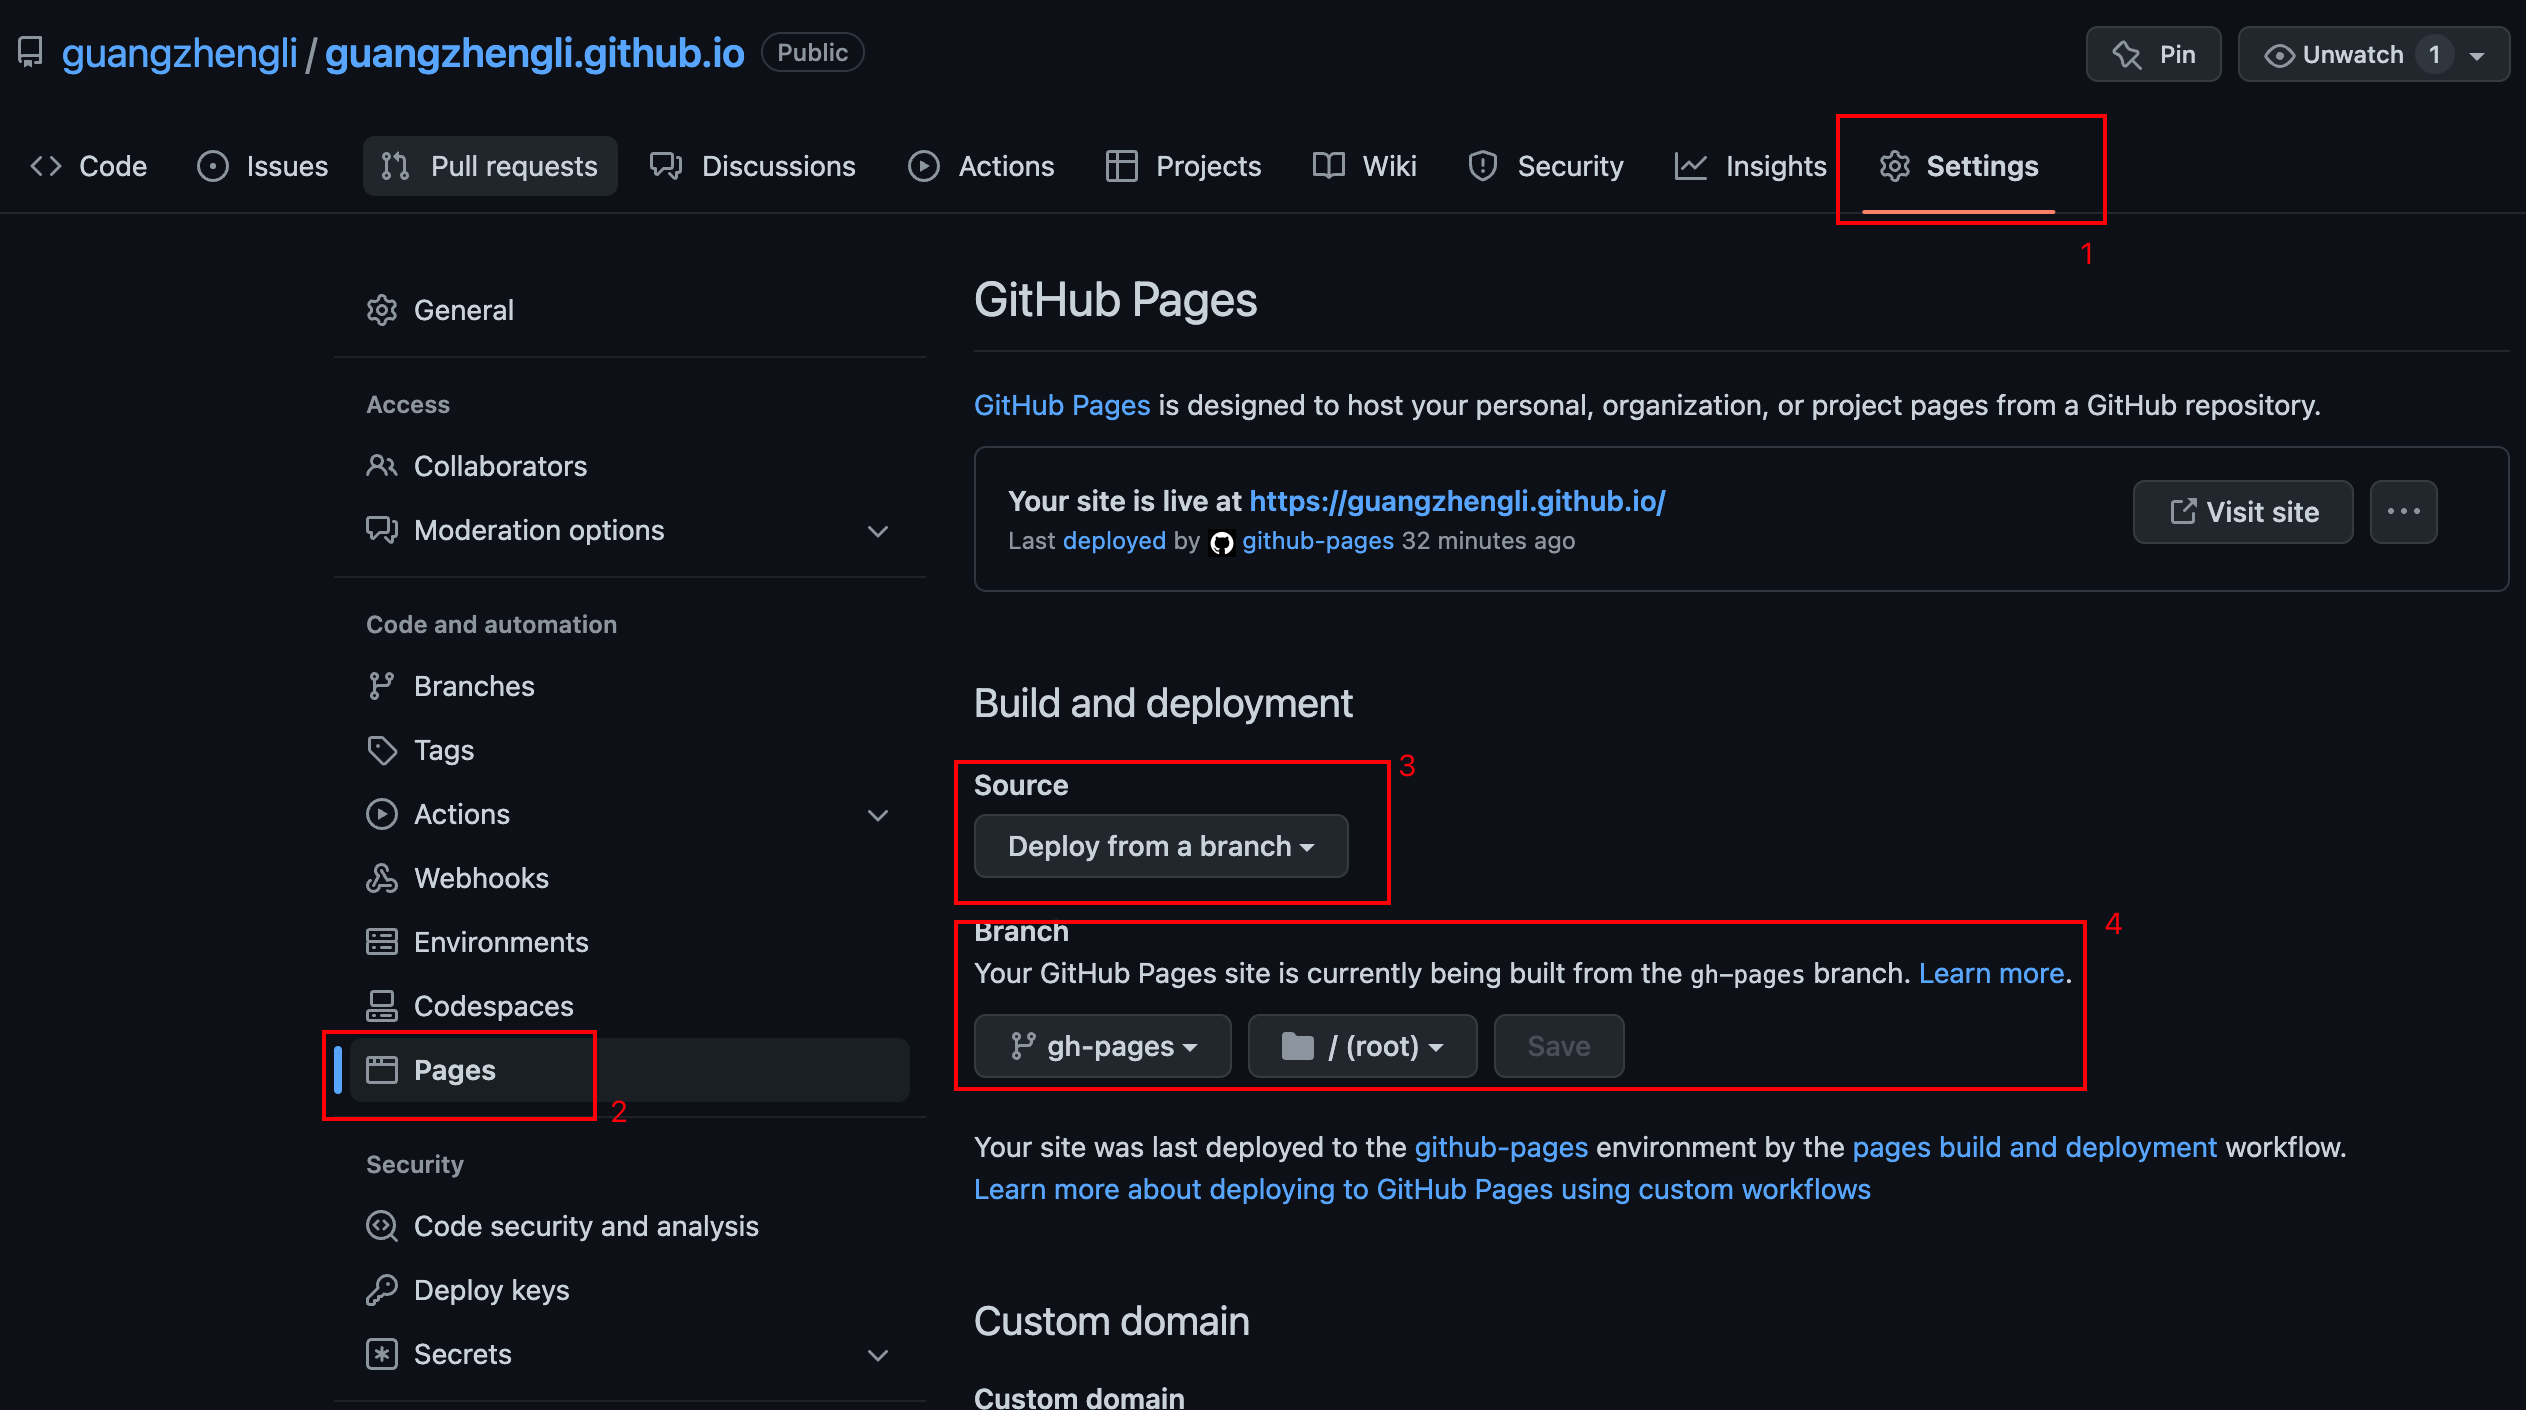
Then configure the GitHub page setting following:
🎉🎉🎉 Open the browser and enter: https://username.github.io 🎉🎉🎉
Clone your repository.
Build and run hugo server by hugo server -D and open in browser http://localhost:1313/.
baseURL: 'https://hugo-ladder.pages.dev' # set https://username.github.io
homepage: 'https://hugo-ladder.pages.dev' # set https://username.github.io
defaultContentLanguage: 'en' #default language
params:
  brand: HOME # set the brand of your site
  avatarURL: /images/avatar.png # avatar, replace your avatar in the /static/images/
  author: Hugo Ladder # name
  authorDescription: # description
  info:  this is a info # information of your blog site
  favicon: /images/avatar.png # blog site icon,replace your avatar in the /static/images/
  options:
    showDarkMode: true # is show dark mode button
    enableMultiLang: true # is show multi language button
Modifying the default configuration. Then push it to your repository.
Following this article to cofiguration.
Following this article to configure the umami analytics
if you like this theme, you can sponsor me to buy a cup of coffee. https://guangzhengli.com/sponsors
- Hugo Ladder is inspired by hugo-paperMod.


