A Class-D amplifier for your Raspberry Pi
Revision 02 has been updated with a cheaper power supply with a wide input range.
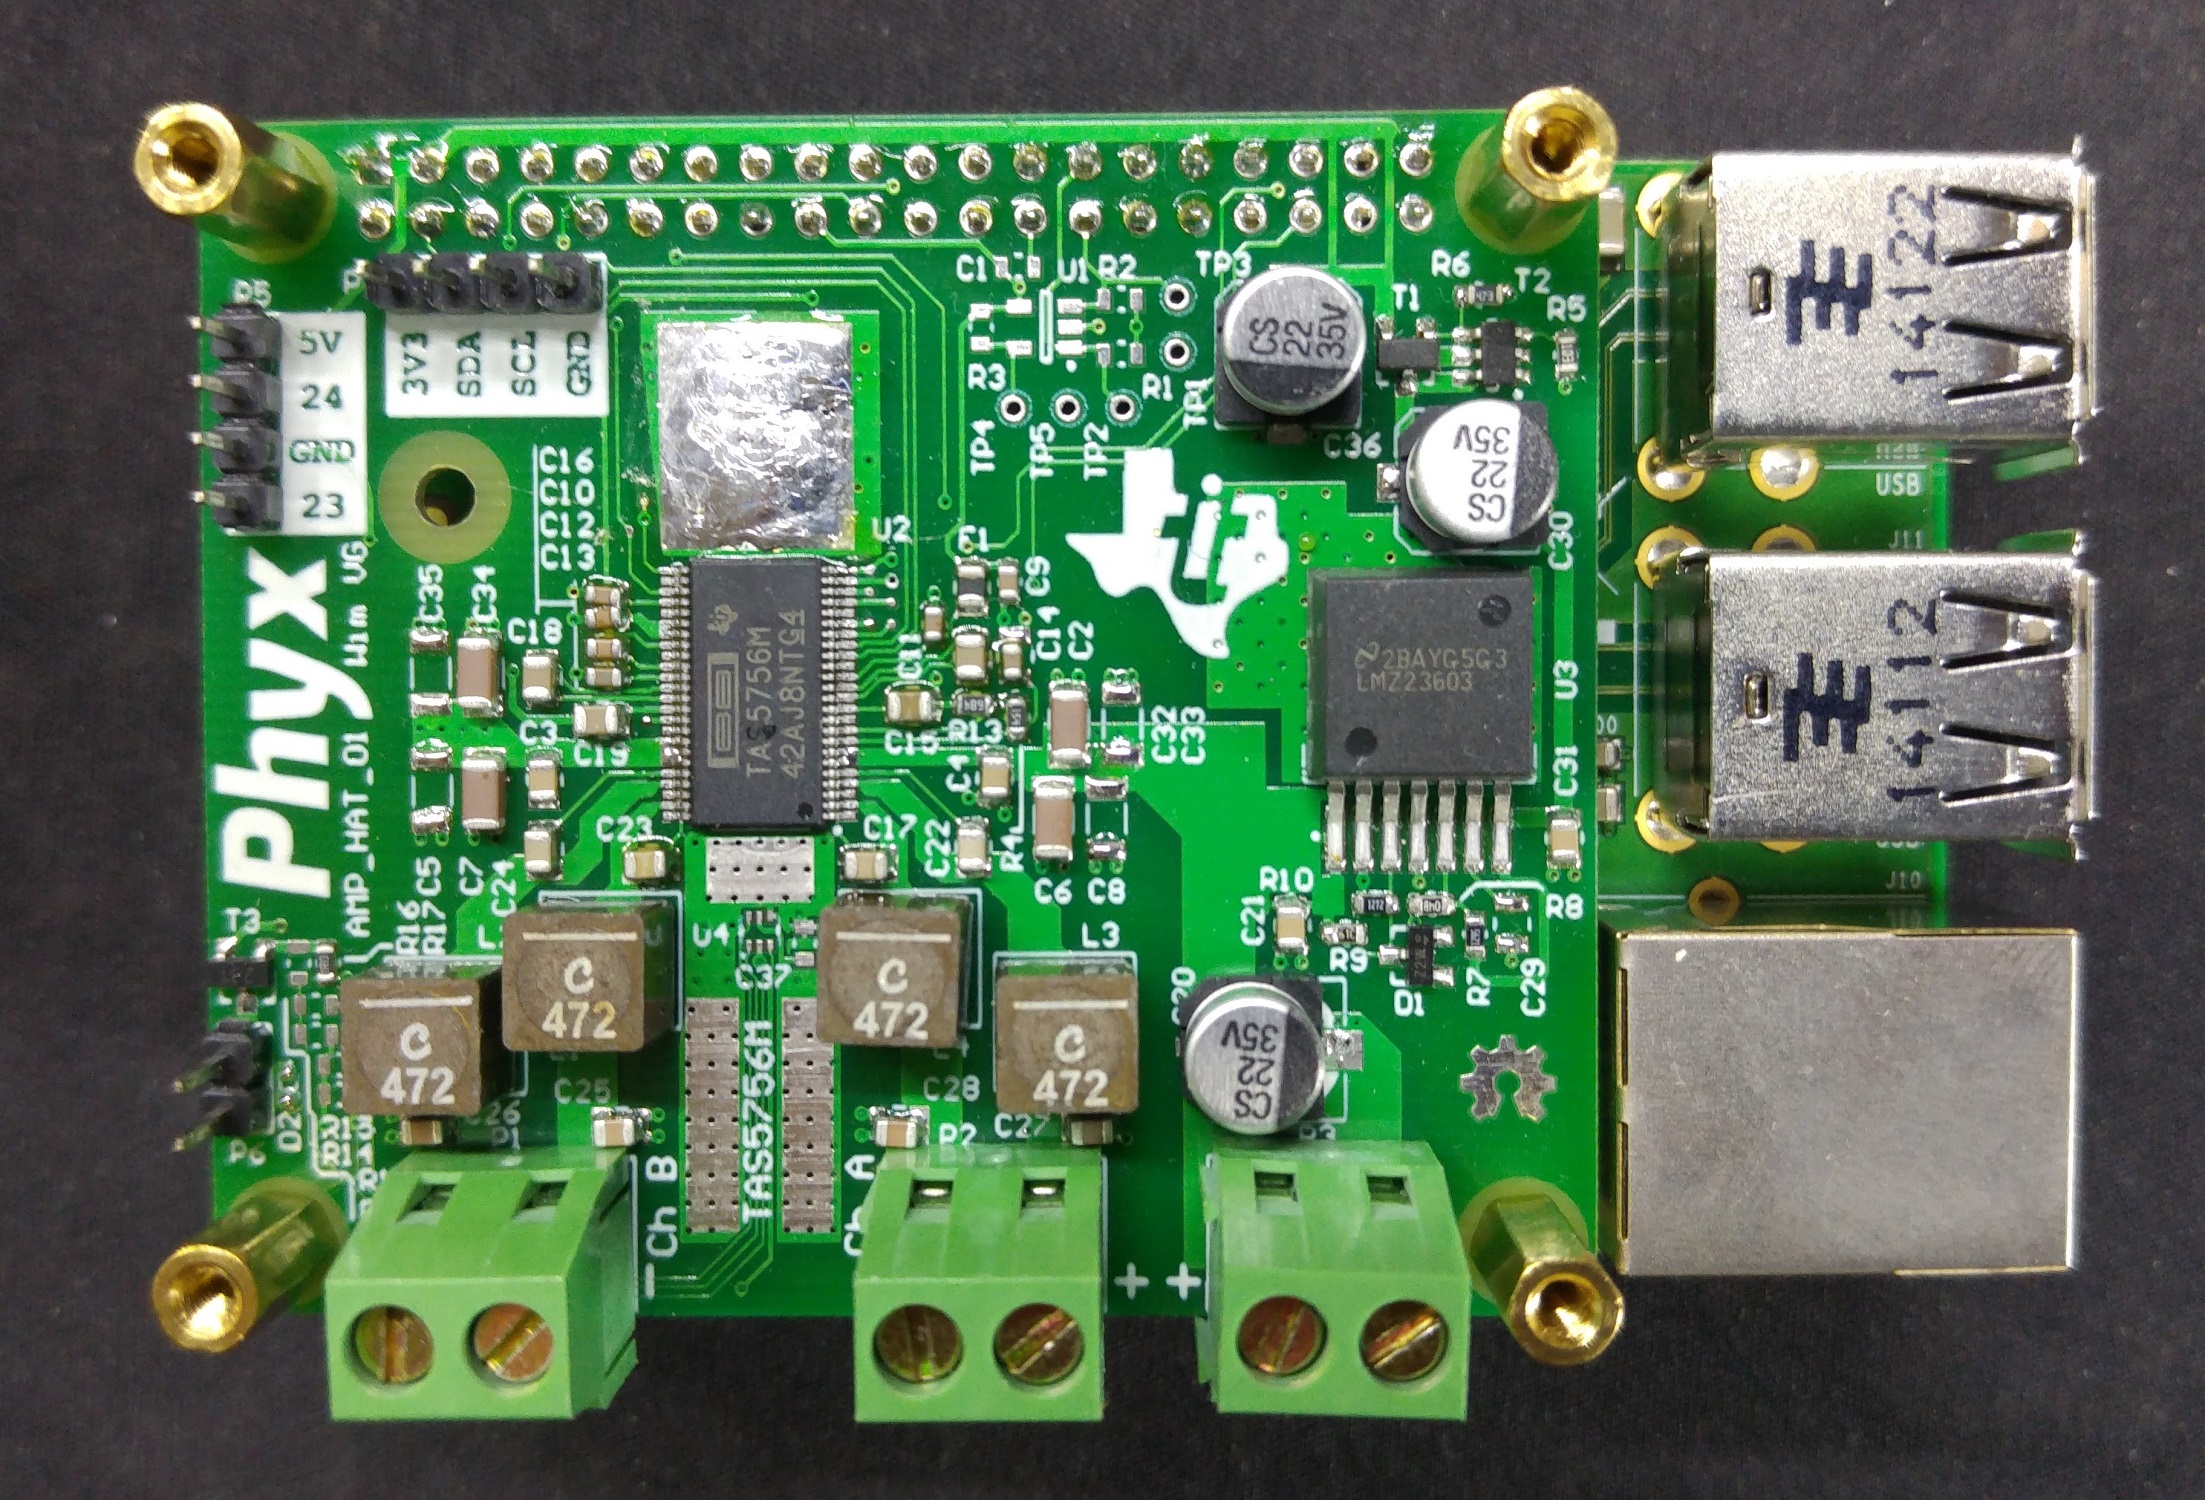
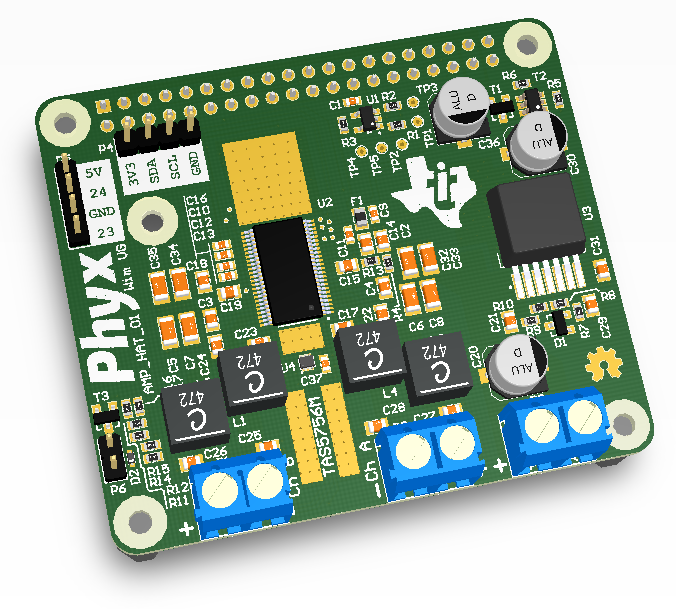
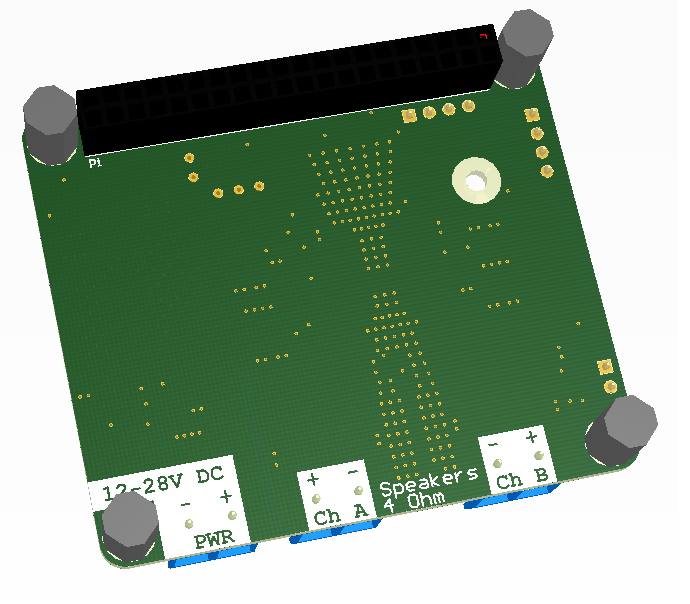
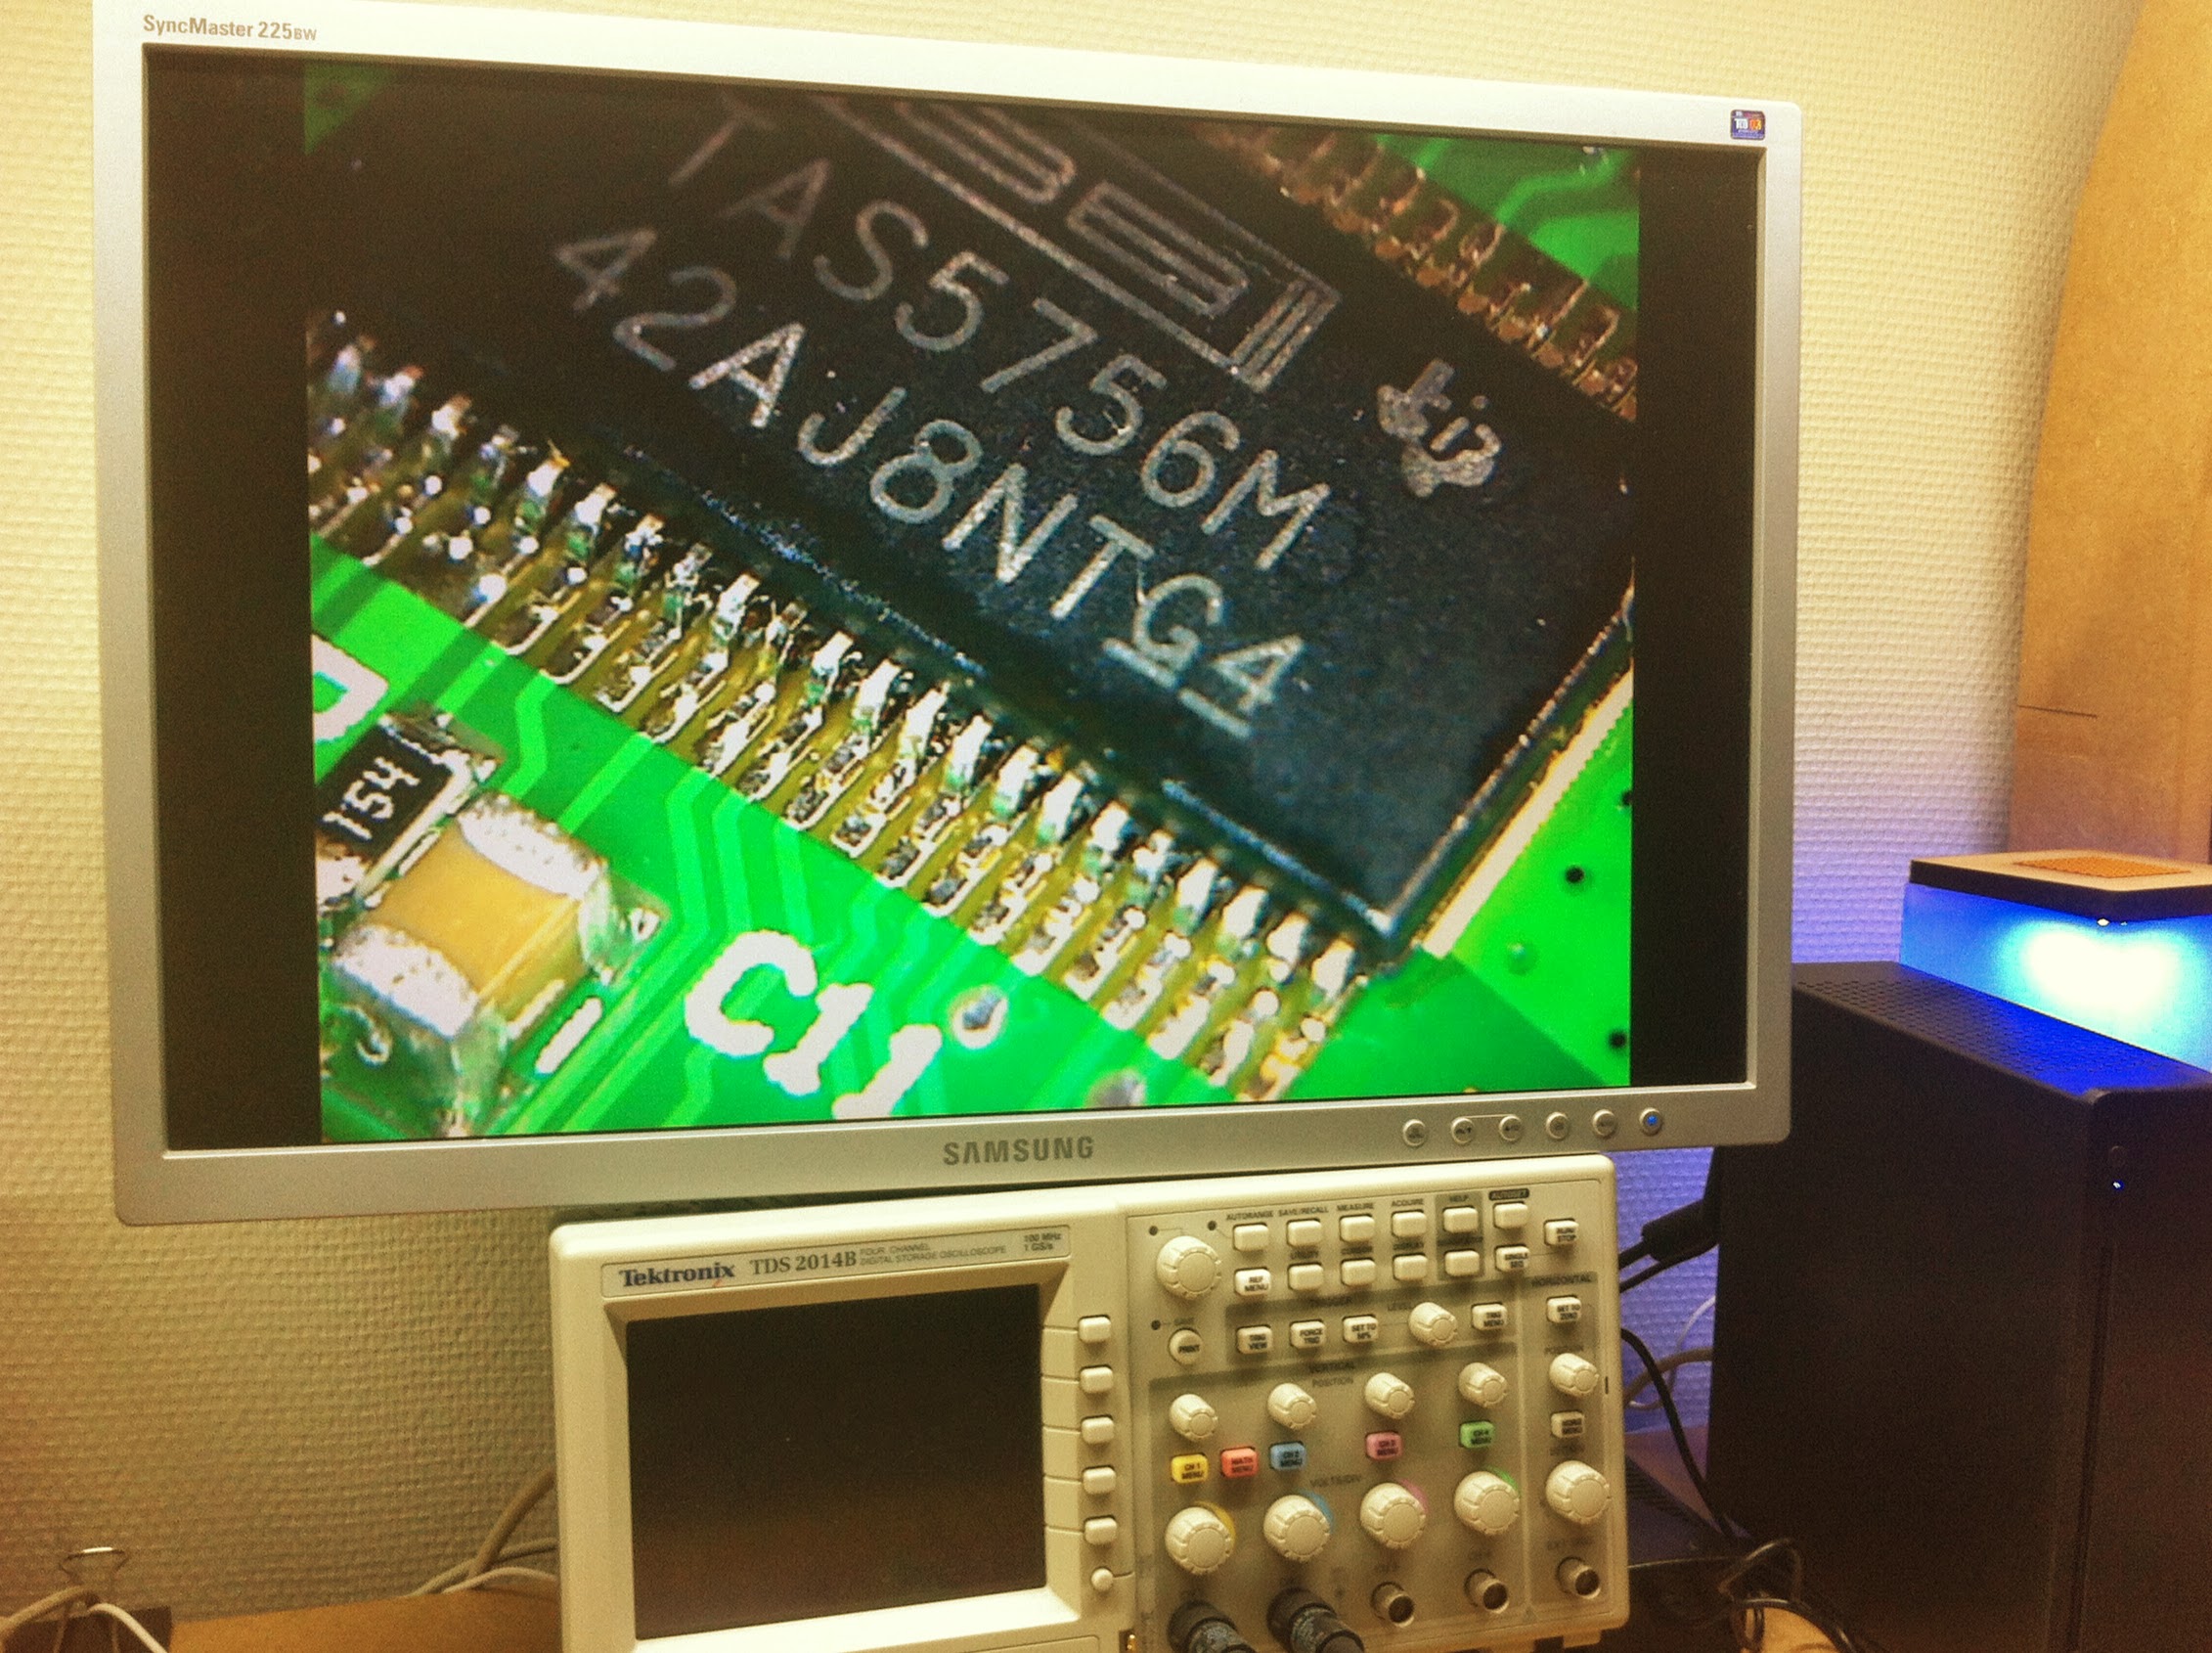
The board is designed around the Ti TAS5756 Class D amplifier. It also features an I2C EEPROM, Ti TMP112 I2C temperature sensor, some useful IO connectores, a FET connected to a PWM ouput and a Ti LMZ23603 Simple Switcher module capable of providing 3A on the 5V rail.
- Cheaper Power supply
- Cheaper Inductors
For our setup we use Volumio coupled with a little bit of Pyhton code to run everything. First things first, get yourself a running Volumio system by following their manual. Once the board is up and running you can start the configuration needed for the amplifier.
- Make sure your system is up to date by running
sudo rpi-update - Ensure the drivers are loaded by adding
dtoverlay=iqaudio-dacplusin the/boot/config.txtfile - Remove the standard Raspberry Pi audio card by commecinting out the
snd-bcm2835entry in the file/etc/modules, you might want to addi2c-devas well. - Sync and reboot your system wiht
syncandduso reboot - Verify your card is available to ALSO by running
aplay -l - Set the volume to 100% using
alsamixer, both ANALOGUE and ANALOGUE PLAYBACK BOOST should be set to 100% - Automaticly unmute the amplifier om boot by adding the following lines to
/etc/rc.localright beforeexit(0)
#Unmute the AMP
echo "17" > /sys/class/gpio/export
echo "out" >/sys/class/gpio/gpio17/direction
echo "1" >/sys/class/gpio/gpio17/value
- Since the 5V power source is able to provide more than sufficient power to the board, you can increase the USB current of the Raspberry Pi. This can be done by adding
max_usb_current=1to the/boot/config.txtfile.
You can stack a PCB on the anplifier with 16 extra IO pins. This board is based on the MCP23017 which is a 16 bits I2C IO expander. It has native support in Wiring Pi. You can stack more than one since the expander has multiple address pins. Just make sure you don't use the same address twice.
