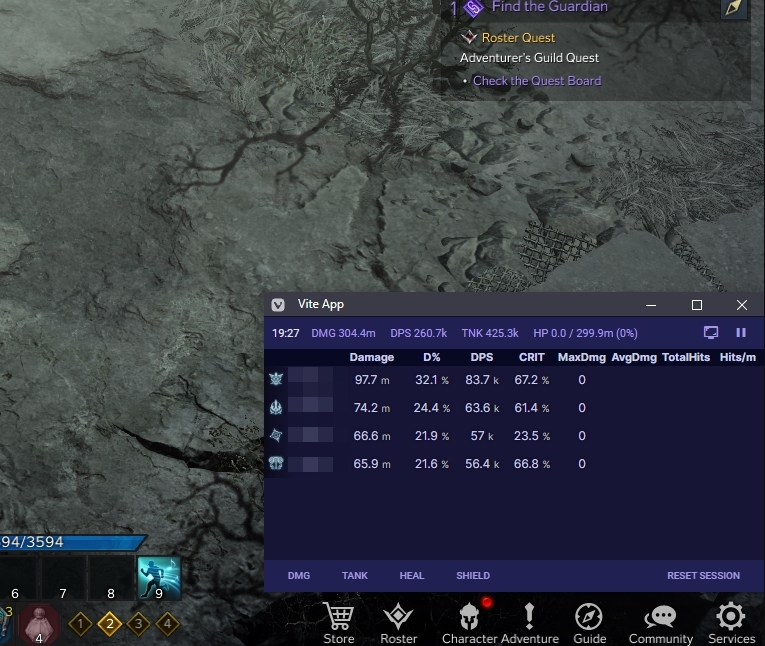
This project is outdated and not will be updated anymore. Smiltegate also started to activly ban users of other meters that are running on the same pc. So be caution about that.
A fork of https://github.com/karaeren/LostArkLogger with the capability to remote log packets via winpcap for docker.
Zero risk made possible with tabfloater.
We call the machine where you run Lost Ark the main computer.
Here are some options for where to run the DPS meter, which can be accessed in a web overlay:
- On your main computer
- On a Virtual Machine on your main computer
- On a remote computer on the same network as your main computer
Evaluate your tolerance for risk (highest-to-lowest risk) and your tolerance for overhead (lowest-to-highest overhead).
You have to install docker on the machine where you will be running the meter (one of the options from setup above).
For instructions on how to install docker, check docker desktop.
You need to install npcap on your main computer.
Make sure to have the option Install Npcap in WinPcap API-compatible Mode checked.
After that, you have to install rpcapd.
If your windows is blocked for install unsigned software, you have to disable it.
Set-ExecutionPolicy -Scope LocalMachine -ExecutionPolicy RemoteSigned -ForceThen you can install rpcapd. You can use the following script to install it.
This script install rpcapd as a service. You can check the service in your services.msc or with the following command:
Get-Service rpcapdFirst, clone the repository so you have the code locally on the machine that will run the meter:
git clone https://github.com/rexlManu/la-dpsmeter.gitSecond, change p-cap-address to the ip address of your main computer in the config.yml file in the root directory.
You can find out your ip address by running ipconfig in a command prompt. It's your local lan address.
Third, make sure Docker is running (first step), navigate to the la-dpsmeter directory, and run the Docker image:
docker run -d --name la-dpsmeter --restart unless-stopped -v ${pwd}/config.yml:/app/config.yml -v ${pwd}/logs:/mnt/raid1/apps/'Lost Ark Logs' -p 1338:1338 ghcr.io/rexlmanu/la-dpsmeter:mainNOTE1: You need to run the command from the la-dpsmeter directory for it to find the config.yml file to inject. NOTE2: Logs are sent to the la-dpsmeter/logs directory; you can point to the loa-details directory if using loa-details.
You can access the web overlay by opening the following url in your browser:
http://<ip-address-where-dps-meter-is-running>:1338
If running the meter on your main computer, the ip address will be the same as what you set in the config.yml file.
To update the container (or to kill it/refresh it), delete the old container and re-run or update the existing image.
To delete an old container:
docker rm -f la-dpsmeterYou can also use the Docker applications UI to stop/remove containers, if you would prefer.
To update the image, you have to pull the latest version of the docker image with the following command:
docker pull ghcr.io/rexlmanu/la-dpsmeter:mainThen use the same run command from the third step.
We have a discord server where you can ask questions or report bugs.
This is not endorsed by Smilegate or AGS. Usage of this tool isn't defined by Smilegate or AGS. I do not save your personal identifiable data. Having said that, the .pcap generated can potentially contain sensitive information ( specifically, a one-time use token)
You can find the old installation instructions here.
