The goals / steps of this project are the following:
- Use the simulator to collect data of good driving behavior
- Build, a convolution neural network in Keras that predicts steering angles from images
- Train and validate the model with a training and validation set
- Test that the model successfully drives around track one without leaving the road
- Summarize the results with a written report
Here I will consider the rubric points individually and describe how I addressed each point in my implementation.
My project includes the following files:
- model.py containing the script to create and train the model
- drive.py for driving the car in autonomous mode
- model.h5 containing a trained convolution neural network
- writeup_report.md or writeup_report.pdf summarizing the results
Using the Udacity provided simulator and my drive.py file, the car can be driven autonomously around the track by executing
python drive.py model.h5The model.py file contains the code for training and saving the convolution neural network. The file shows the pipeline I used for training and validating the model, and it contains comments to explain how the code works.
The project uses a neural network mentioned briefly in class. The description in class was quite vague, but it was a nvidia neural network. After searching online, I found Nvidia model which works quite nicely for the purpose of this lab. Please refer to the image below for the basic structure of the neural network.

With a normalization lambda layer and crop image lambda layer to start the network, the rest of the network goes like this:
- 5x5 convolution layer depth of 24 and stride of 2x2
- followed by a ELU (Advanced Activation Function: Exponential Linear Unit)
- 5x5 convolution layer depth of 36 and stride of 2x2
- followed by a ELU (Advanced Activation Function: Exponential Linear Unit)
- 5x5 convolution layer depth of 48 and stride of 2x2
- followed by a ELU (Advanced Activation Function: Exponential Linear Unit)
- 3x3 convolution layer depth of 64
- followed by a ELU (Advanced Activation Function: Exponential Linear Unit)
- 3x3 convolution layer depth of 64
- followed by a ELU (Advanced Activation Function: Exponential Linear Unit)
- flatten layer
- dense layer of depth 100
- dense layer of depth 50
- dense layer of depth 10
- dense layer of depth 1
I was experimenting with dropout layers, but decided to not use it. Adding dropout layers introduce extra training time and don't help too much on accuracy. I used the data set provided by Udacity and didn't attempt to record any of my own data. The result is pretty good, so I didn't attemp to record any of my own data. At times, I reduces the number of epochs to increase accuracy and avoid oscillation on accuracy.
I also split the training set by 30% to form validation set to avoid overfitting.
With Keras + Adam Optimizer + Mean Squared Error loss function, tuning learning rate was not an option. So I played mostly with number of epochs
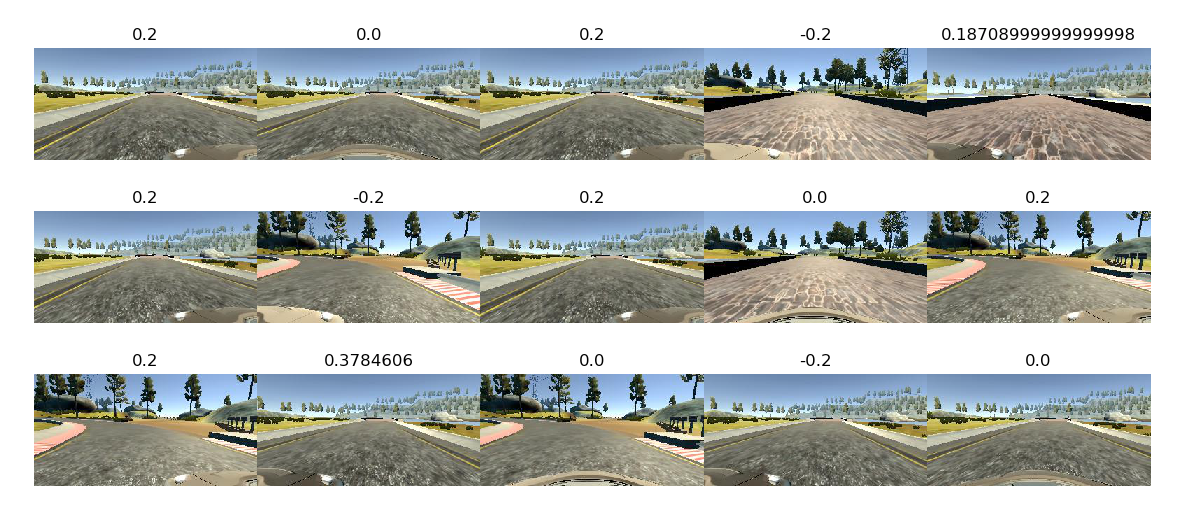
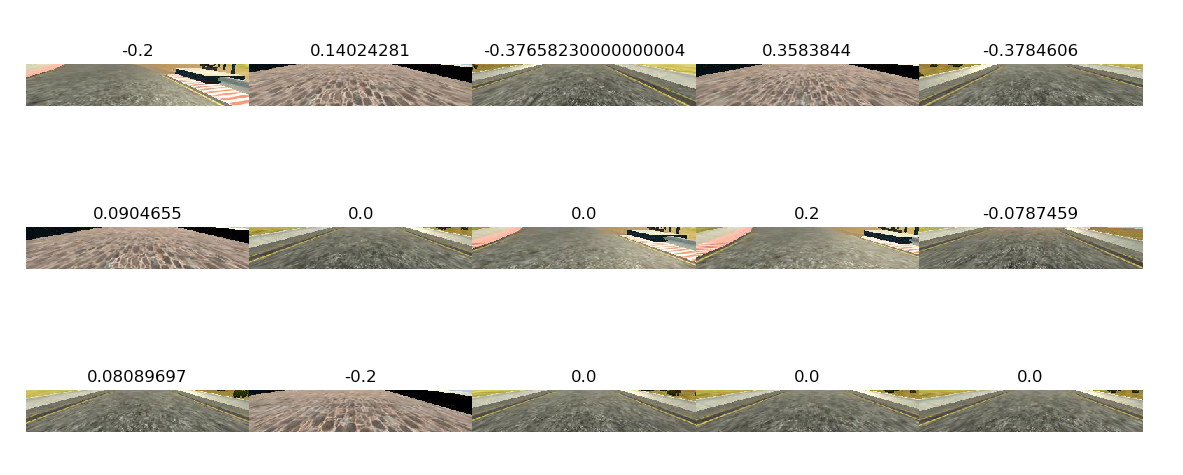
- I used a combination of center lane driving, recovering from the left and right sides of the road with a correction of 0.2
- I also applied a magnification of 1.15 on the
steering angleindrive.pyto magnify the steering angle with respect to full speed driving.
I used the following technique to pre-process input data for faster and more accurate learning
- Crop out car hood, sky, and trees (irrelevant to driving)
- Normalize images
- Apply steering correction of 0.2 on left and right cameras
- Flip images with curvature > 0.33 to augment data set
My laptop wasn't able to handle the stress of this network. So I tried the generator approach. Using the generator reduces the stress of my laptop, but takes 12 hours to train each epoch. I ended up using AWS EC2 GPU instance to train my data. It only takes 60 seconds for each epoch.
After looking through all the videos in the classroom, I immediately applied all the techniques on my model, but the results were not great. So I removed all the pre processing and adjustment. I add one method each time and ended up using the following approach.
- Apply a x1.15 magnification on
steering angleindrive.py - Apply recovering correction of 0.2 on left and right sides of the road
- Augment the image (flipping image horizontally) on images with angles greater than 0.33
I didn't attempt to change my model in any way. Even if I used simplier networks such as Lenet, I can achieve pretty high accuracy. It matters more on how to tune the input data set to make the network successful in simulation
I find the simulation environment quite sensitive and I was having a hard time training the data. So I ended up just using the data set provided by Udacity.