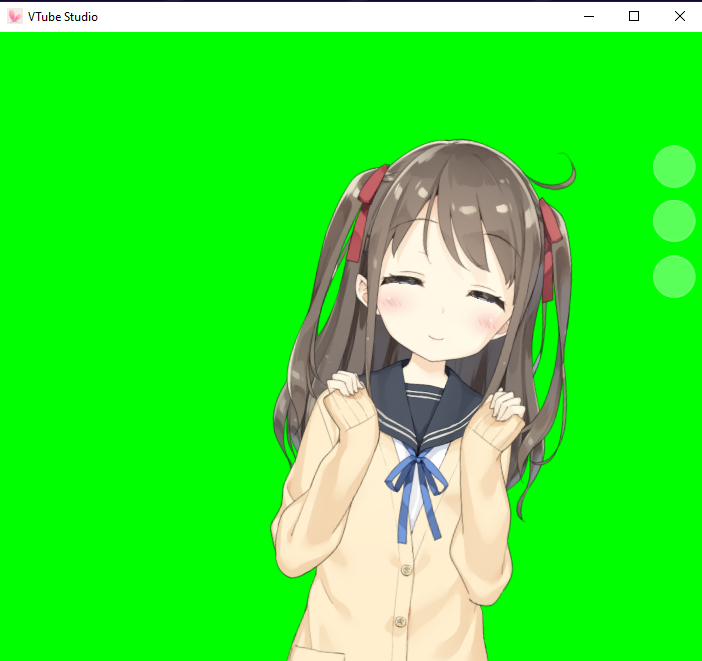
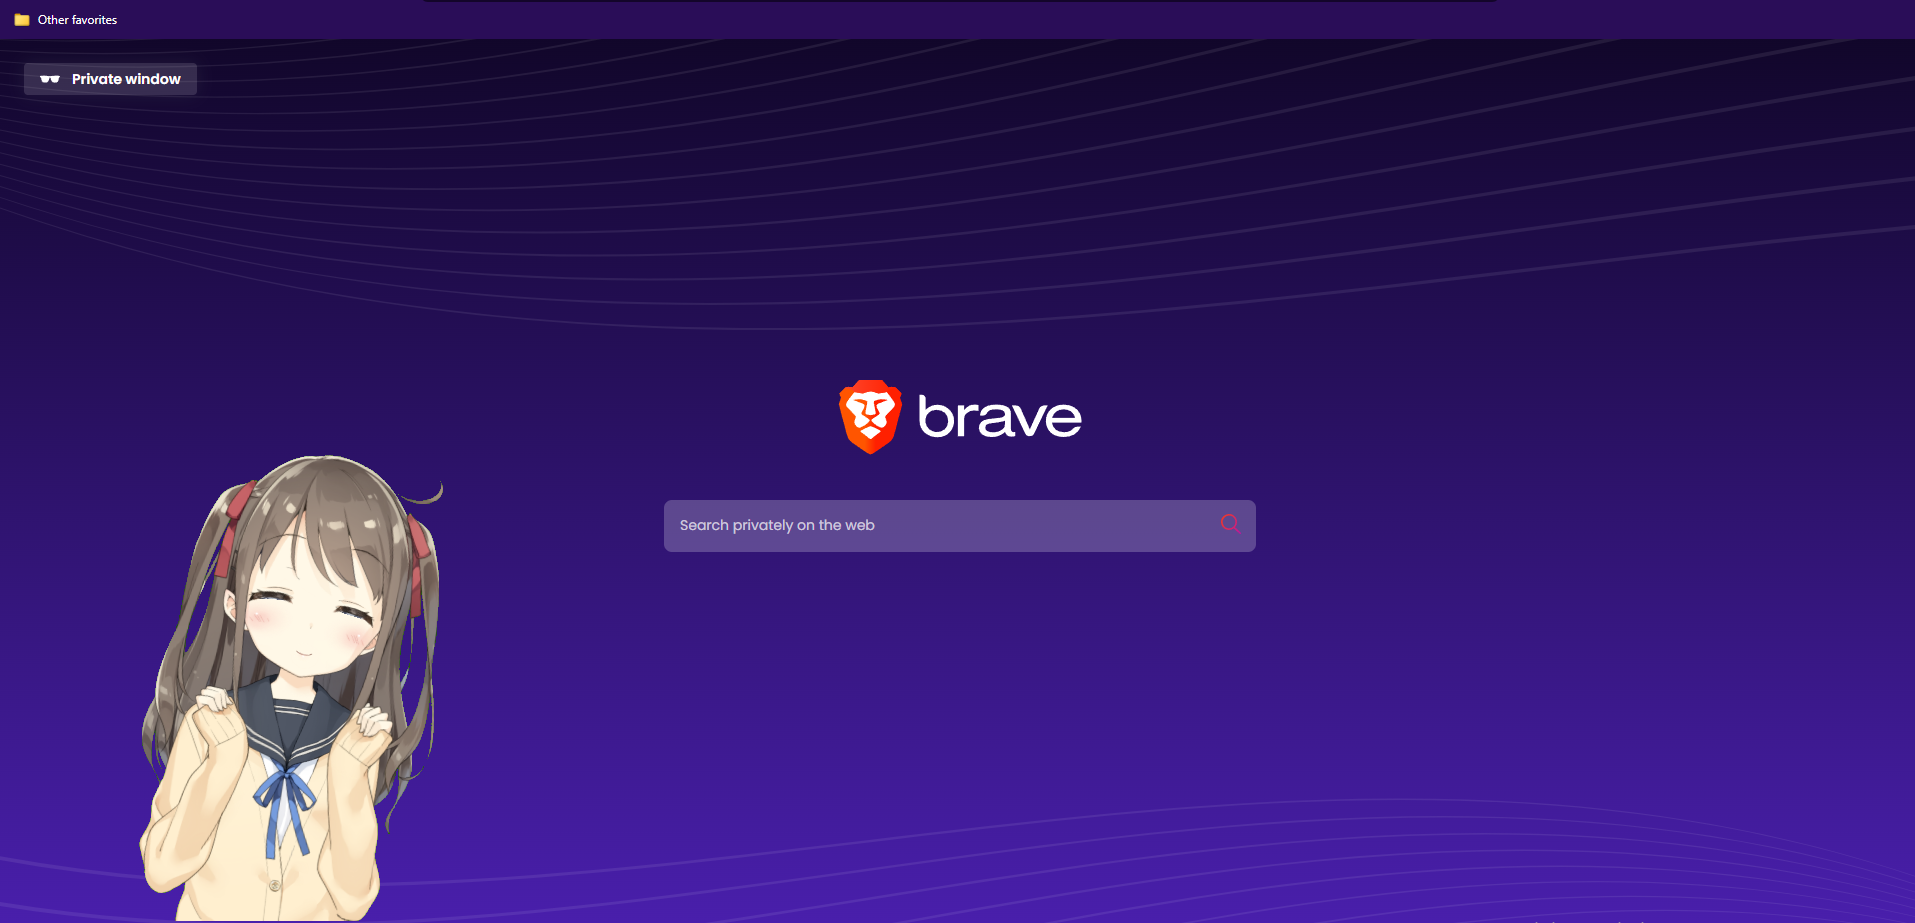
This project creates a transparent, always on top, frameless window overlay that can continously capture and display content from a specified, target window. It's particularly useful for applications like VTube Studio, where users might want to overlay certain window contents onto another screen, while keeping certain parts transparent by configuring the chroma_key_settings inside config.yaml (such as a bright green background). The application uses PyQt5 for the windowing system, OpenCV for image processing, and the Win32 API for window capture.
Note:
- This code relies heavily on the Win32 API for window capture functionality, which is specific to Windows operating systems. As a result, this code will not be directly usable on other operating systems like macOS or Linux in its current form.
- This code works for target windows that might also be covered by other windows, but due to how the WIN32 API is currently capturing the window, it will still throw an error if the target window is minimized.
- Raw Target Window:
- Captured result:
- Windows System (macOS or Linux currently not supported)
- Python 3.10.9 (Recommended)
- Virtual Environment (Recommended)
- numpy
- PyQt5
- OpenCV (cv2)
- PyWin32
- PIL
- Clone the repository:
git clone https://github.com/AmazeDeus/Window-Mascot.git - Navigate to the project directory:
cd Window-Mascot - Create and activate a virtual environment (optional but recommended):
python -m venv venv .\venv\Scripts\activate - Install required packages:
pip install -r requirements.txt
- Update the
config.yamlfile with the desired settings (window title, size, position, etc.). - Run the application:
python run.py - To open the configuration GUI at any time during the application's runtime
- Focus the window and press
Ctrl + Q. - This allows for easy access to the configuration settings without needing to manually edit the
config.yamlfile.
- Focus the window and press
Edit config.yaml to change the window settings and chroma key values. The available configurations are:
window_settings: Configure the title, size, and position of the window to capture.update_interval: Set the refresh rate of the window capture.chroma_key_settings: Adjust the HSV values for the chroma key effect.selected_screen: Choose your target display for the capture window. This will default to your primary display.
Contributions to this project are welcome! Feel free to fork the repository and submit pull requests.

