-
Notifications
You must be signed in to change notification settings - Fork 164
Azure Pipelines
- Prerequisites
- Configure AzOps using Azure CLI in PowerShell
- Configure AzOps via Azure DevOps Portal
- Configuration, clean up and triggering the pipelines
Before you start, make sure you have followed the steps in the prerequisites article to configure the required permissions for AzOps.
Links to documentation for further reading:
- Create the Service Principal
- Assign the permissions at the required scope (/)
- Assign the Directory role permissions
- Create Azure DevOps project
| Repository | Description |
|---|---|
| AzOps Accelerator | This template repository is for getting started with the AzOps integrated CI/CD solution. |
The PowerShell script below will set up a new project or use an existing if it already exists. The account used to sign in with Azure CLI need to have access to create projects in Azure DevOps or have the owner role assigned to an existing project.
- The script will:
- Create a new repository and import the official AzOps Accelerator repository
- Add a variable group called
credentials - Create pipelines for
Push,PullandValidate - Add a build validation policy to the main branch triggering the Validate pipeline on Pull Requests
- Add a branch policy to limit merge types to squash only
- Assign permissions to the built-in Build Service account to contribute, open Pull Requests and bypass policies when completing pull requests (to bypass validation pipeline and any approval checks)
- Assign pipeline permissions for the variable group to each of the pipelines
- Install dependent tools & extensions
- Sign in to Azure CLI with an account that has access to create projects in Azure DevOps or have the owner role assigned to an existing project
az login
- Before running the commands below, any
<Value>needs to be replaced with your values
If you are running self-hosted build agents in Azure with Managed Identity enabled. Remove the variables
$ARM_CLIENT_IDand$ARM_CLIENT_SECRETfromcredentialsvariable group.
# Configuration, make sure to replace <Value> with your values
$Organization = '<Value>'
$ProjectName = '<Value>'
$RepoName = '<Value>'
$TenantId = '<Value>'
$SubscriptionId = '<Value>'
$ARM_CLIENT_ID = '<Value>'
$ARM_CLIENT_SECRET = '<Value>'


$OrgParams = @{
    Organization = $Organization
    Project      = $ProjectName
}

# Install the ADOPS PowerShell module
Install-Module -Name ADOPS -Scope CurrentUser -RequiredVersion '2.0.2' -Force

# Connect to Azure DevOps (This will open a browser window for you to login)
Connect-ADOPS -Organization $Organization

# Create a new project and wait for it to be created
$Project = Get-ADOPSProject @OrgParams
if ($null -eq $Project) {
    $Project = New-ADOPSProject -Name $ProjectName -Organization $Organization -Visibility Private -Wait
}

# Create a new repository from the AzOps Accelerator template repository
$Repo = Get-ADOPSRepository @OrgParams -Repository $RepoName
if ($null -eq $Repo) {
    $Repo = New-ADOPSRepository @OrgParams -Name $RepoName
}

# Import the AzOps Accelerator template repository and wait for the import to complete
$null = Import-ADOPSRepository @OrgParams -RepositoryName $RepoName -GitSource 'https://github.com/Azure/AzOps-Accelerator.git' -Wait
$null = Set-ADOPSRepository -RepositoryId $repo.id -DefaultBranch 'main' @OrgParams

# Add a variable group for authenticating pipelines with Azure Resource Manager and record the id output
$CredentialVariableGroup = @(
    @{Name = 'ARM_TENANT_ID'; Value = $TenantId; IsSecret = $false }
    @{Name = 'ARM_SUBSCRIPTION_ID'; Value = $SubscriptionId; IsSecret = $false }
    @{Name = 'ARM_CLIENT_ID'; Value = $ARM_CLIENT_ID; IsSecret = $false }
    @{Name = 'ARM_SERVICE_CONNECTION'; Value = ''; IsSecret = $false }
)
if ($ARM_CLIENT_SECRET) {
    $CredentialVariableGroup += @{Name = 'ARM_CLIENT_SECRET'; Value = $ARM_CLIENT_SECRET; IsSecret = $true }
}
$null = New-ADOPSVariableGroup -VariableGroupName 'credentials' -VariableHashtable $CredentialVariableGroup @OrgParams

$ConfigVariableGroup = @(
    @{Name = 'AZOPS_MODULE_VERSION'; Value = ''; IsSecret = $false }
    @{Name = 'AZOPS_CUSTOM_SORT_ORDER'; Value = 'false'; IsSecret = $false }
)
$null = New-ADOPSVariableGroup -VariableGroupName 'azops' -VariableHashtable $ConfigVariableGroup @OrgParams

# Create three new pipelines from existing YAML manifests.
$null = New-ADOPSPipeline -Name 'AzOps - Push'     -YamlPath '.pipelines/push.yml'     -Repository $RepoName @OrgParams
$null = New-ADOPSPipeline -Name 'AzOps - Pull'     -YamlPath '.pipelines/pull.yml'     -Repository $RepoName @OrgParams
$null = New-ADOPSPipeline -Name 'AzOps - Validate' -YamlPath '.pipelines/validate.yml' -Repository $RepoName @OrgParams

# Add build validation policy to validate pull requests
$RepoId = Get-ADOPSRepository -Repository $RepoName @OrgParams | Select-Object -ExpandProperty Id
$PipelineId = Get-ADOPSPipeline -Name 'AzOps - Validate' @OrgParams | Select-Object -ExpandProperty Id
$BuildPolicyParam = @{
    RepositoryId     = $RepoId
    Branch           = 'main'
    PipelineId       = $PipelineId
    Displayname      = 'Validate'
    filenamePatterns = '/root/*'
}
$null = New-ADOPSBuildPolicy @BuildPolicyParam @OrgParams

# Add branch policy to limit merge types to squash only
$null = New-ADOPSMergePolicy -RepositoryId $RepoId -Branch 'main' -allowSquash @OrgParams

# Add permissions for the Build Service account to the git repository
$ProjectId = Get-ADOPSProject @OrgParams | Select-Object -ExpandProperty Id
$BuildAccount = Get-ADOPSUser -Organization $Organization |
    Where-Object displayName -eq "$ProjectName Build Service ($Organization)"
foreach ($permission in 'GenericContribute', 'ForcePush', 'CreateBranch', 'PullRequestContribute', 'PullRequestBypassPolicy') {
    $null = Set-ADOPSGitPermission -ProjectId $ProjectId -RepositoryId $RepoId -Descriptor $BuildAccount.descriptor -Allow $permission
}

# Add pipeline permissions for all three pipelines to the credentials Variable Groups
$Uri = "https://dev.azure.com/$Organization/$ProjectName/_apis/distributedtask/variablegroups?api-version=7.1-preview.2"
$VariableGroups = (Invoke-ADOPSRestMethod -Uri $Uri -Method 'Get').value | Where-Object name -in 'credentials', 'azops'
foreach ($pipeline in 'AzOps - Push', 'AzOps - Pull', 'AzOps - Validate') {
    $PipelineId = Get-ADOPSPipeline -Name $pipeline @OrgParams | Select-Object -ExpandProperty Id
    foreach ($groupId in $VariableGroups.id) {
        $null = Grant-ADOPSPipelinePermission -PipelineId $PipelineId -ResourceType 'VariableGroup' -ResourceId $groupId @OrgParams
    }
}- Your new Project is now ready. Skip down to Configuration, clean up and triggering the pipelines to get started.
-
Import the above AzOps-Accelerator repository to new project.
-
Reposand thenFiles. -
Select Import.

-
Provide the Clone URL of the AzOps Accelerator repository and import: https://github.com/Azure/AzOps-Accelerator.git

-
Set default branch. Go to
Reposand thenBranchesselectmainandSet as default branch
-
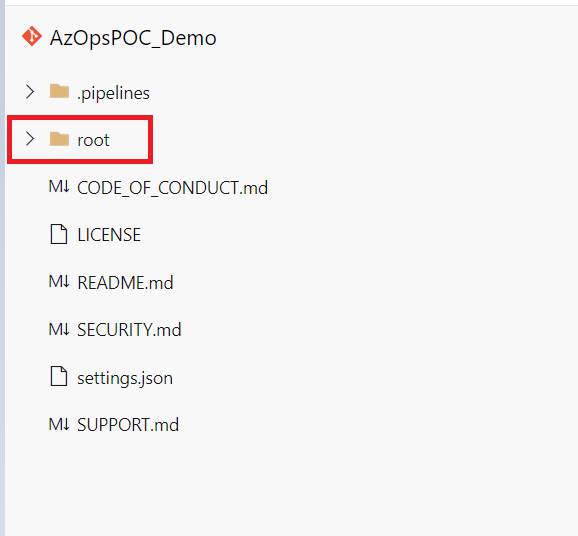
Once done it looks something like this (on
mainbranch).
-
-
Create two new Variable groups by navigating to
PipelinesthenLibrary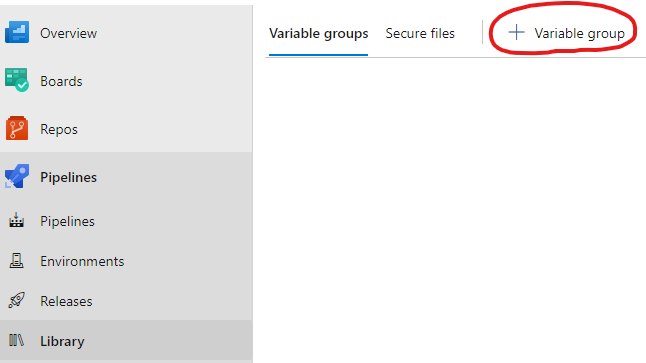
-
Set the first
Variable group nametocredentials. This can be altered but the value in the.pipelines\.templates\vars.ymlthen need to be updated as well. -
Add the variables from the
Service Principalcreation to thecredentials Variable group.If you are running self-hosted build agents in Azure with Managed Identity enabled, skip adding
ARM_CLIENT_IDandARM_CLIENT_SECRET.ARM_CLIENT_ID ARM_CLIENT_SECRET ARM_SERVICE_CONNECTION ARM_SUBSCRIPTION_ID ARM_TENANT_ID
Note: Change the variable type for ARM_CLIENT_SECRET to secret.

-
Set the second
Variable group nametoazops. This can be altered but the value in the.pipelines\.templates\vars.ymlthen need to be updated as well.AZOPS_CUSTOM_SORT_ORDER AZOPS_MODULE_VERSION
Note: Set the variable
AZOPS_CUSTOM_SORT_ORDERvalue tofalse.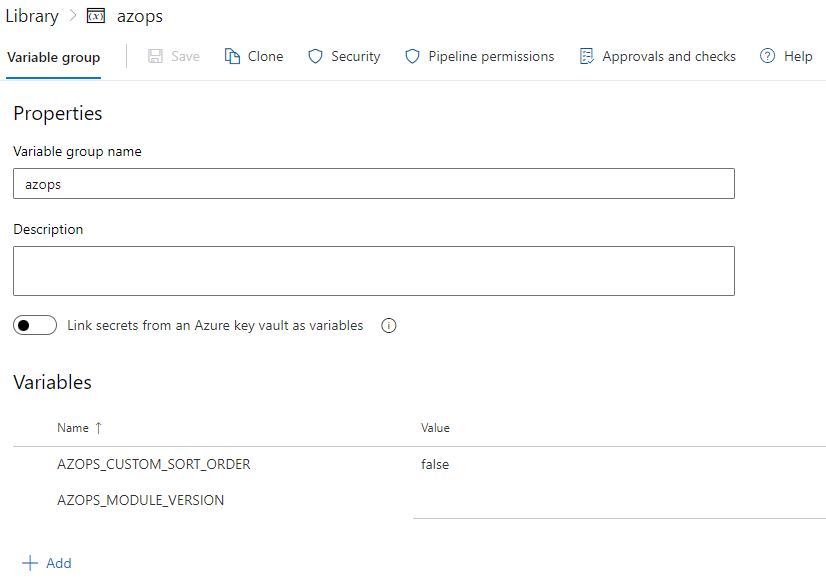
-
-
Configure pipelines: Create three new pipelines (without running them), selecting the existing files in the following order:
Note: Make sure to create the pipelines in the correct order, otherwise the pull pipeline will not be triggered by the push pipeline.
- .pipelines/push.yml
- .pipelines/pull.yml
- .pipelines/validate.yml
Note: It is advised to set
Pipeline permissionswithRestrict permissionand only allow each pipeline access to eachVariable group.
Steps to create pipelines:
-
Navigate to
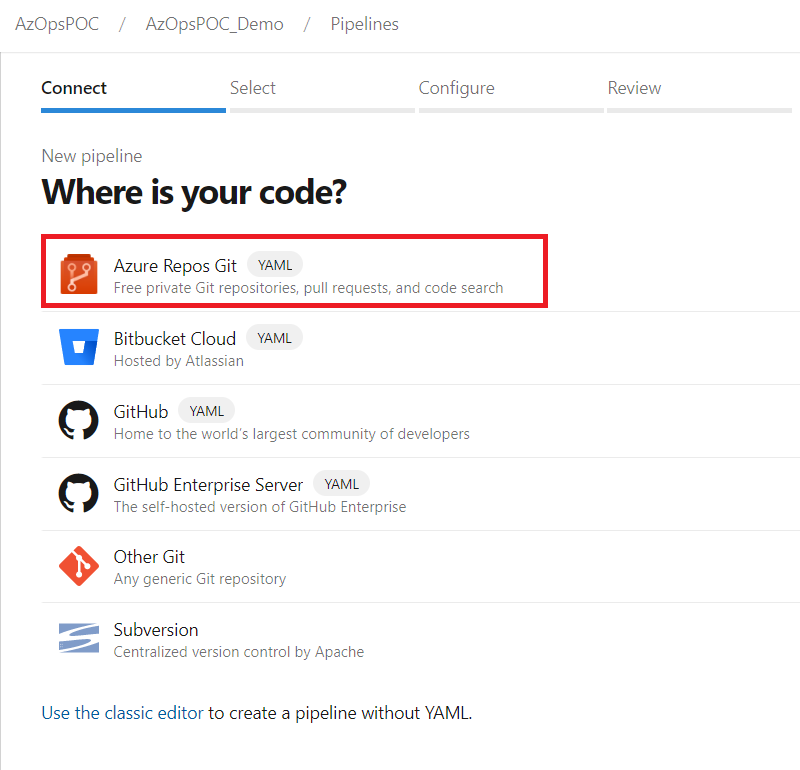
Pipelinesand click onCreate pipeline.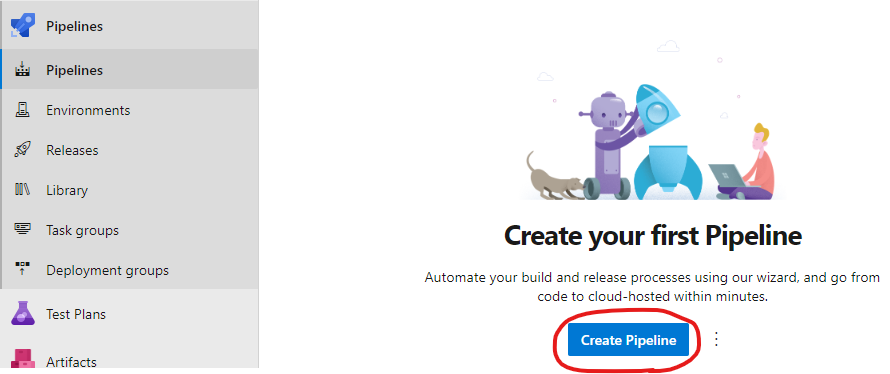
-
Select the
Azure Repos Gitoption and chooseExisting Azure Pipelines YAML file. -
Create new pipelines, selecting the existing files
-
Rename the Pipelines to
AzOps - Push,AzOps - PullandAzOps - Validaterespectively (in both the YAML file, and within the pipeline after you create it). -
Assign permissions to build service account at repository scope. The build service account must have the following permissions on the repository.
- Contribute
- Contribute to pull requests
- Create branch
- Force push
When using branch policies, also add the build service permission to Bypass policies when completing pull requests to be able to merge automated pull requests.
-
Navigate to the project settings, within the Repos section, select Repositories, select the newly created repository.
-
Select the [Project] Build Service ([Organization]) account, and configure the permissions above.
-
Configure branch policies In order for the
AzOps - Validatepipeline to run, set the repository main branch to require build verification using most of default settings, but do define a path filter matching your state setting, for example:/root/*. -
Allow only squash merge types from branches into main.
-
Configuration values can be modified within the
settings.jsonfile to change the default behavior of AzOps. The settings are documented in Settings chapter -
Optionally, add the variable
AZOPS_MODULE_VERSIONto theVariable groupazopsto pin the version of the AzOps module to be used -
This deployment is configured for Azure Pipelines. It is safe to delete the
.githubfolder and any Markdown files in the root of the repository -
Now, we are good to trigger the first push, which will in turn trigger the first pull to fetch the existing Azure environment
-
Once pull pipeline completes it will look like the screenshot below
-
This
rootfolder contains existing state of Azure environment -
Now, start creating arm templates to deploy more resources as shown in screenshot below
Note: Please follow above naming convention for parameter file creation.
-
Creating a Pull Request with changes to the
rootfolder will trigger a validate pipeline. The validate pipeline will perform a What-If deployment of the changes and post the results as a comment om the pull request -
Merge the Pull Request to trigger the push pipeline and deploy the changes

