(DSTIKE&SPACEHUHN Deauther V3)
(ThingPulse WeatherStation based on OpenWeatherMap API and several hardware setups)
If you want to know more, take a look to the original source code and documentation:
You will need:
- Development Environment (Arduino IDE recommended)
- Source code (from this repository or, if you prefer/need to make your own integration, from the original reps)
- Arduino ESP8266 board and OLED Display (DSTIKE/SPACEHUHN watch or any other compatible hardware combination)
- [Optional] OpenWeatherMap API Key (free). All other features work without this, but no weather data will be downloaded/shown
- Modify WeatherStation.h (Settings section) according to your needs
To set up everything, follow the instructions in here and/or here
You can upload the source, as it is or modified, to your own hardware:
-
Connect your hardware using the USB plug
-
Double click "esp8266_deauther.ino" file. Arduino IDE will open (if properly installed)
-
Configure board options under Tools menu option. This configuration worked in my case (please note that "Port: COM5" might be different in your system):

-
Click "Upload" button/option
-
Wait until it finishes (compile -> upload)
-
Your hardware will automatically reset and run new uploaded software if everything went OK
-
Connect Serial Monitor (under "Tools" menu option) if you need to debug your changes
-
At startup, the watch will try to connect to the given WiFi network
-
If the connection is successful, it will try to update time (from NTP server) and weather (from OpenWeatherMap)
-
It will also perform an initial scan of other networks and devices around (just scan)
-
If everything went OK, you will be shown the initial screen. At this first startup:
- If all data is incorrect, more likely the watch could not connect to a WiFi
- If only time is not correct, press SELECT button to exit to "Clock Menu", then select and press SET CLOCK option to manually change time using UP/DOWN buttons
- If only weather is not correct, probably your OpenWeatherMap key is wrong, or the WiFi connection failed
-
The first screen is actually a carousel, containing three frames:
- Time and Date clock
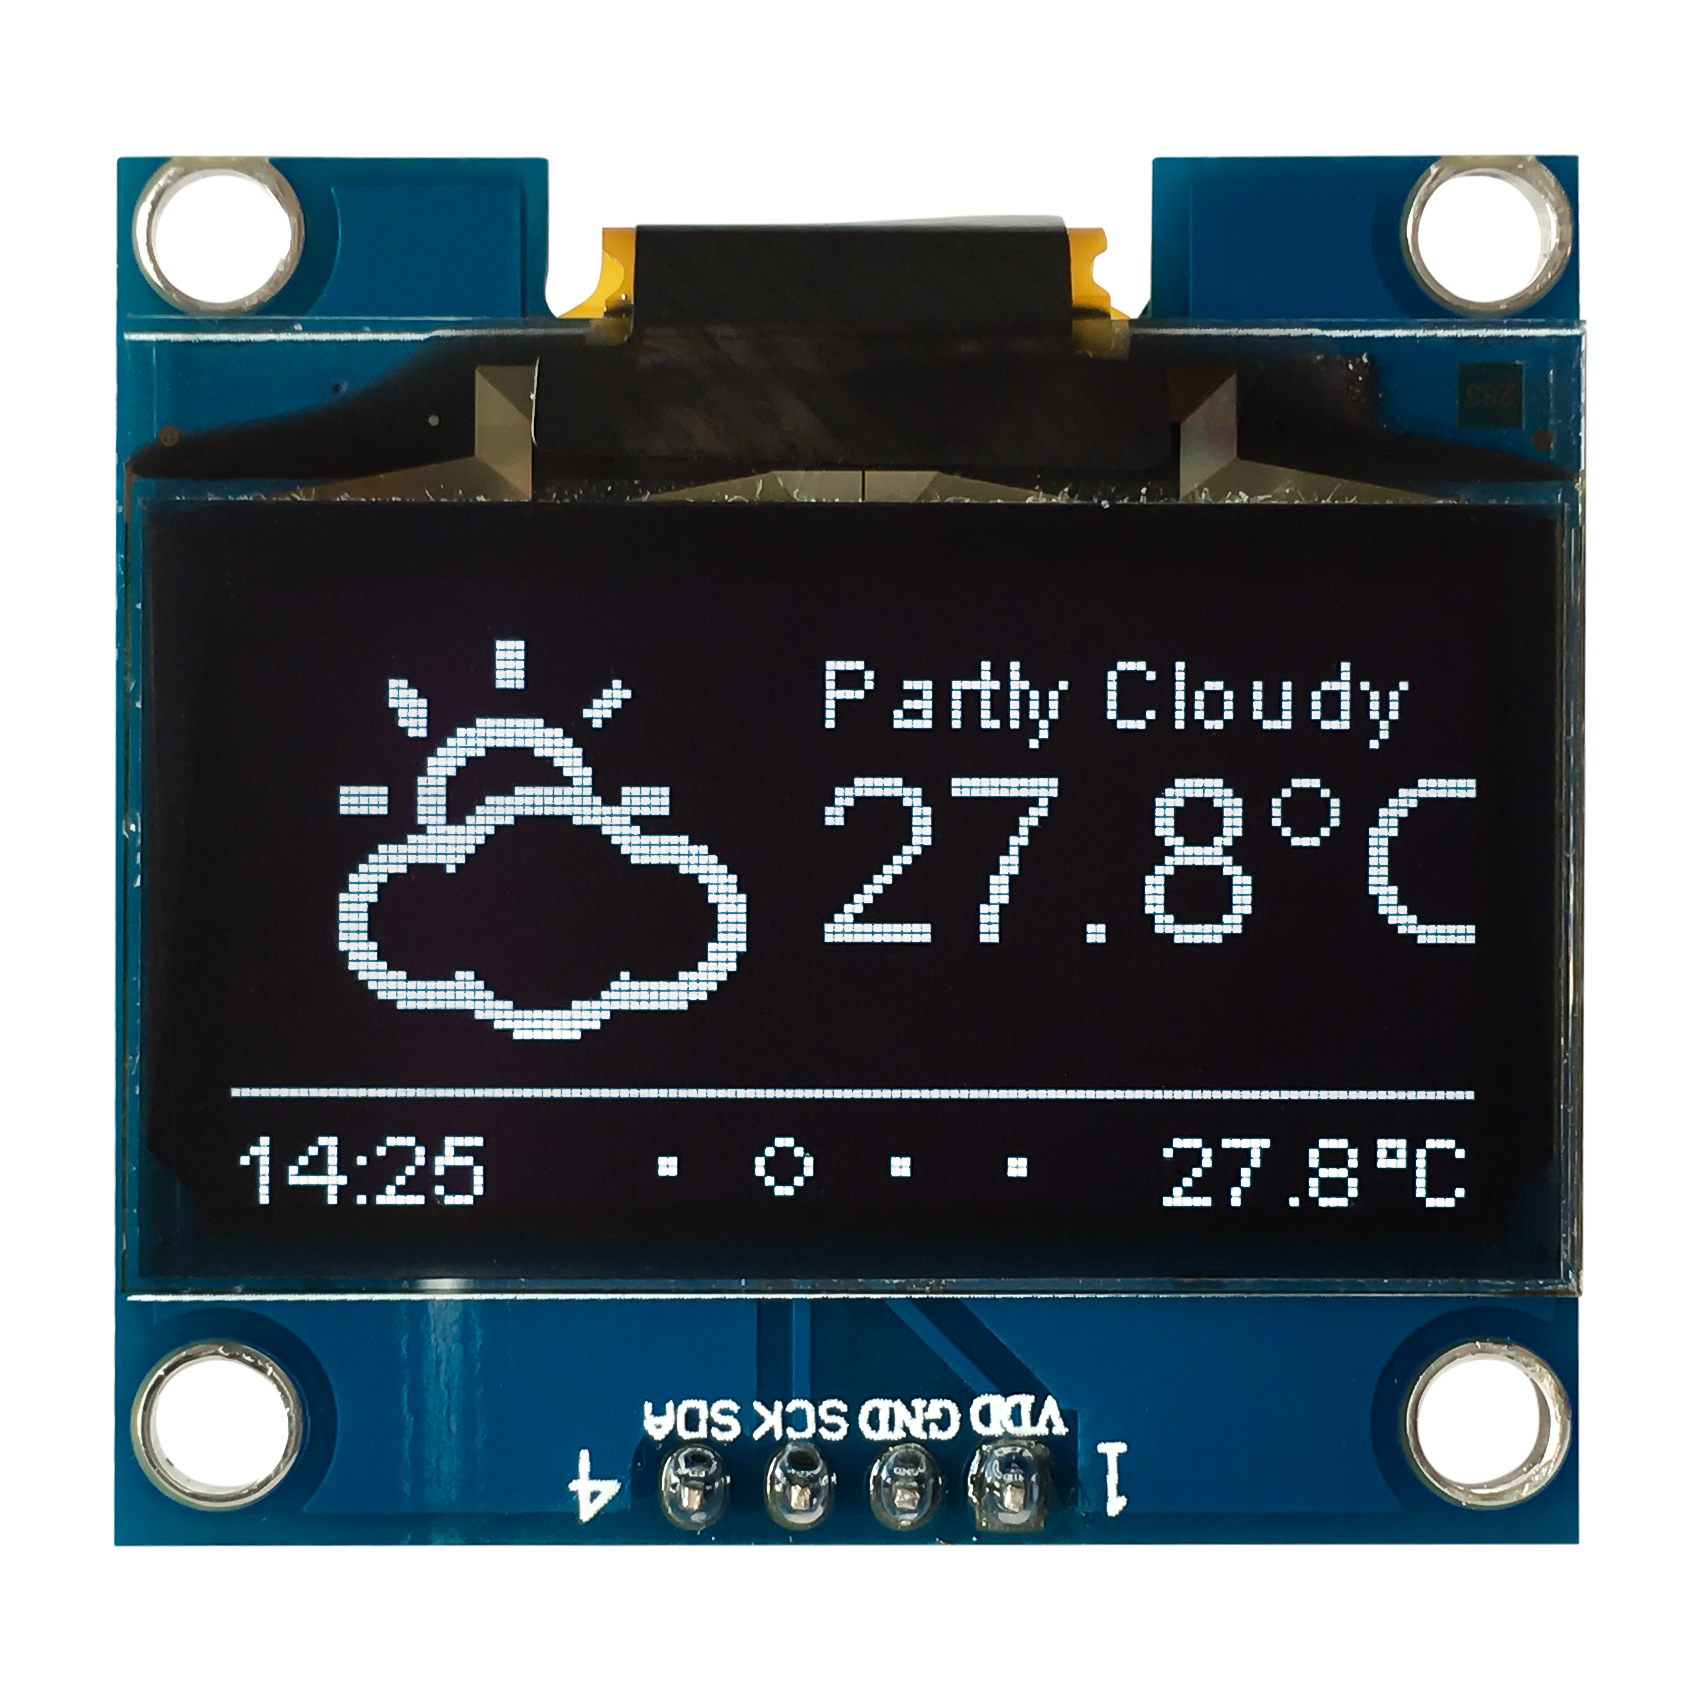
- Current weather
- Weather forecasts for next 3 days
-
It will automatically pass from one frame to the next, in a cycle mode
-
To move to a given frame just press UP/DOWN button. If so, auto-animation will stop, remaining fixed in the selected frame
-
To restore auto-animation back, press-hold UP/DOWN button, or exit to the "Clock Menu" (press SELECT button) then enter again in CLOCK mode
-
It's possible to manually force updating weather data. To do so, exit to "Clock Menu" (press SELECT button) and select "UPDATE CLOCK" option
-
To access "Main Menu", first access "Clock Menu" by pressing SELECT button, then select and press "BACK" option
-
From the main menu, you can access the Deauther options (explained in detail here):
- Scan
- Select
- Attack
- Packet Monitor
- Clock (this option is actually the initial screen you are shown at startup)
- Led

