-
Notifications
You must be signed in to change notification settings - Fork 344
Jetson Setup
There are two major steps that need to be performed to initialize your NVIDIA Jetson and install all project dependencies.
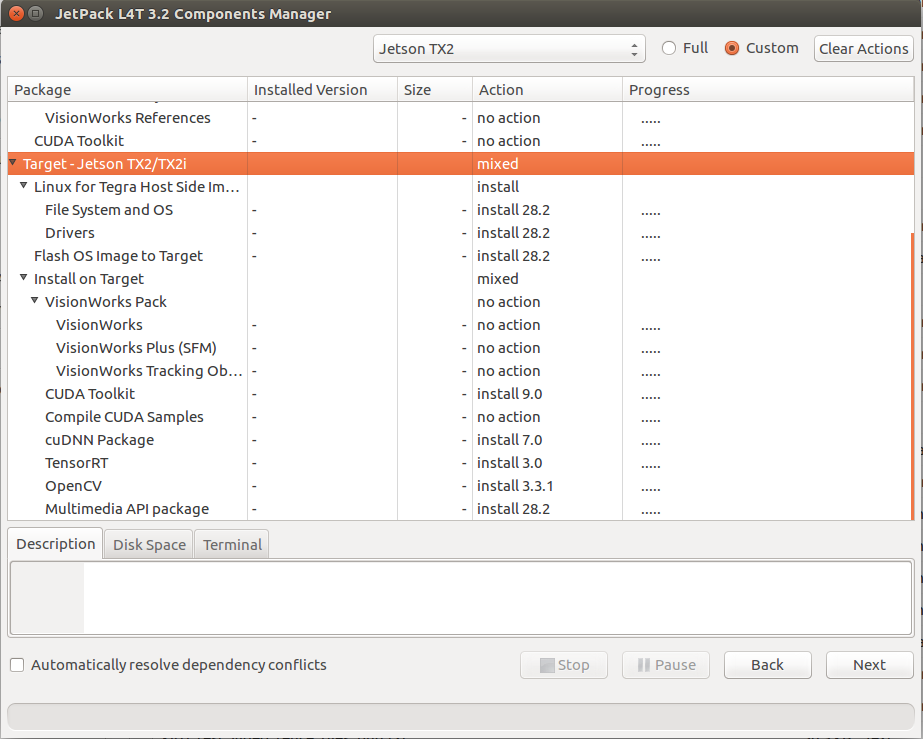
Download JetPack from the NVIDIA website and run the install script. Some components like VisionWorks Pack and Compile CUDA Samples can be skipped in order to save space and speed up the installation:

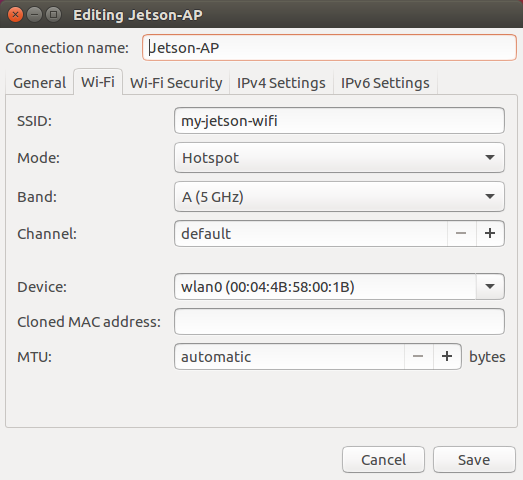
After installing the JetPack, create a WiFi access point (AP) on Jetson using the Ubuntu Network Manager or nmcli utility. Here is an example of such network configuration where the WiFi network has been named my-jetson-wifi:

Make sure that your WiFi network is secure and uses a reasonable password.
Note: you may need to apply this change to enable SSID broadcast.
There is currently a known issue with Auvidea J-120 board and TX2 affecting USB devices. Please refer to the documentation to get it fixed.
There is currently a known issue with JetPack 3.1 and TX1 affecting UART port. Please refer to the documentation to get it fixed.
Our project has several dependencies like ROS, GStreamer and others that need to be installed before running the code. The jetson_ros_install.sh script located in ros/scripts will install all required dependencies. The script requires some input (very little) so make sure you are monitoring the console while the script is running.
Once the script completes running, log out and log in back again to make sure all ROS environment variables are initialized.
