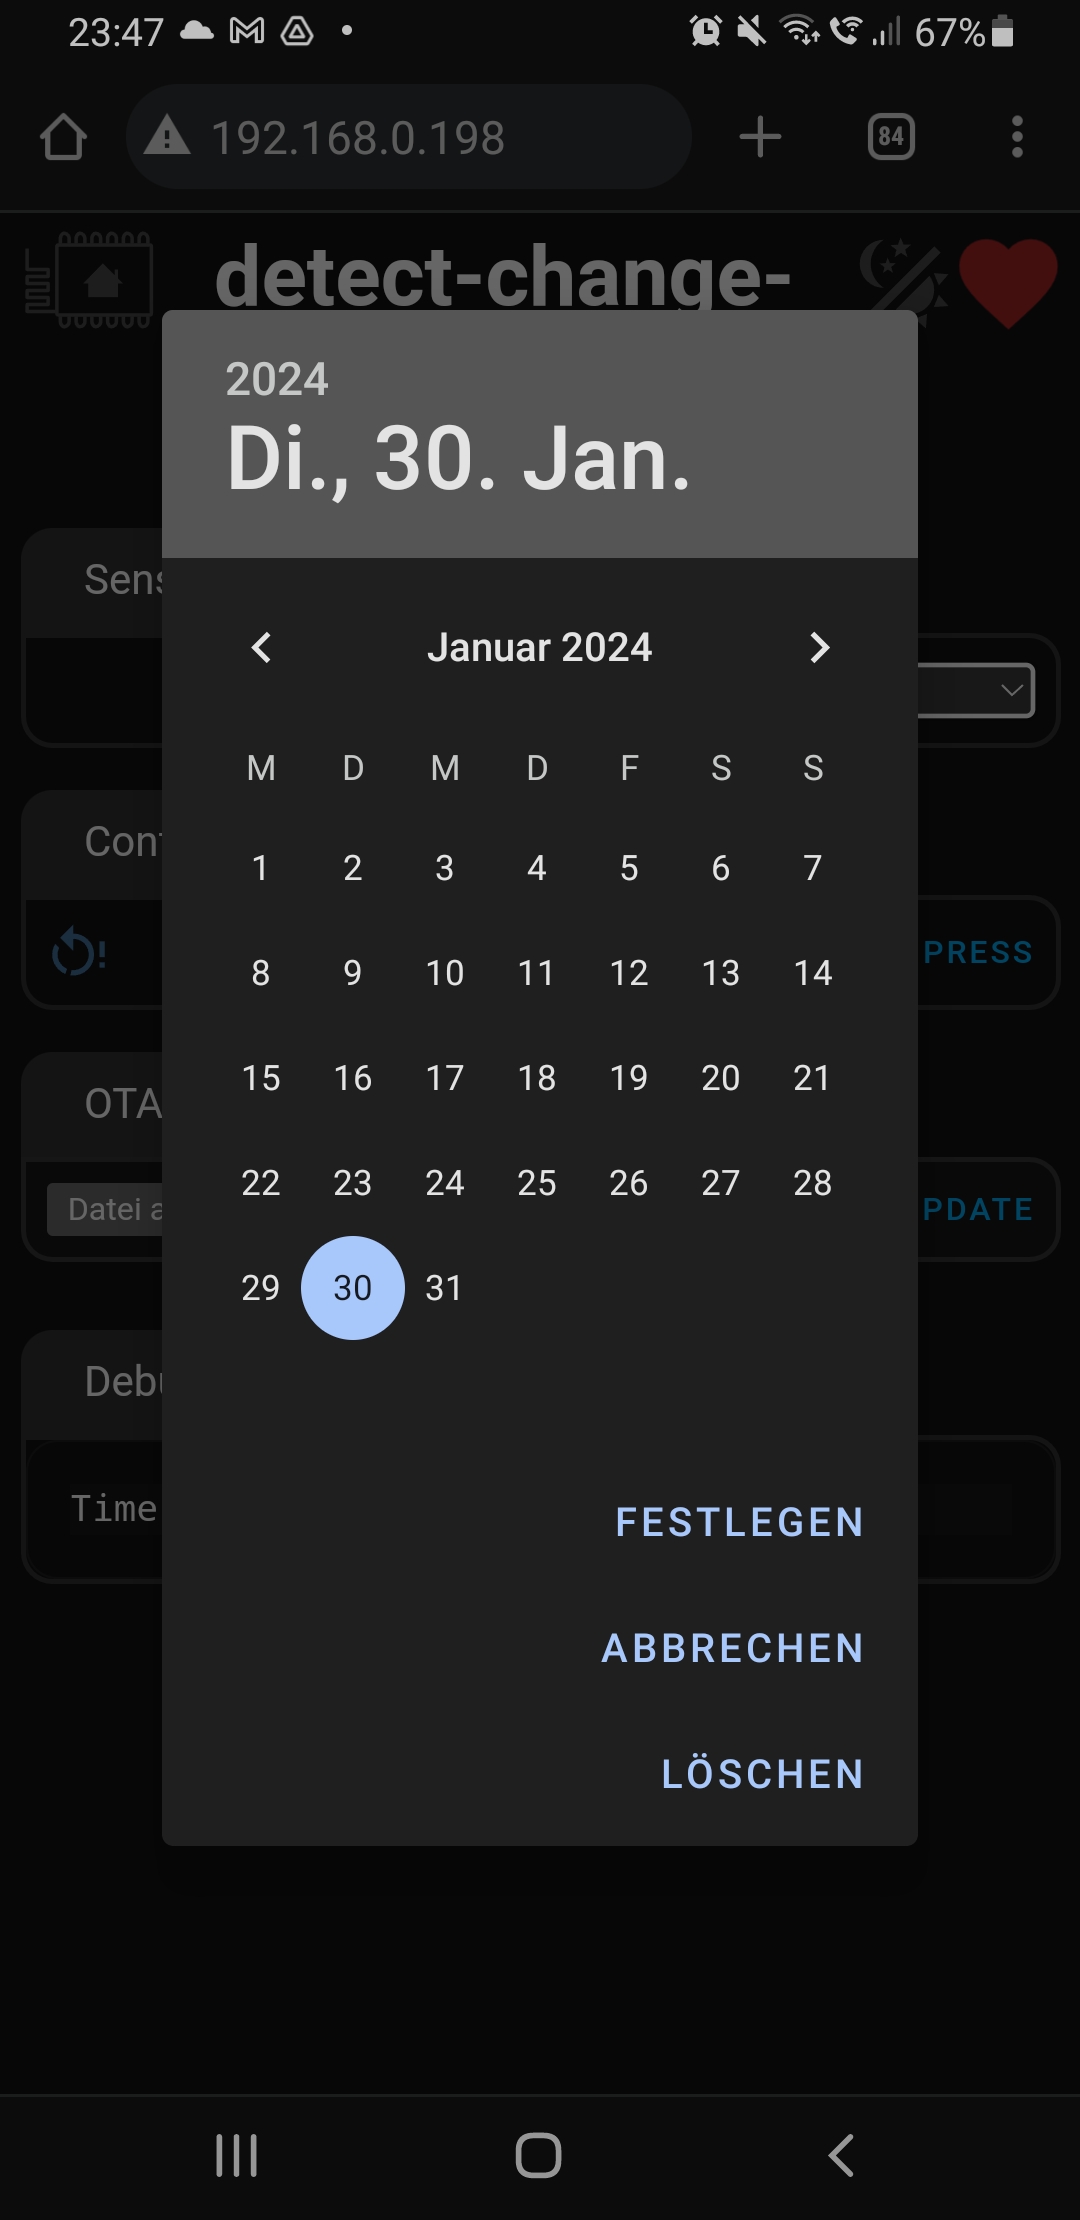
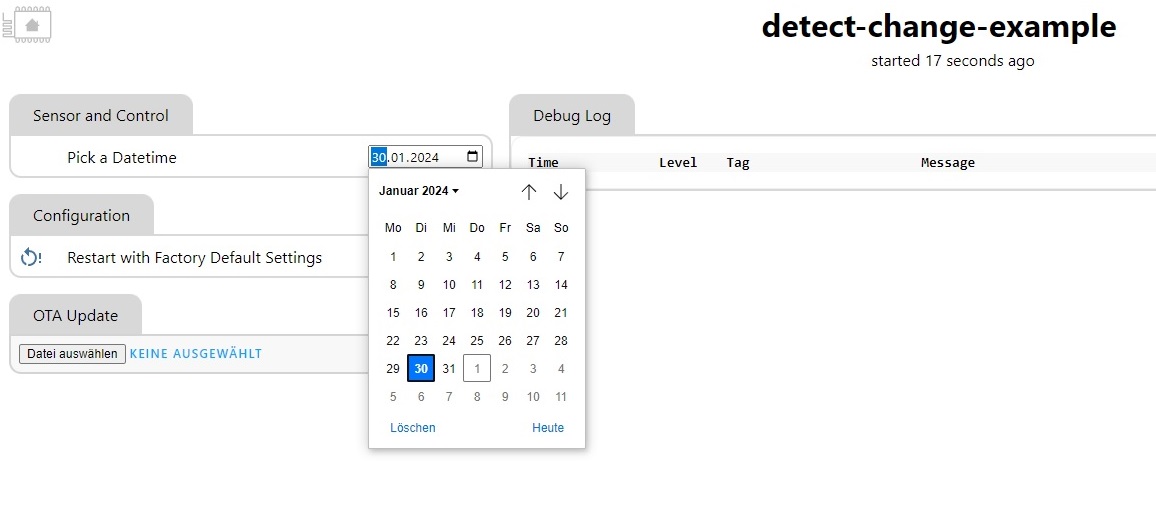
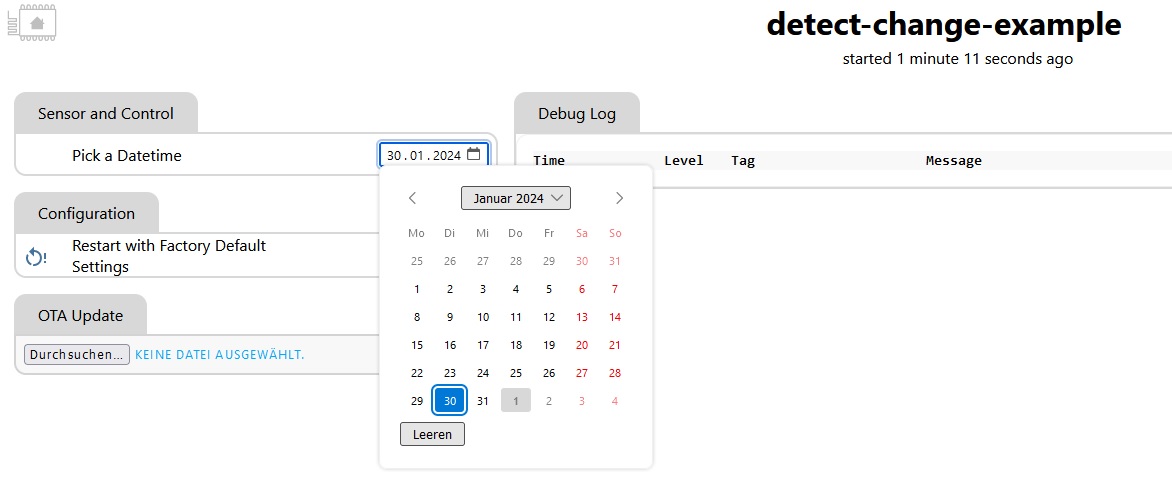
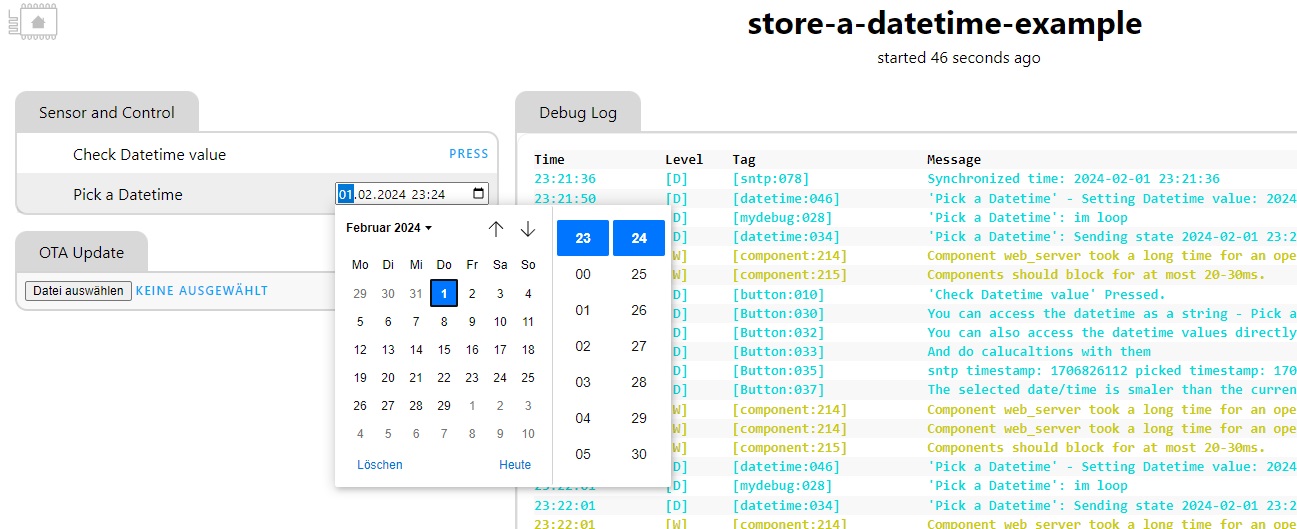
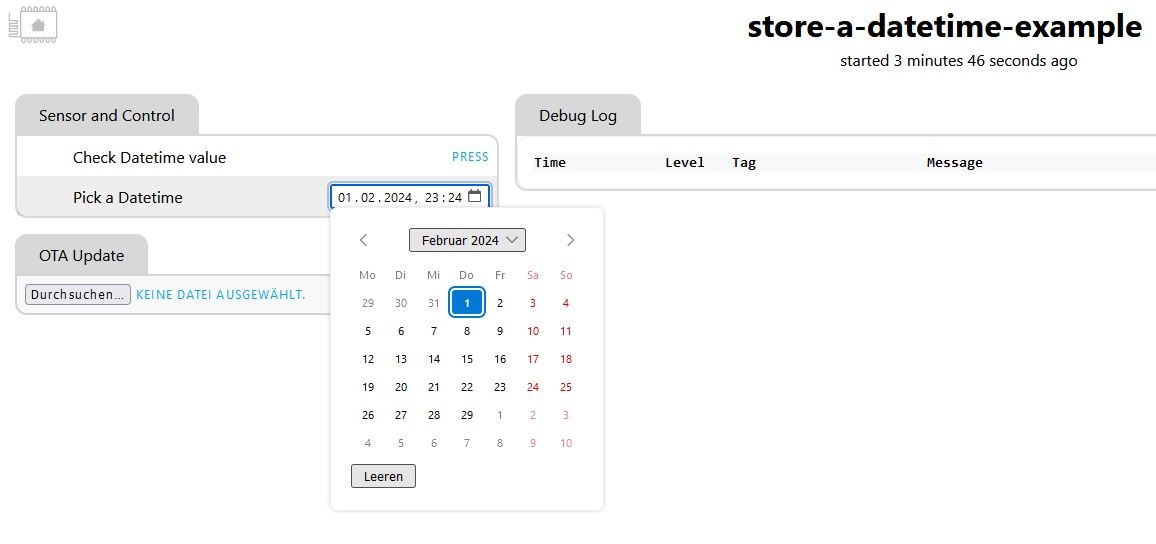
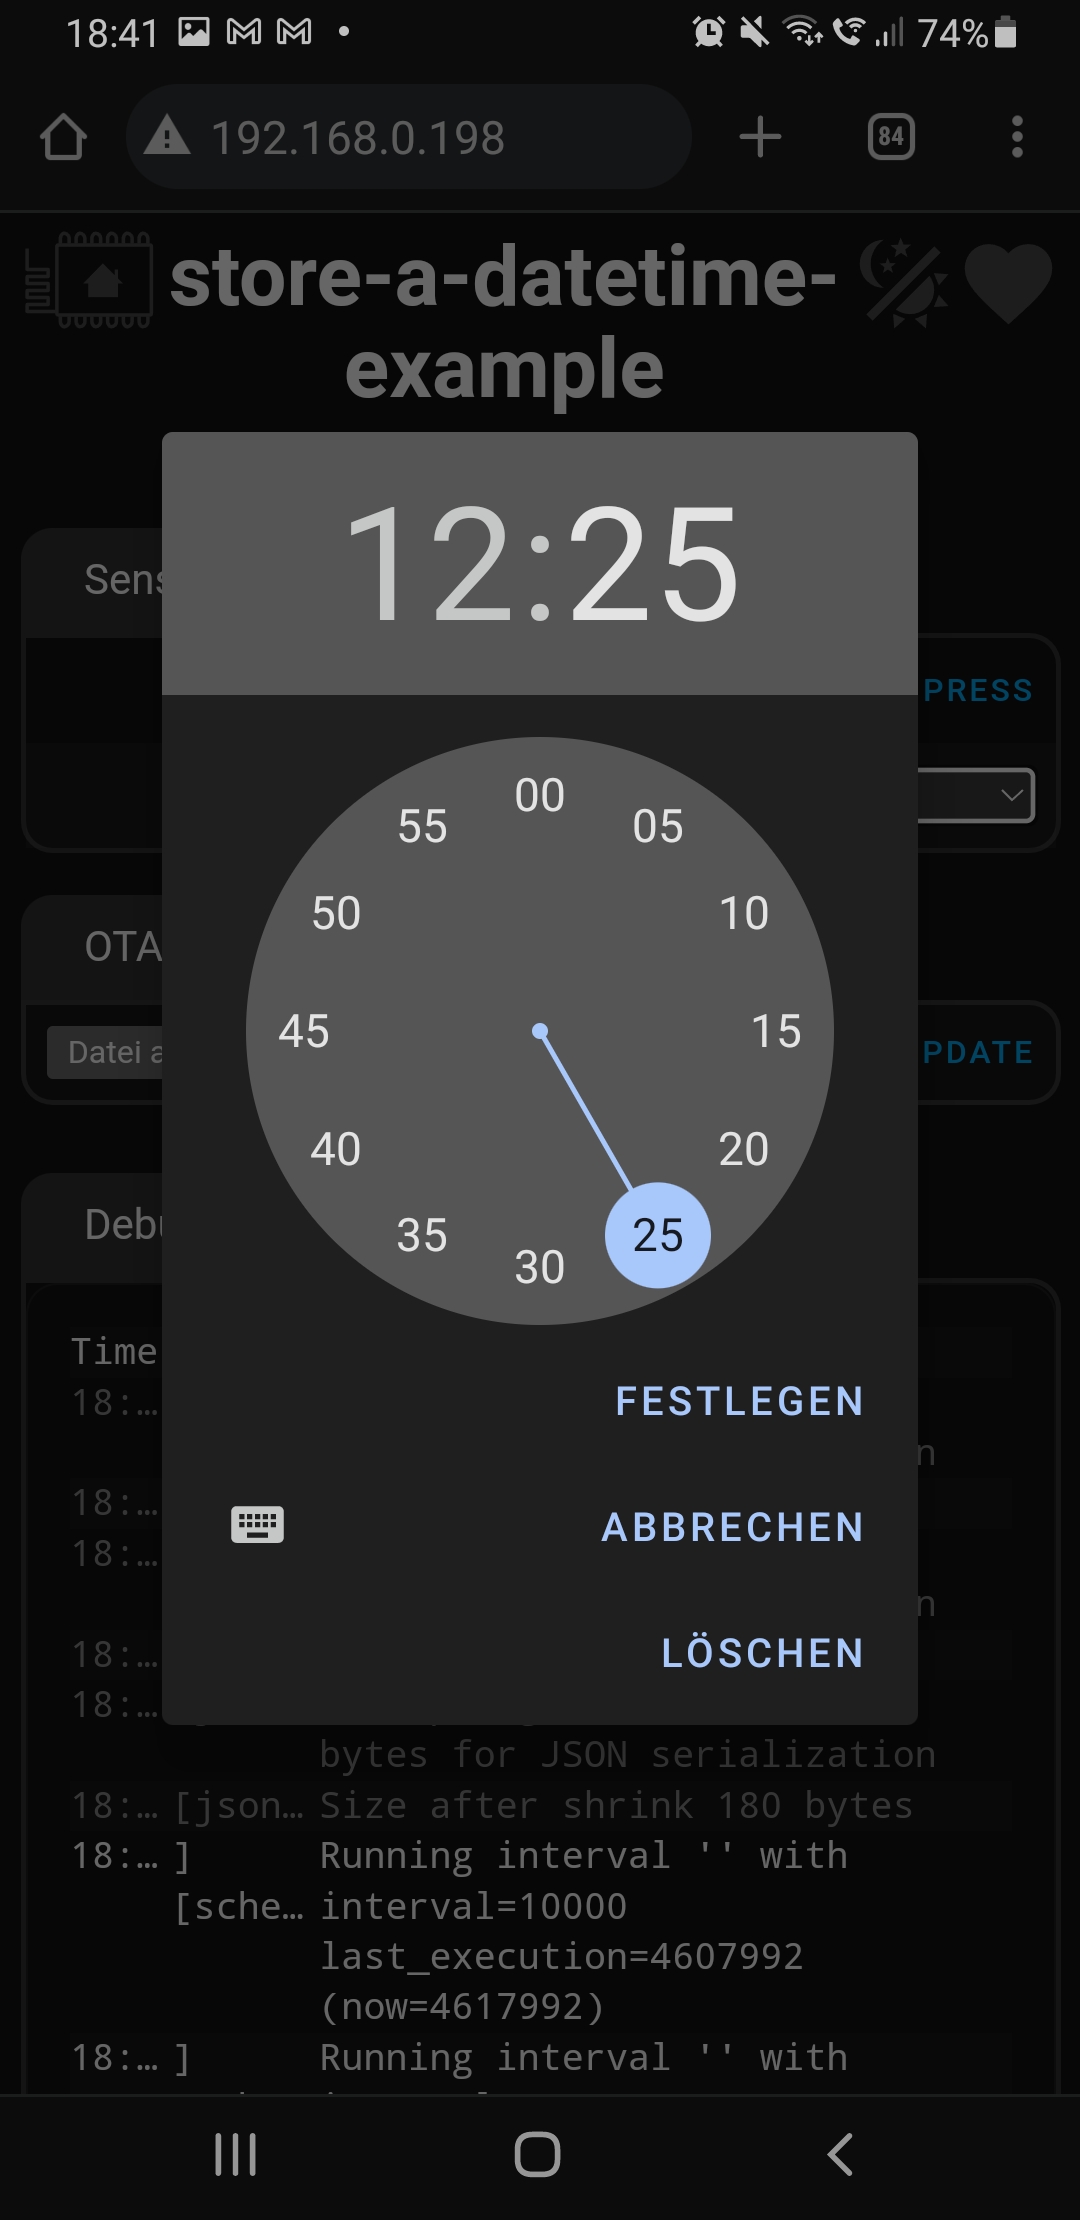
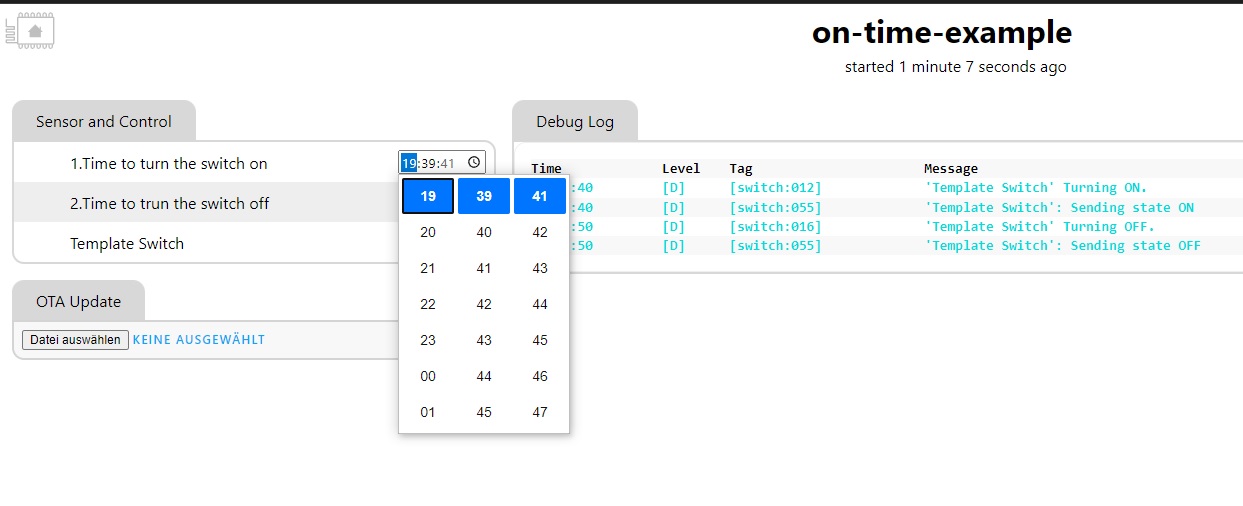
Adds a datime component to esphome. You will be able to pick a datetime, a date, or a time over the web_server frontend and Trigger automations based on the time provided by the user after compile time
This is the basic structure in the yaml config
datetime:
  - platform: template
    id: my_datetime
    name: Time to turn the switch on
    time_id: my_time
    optimistic: yes
    # valid formats are '%Y-%m-%d %H:%M:%S' - '%Y-%m-%d %H:%M' - '%H:%M:%S' - '%H:%M'
    initial_value: "16:45:20"
    on_time:
      - switch.turn_on:
          id: my_switch
time_id is needed if you provide an on_time automation. It can be any time component(sntp/ds1307/..)
time:
  - platform: sntp
    id: my_time
It is not part of esphome at this point in time and to be able to make it work some core files of esphope had to be changed. So if you want to try it out you would need to build a custom version of esphome using this Github Fork of esphome rfdarter-add-input_datetime
You will also need a modified version of the esphome-web_server component, found here
rfdarter-esphome-webserver
Or simply use the build js file provided here in this repository
and place it in the same directory as your config.yaml and add this to your conif.yaml
web_server:
  js_include: "www.js"
  js_url: ""
Here is a way you could install it on a windows maschine using PowerShell Assuming you have Python and PIP installed
Step 1. Download the zip file of this repo and extract its content https://github.com/RFDarter/esphome/archive/refs/heads/add-datetime.zip
Step 2. Open a PowerShell and navigate to the downloaded folder
cd C:\Users\darter\Downloads\esphome-add-datetime\esphome-add-datetime
Step 3. Create a Virtual Environment
python3 -m venv .venv
Step 4 Activate it
Set-ExecutionPolicy -Scope Process -ExecutionPolicy Bypass
.venv\Scripts\activate
if it worked your promt should have changed to
(.venv) PS C:\Users\darter\Downloads\esphome-add-datetime>
Step 5 Install esphome on this virtual environment using the downloaded fork
pip install -r .\requirements.txt
pip install -e .
Step 6. Use esphome as normal
esphome run my_config.yaml
To use it again after you closed the PowerShell just redo Step 4


add api support