Note: This Poc is done on Windows10 . Before doing git pull do the following necessary steps first.
Download Vagrant.
Download Vagrant Redhat Box
Download Oracle virtualbox
Install Vagrant and Virtual Box Restart Your system after Installation
Add Vagrant Box in your system Go to download directory where you have downloaded box run following command as below
vagrant box add --name minikubepoc puppet_rhel7.box
==> box: Box file was not detected as metadata. Adding it directly...
==> box: Adding box 'minikubepoc' (v0) for provider:
    box: Unpacking necessary files from: file://C:/D_DRIVE/BOX/puppet_rhel7.box
    box:
==> box: Successfully added box 'minikubepoc' (v0) for 'virtualbox'!
Check the box list to confirm
$ vagrant box list
minikubepoc (virtualbox, 0)
Now take clone of this repository at your working directory
git clone https://github.com/avinashsi/nginx_ingress.git
Now browse to the repo folder cd nginx_ingress and run following command
vagrant up
Vagrant will startup a VM in your local workstation with the image you have imported and start up the MiniKube inside it by using the bootstrap script -bootstrap.sh as mentioned in the Vagrantfile and application_provision.sh will provision kubernetes pods and services. Just do the following step to access your application from browser.
C:\Windows\System32\drivers\etc\hosts
Add the following line at the end of the file and save it
192.168.111.40    mkube.test.com
The ip and hostname one above was defined in Vagrantfile through which this instance was created. Go to the browser on your system and type in the following url to access the application.
http://mkube.test.com It gets redirected to - > https://mkube.test.com
Note: Please go and grab some coffee at this steps it will take some time at least 15-20 minutes to show Hello World on browser. I have added the log kube.log as reference.
Vagrant provisions the box through following script defined below.
mkube.vm.provision "shell" , path: "bootstrap.sh"
Vagrant also syncs up the local file folder which came up as the clone in your vm
mkube.vm.synced_folder "files", "/home/vagrant/files"
Vagrant also creates pods by running following script
mkube.vm.provision "shell" , path: "application_provision.sh"
Hello world application gets triggered by application_provision.sh by command defined in the shell files
kubectl create -f /home/vagrant/files/helloworld/helloworld.yaml
You can check the application status by running the following command.
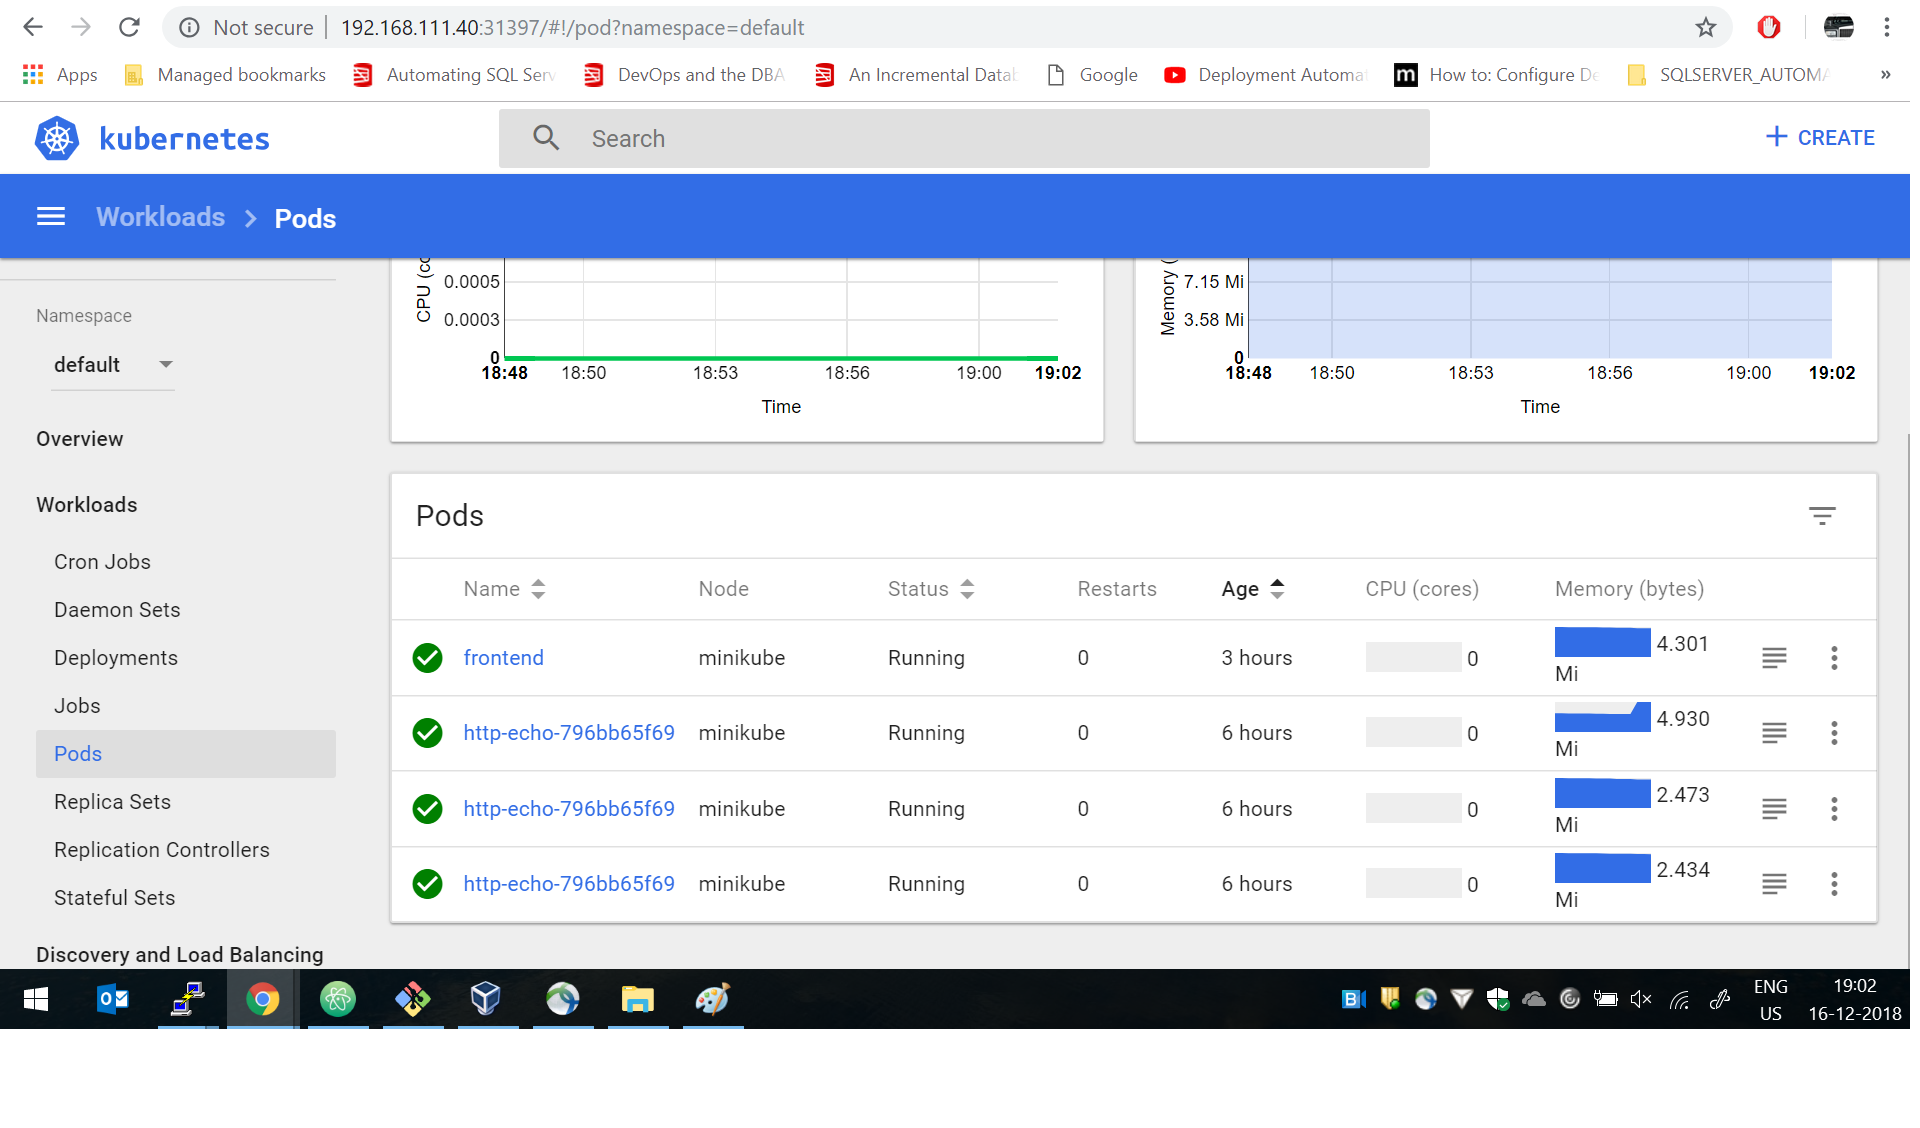
[root@mkube vagrant]# kubectl get pods -o wide
NAME                         READY   STATUS    RESTARTS   AGE   IP            NODE
http-echo-796bb65f69-4528c   0/1     Running   0          5h    172.17.0.9    minikube
http-echo-796bb65f69-6p5vm   0/1     Running   0          5h    172.17.0.10   minikube
http-echo-796bb65f69-6pmj4   0/1     Running   0          5h    172.17.0.8    minikube
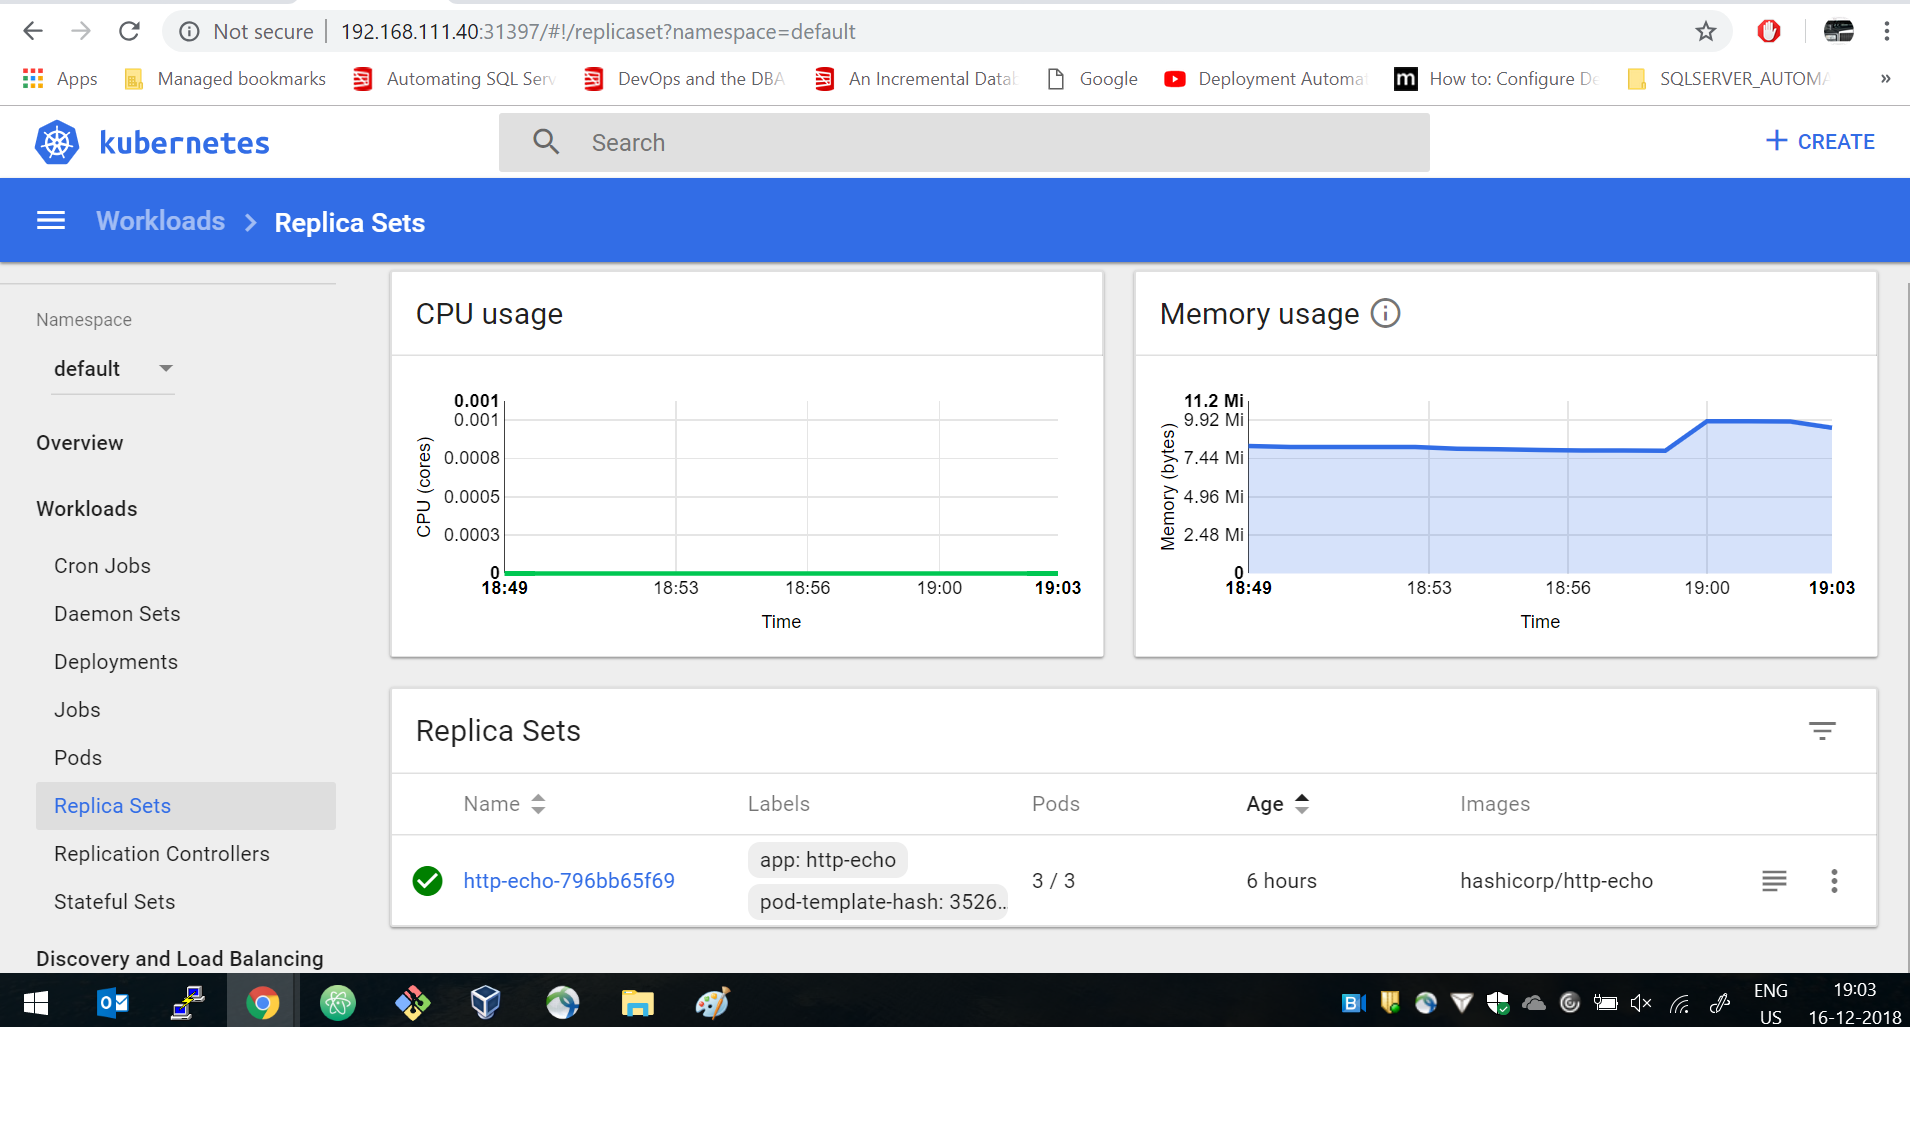
As you can see we have 3 instances of the helloworld pods running in as we defined 3 replicas in following file
spec:
  replicas: 3
But status shows
0/1
This means the pods is up but not ready to accept connections this is because of the following configuration
readinessProbe:
  tcpSocket:
    port: 5678
  initialDelaySeconds: 250
  periodSeconds: 10
Wait for 250 seconds the pod will be up and ready and to accept connection.
Running the get pods command again
[root@mkube vagrant]# kubectl get pods -o wide
NAME                         READY   STATUS    RESTARTS   AGE   IP            NODE
http-echo-5744bdbf87-5cm5f   1/1     Running   0          16m   172.17.0.10   minikube
http-echo-5744bdbf87-nfm87   1/1     Running   0          16m   172.17.0.9    minikube
http-echo-5744bdbf87-st8xw   1/1     Running   0          16m   172.17.0.8    minikube
Now helloworld application is up.
Now lets map a frontend Nginx in front of it.
We will compile the Docker file to build Docker Image. But for this case we have already pushed the image to docker repository so need to the following step. It is Just for reference.
Login in machine and run the following command to build docker image
cd /vagrant/files/Nginx_Dockerfile
docker build -t avinashsi/nginx:V1.2 .
docker push avinashsi/nginx:V1.2
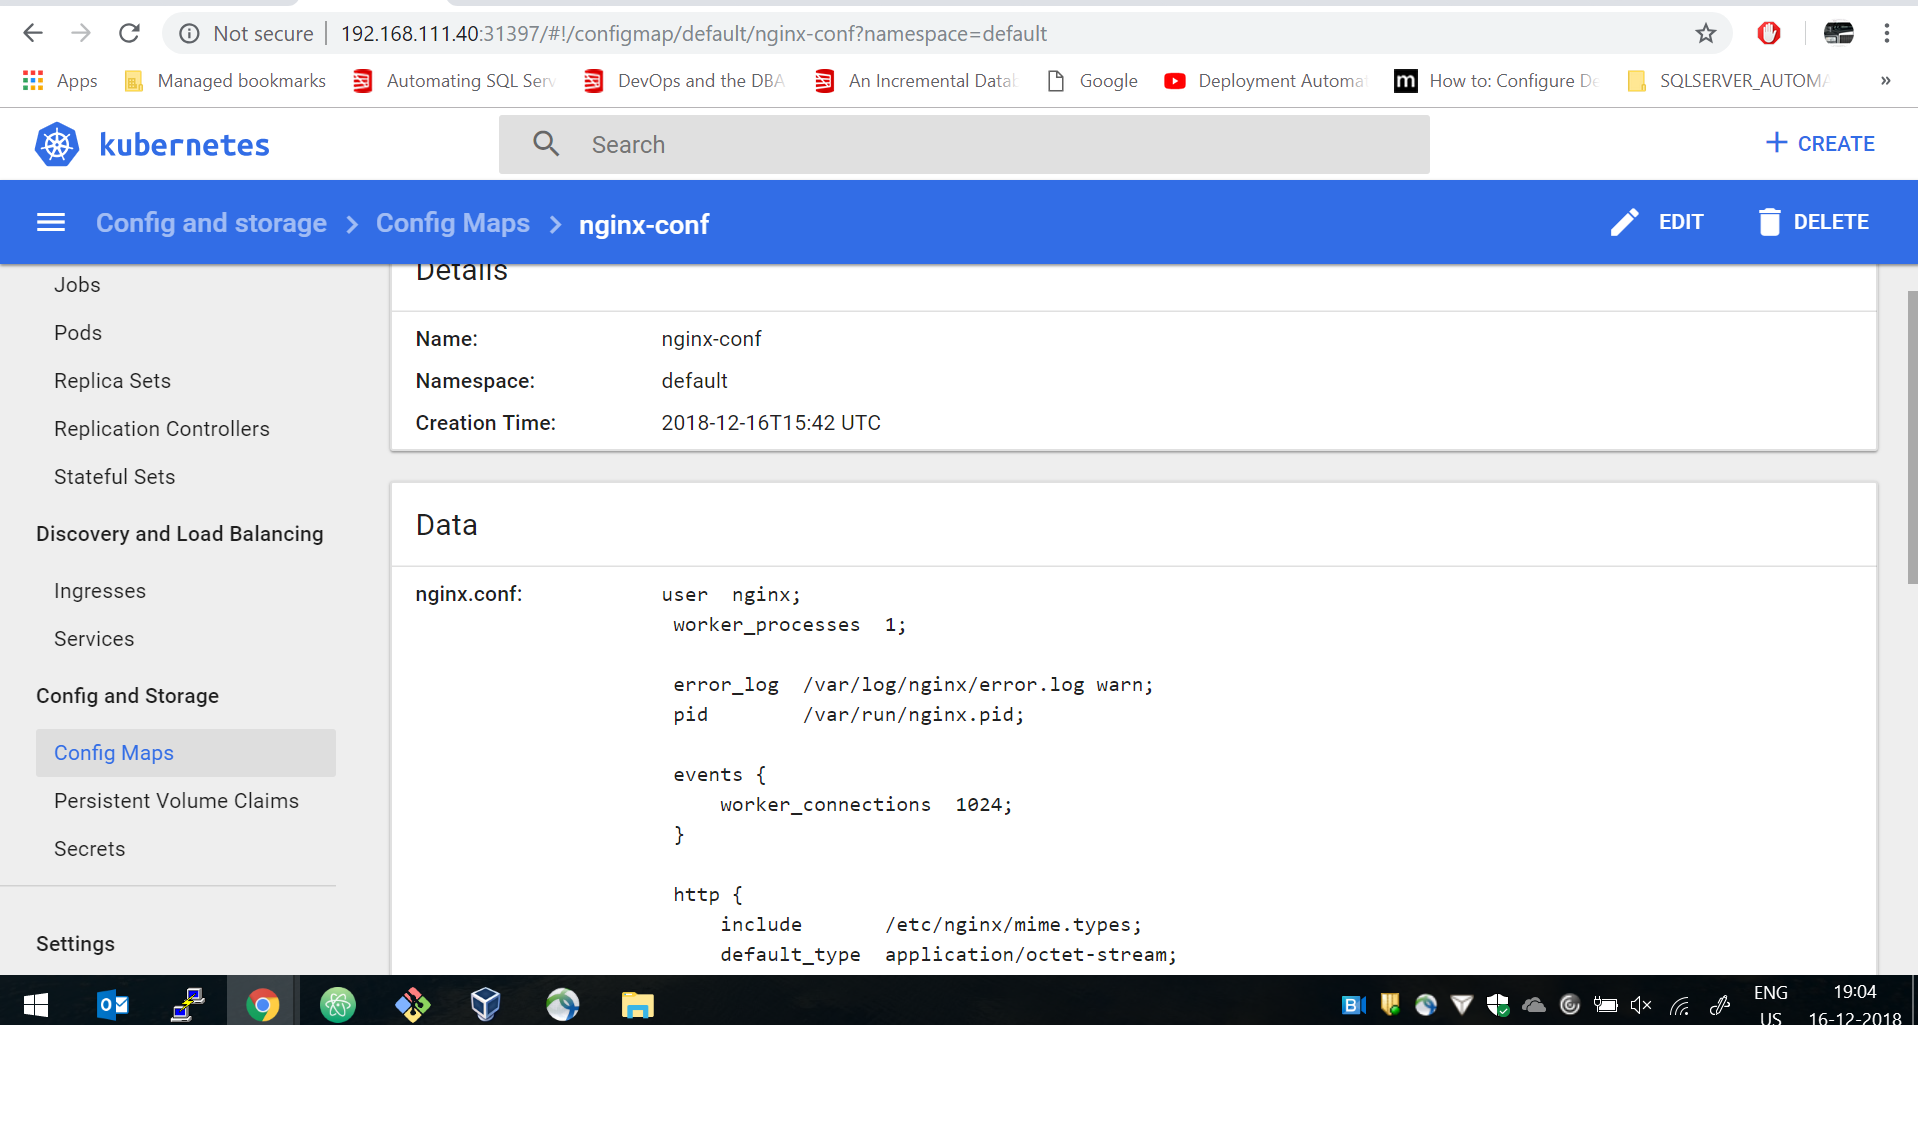
Now you are good to go lets configure the Nginx configuration using ConfigMap as shown.
apiVersion: v1
kind: ConfigMap
metadata:
  name: nginx-conf
data:
  nginx.conf: |-
   user  nginx;
    worker_processes  1;

    error_log  /var/log/nginx/error.log warn;
    pid        /var/run/nginx.pid;

    events {
        worker_connections  1024;
    }

    http {
        include       /etc/nginx/mime.types;
        default_type  application/octet-stream;

        sendfile        on;
        keepalive_timeout  65;


        server {
            listen 443 ssl;

            ssl on;
            ssl_certificate         /etc/nginx/ssl/server.crt;
            ssl_certificate_key     /etc/nginx/ssl/server.key;
            location / {
                proxy_pass         http://hello-service:8080/;
                proxy_redirect     off;
                  }
                }
         }
Terminating the ssl connection in configuration. Mapping the following path '/' to hello-service which is mapped to helloworld pod.
Now create the nginx ConfigMap and nginx Pod which will use this ConfigMap.
kubectl create -f /home/vagrant/files/nginx_config.yaml
kubectl create -f /home/vagrant/files/nginx.yaml
Note: These will be automatically created with application_provision.sh at the machine boot up so no need to run them.
Check the pods status
[root@mkube vagrant]# kubectl get pods -o wide
NAME                         READY   STATUS    RESTARTS   AGE   IP            NODE
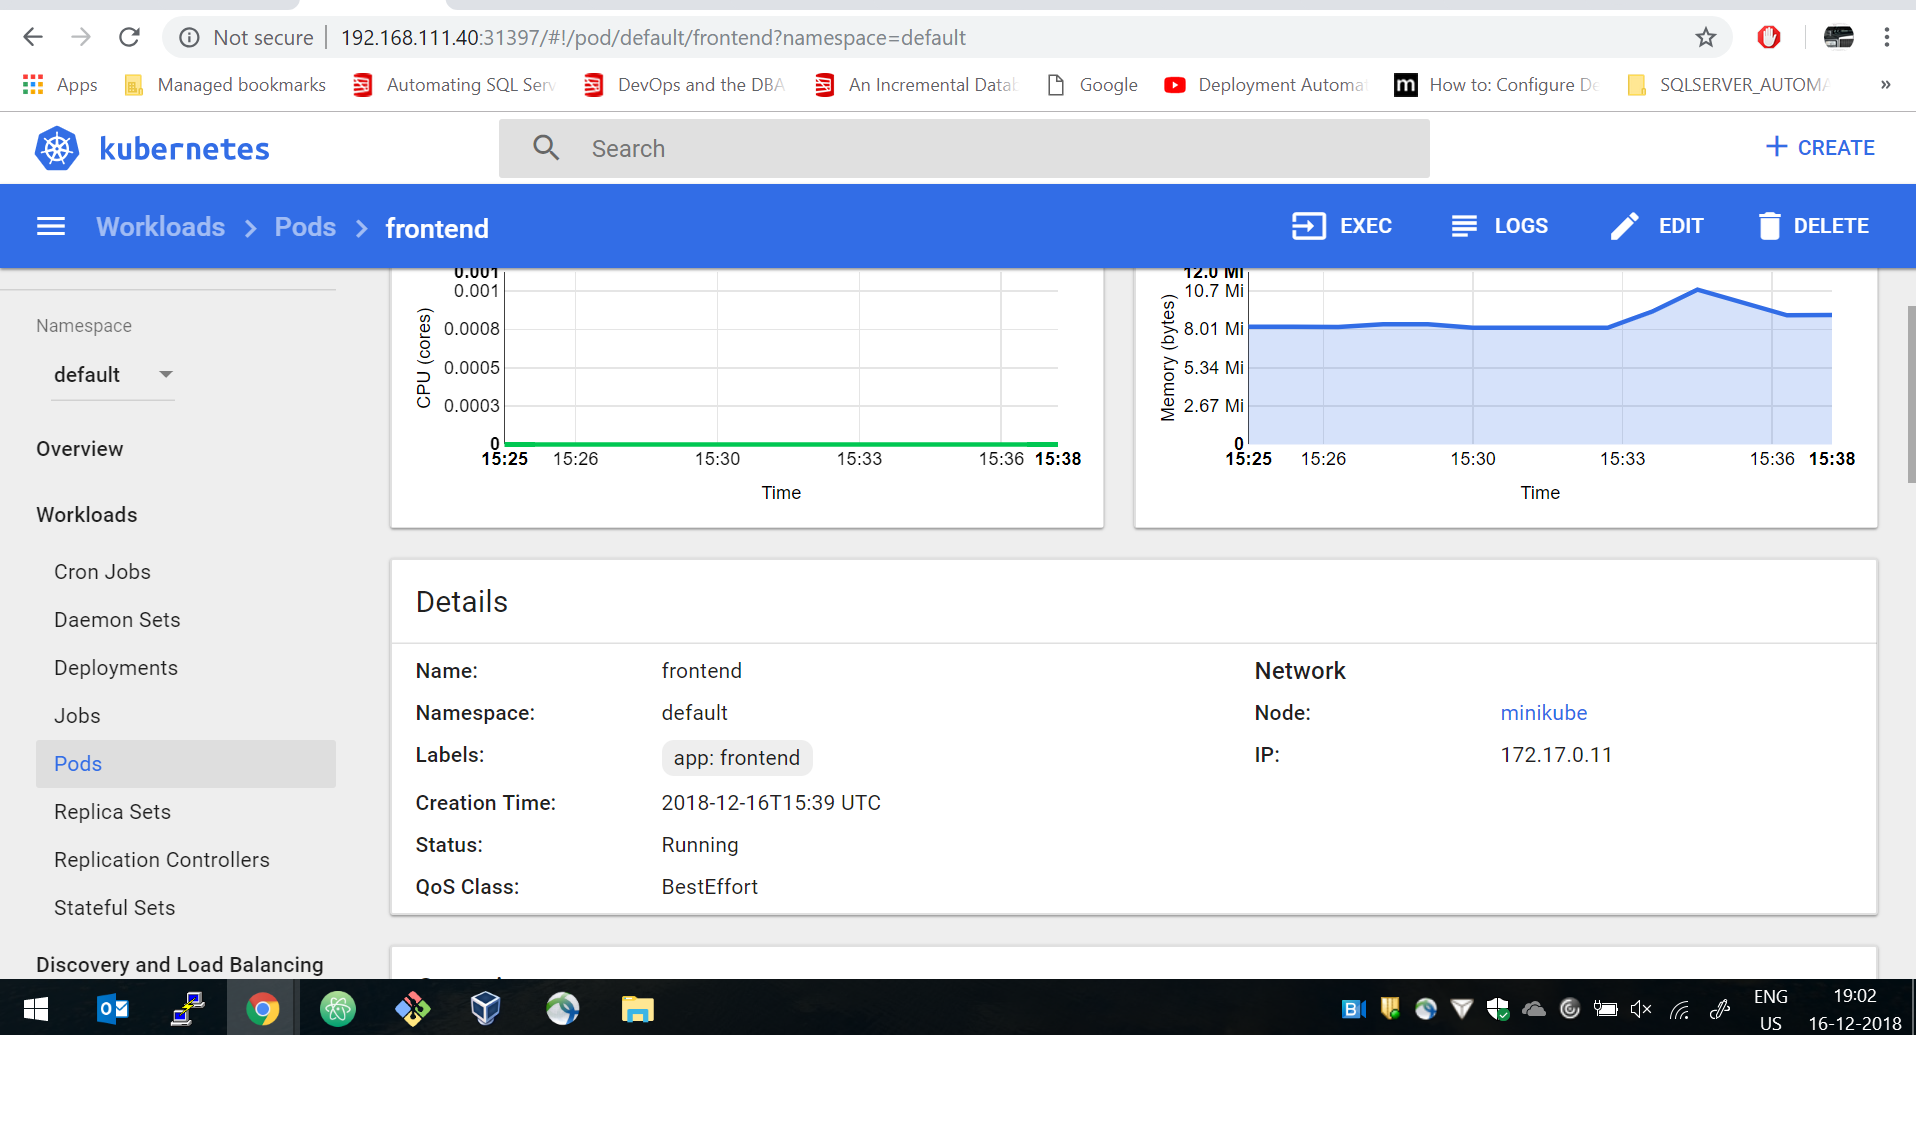
frontend                     0/1     Running   0          16m   172.17.0.11   minikube
http-echo-5744bdbf87-5cm5f   1/1     Running   0          16m   172.17.0.10   minikube
http-echo-5744bdbf87-nfm87   1/1     Running   0          16m   172.17.0.9    minikube
http-echo-5744bdbf87-st8xw   1/1     Running   0          16m   172.17.0.8    minikube
This one also may take time to come up because of readinessProbe defined in /vagrant/files/nginx/nginx.yaml file.
Now we need to expose this via url to outside world which requires in Kubernetes. Since we are running Minikube version of Kubernetes so we neeed to enable this feature. By default it's disabled.
It has already been taken care in bootstrap.sh script
minikube addons enable ingress
Now once the ingress has been enabled we need to run nginx_ingress which will map the the traffic to domain name for outer world to communicate with our application.
apiVersion: extensions/v1beta1
kind: Ingress
metadata:
  name: hello-world-ingress
  annotations:
    kubernetes.io/ingress.class: "nginx"
    nginx.ingress.kubernetes.io/ssl-passthrough: "true"
    nginx.ingress.kubernetes.io/force-ssl-redirect: "true"
spec:
  tls:
    - hosts:
      - mkube.test.com
      secretName: tls-certificate
  rules:
  - host: mkube.test.com
    http:
      paths:
      - path: /
        backend:
          serviceName: frontend
          servicePort: 443
Note: The application_provision.sh file will fire up this ingress controller. So no need to run this. Check the details of ingress by running the following commad.
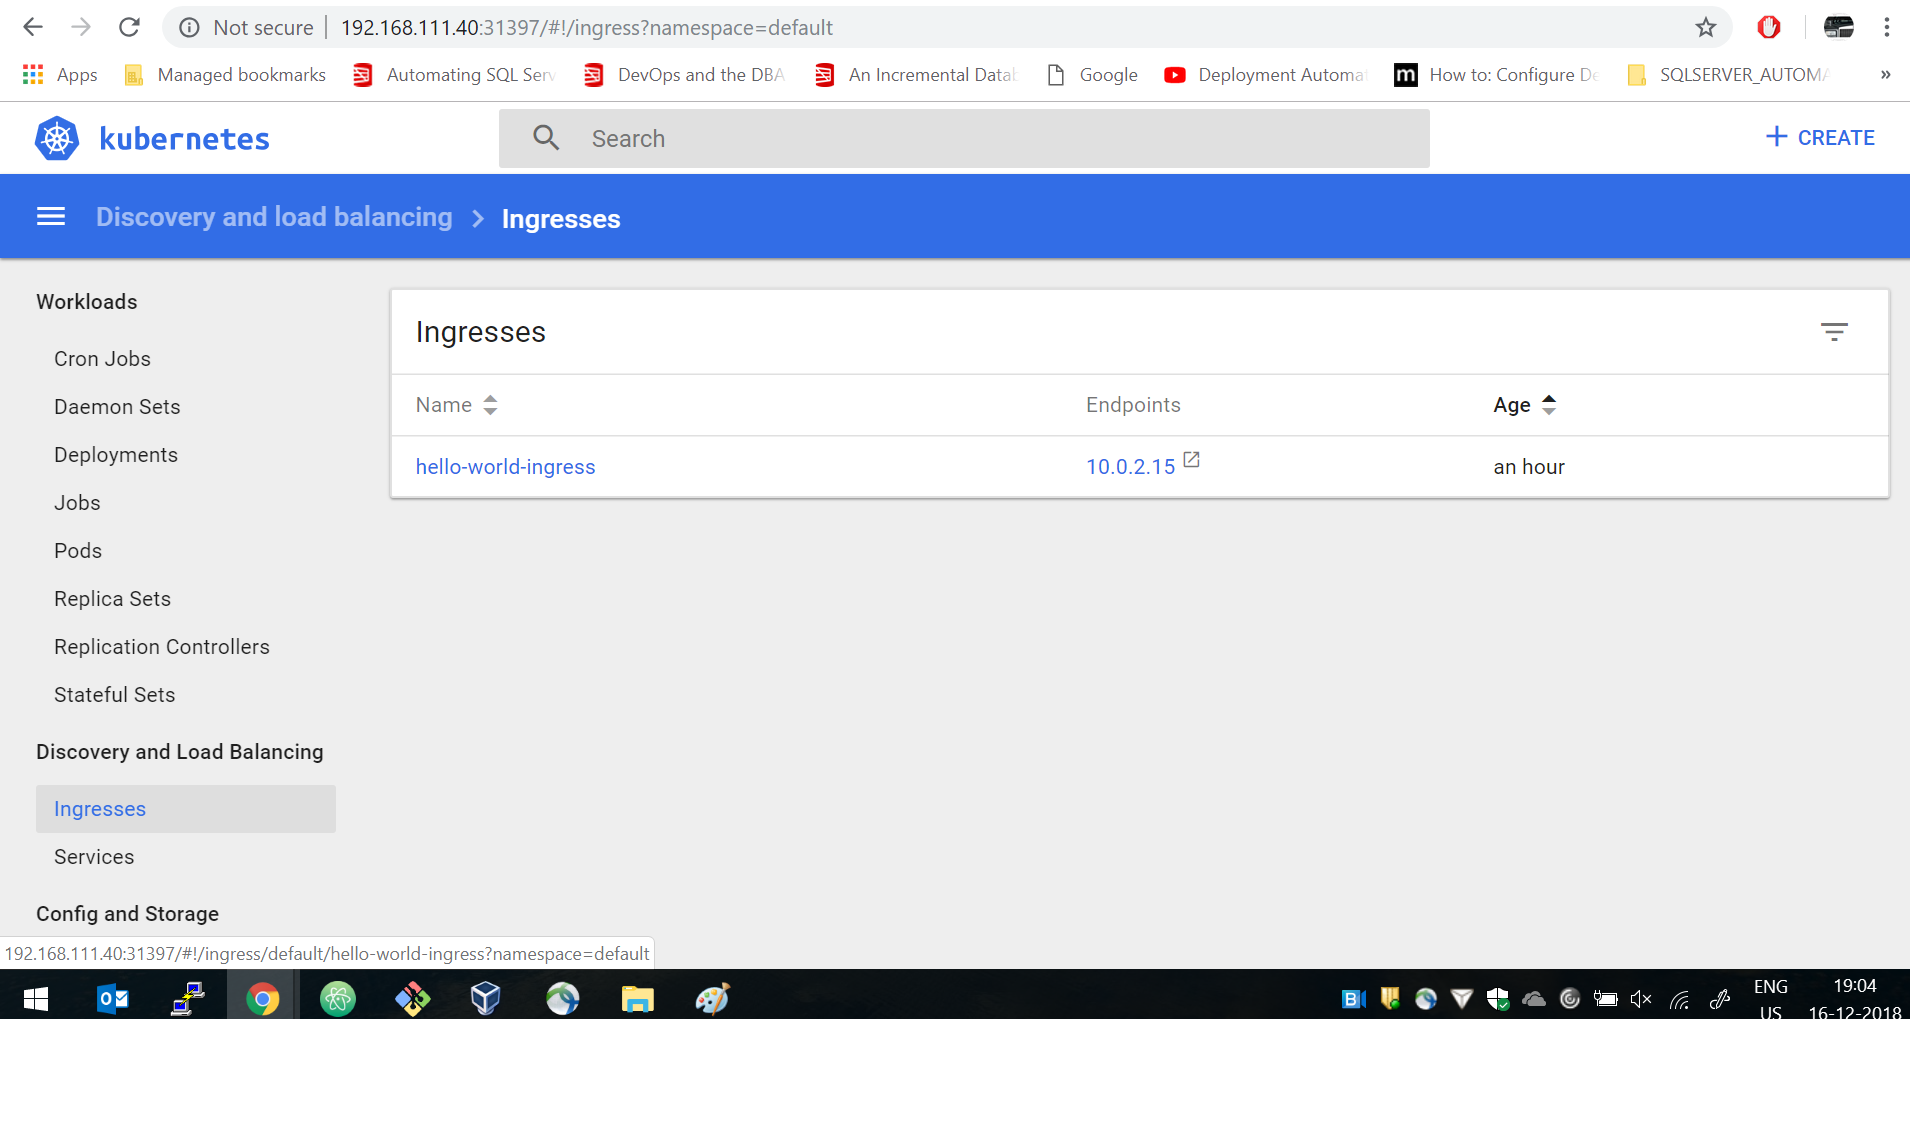
[root@mkube nginx]# kubectl get ingress -o wide
NAME                  HOSTS            ADDRESS     PORTS     AGE
hello-world-ingress   mkube.test.com   10.0.2.15   80, 443   59m
[root@mkube nginx]#
Before going to the browser we have to edit the hosts file in our local system. Since I am running a Windows10 System the path of hosts file is as follows.
C:\Windows\System32\drivers\etc\hosts
Add the following line at the end of the file and save it
192.168.111.40    mkube.test.com
The ip and hostname one above was defined in Vagrantfile through which this instance was created. Go to the browser on your system and type in the following url to access the application.
http://mkube.test.com It gets redirected to - > https://mkube.test.com

