A MVVM Swift XCode Template to use as a starting point for an iOS apps.
From building a prototype, development app, to a full blown production app, MVVM-AC was developed with a goal to improve development time faster, streamline development, reduce development, and ensure the long term flexibility of the project from prototype to production. Easy to use for junior or senior iOS Developer
Over the years developing, my approach to the development has drastically changed, but one thing hasn't, the project lead always needs to be aware of the architecture, configure the environment as such, and ensure the application's architecture can evolve over time.
MVVM-AC provides a solid starting point for a new project by providing some up front environment configuration such as:
- Configured Project Scaffolding
- Default Frameworks, via Podfile
- Support Storyboard, Xib, or Fullcode Generator
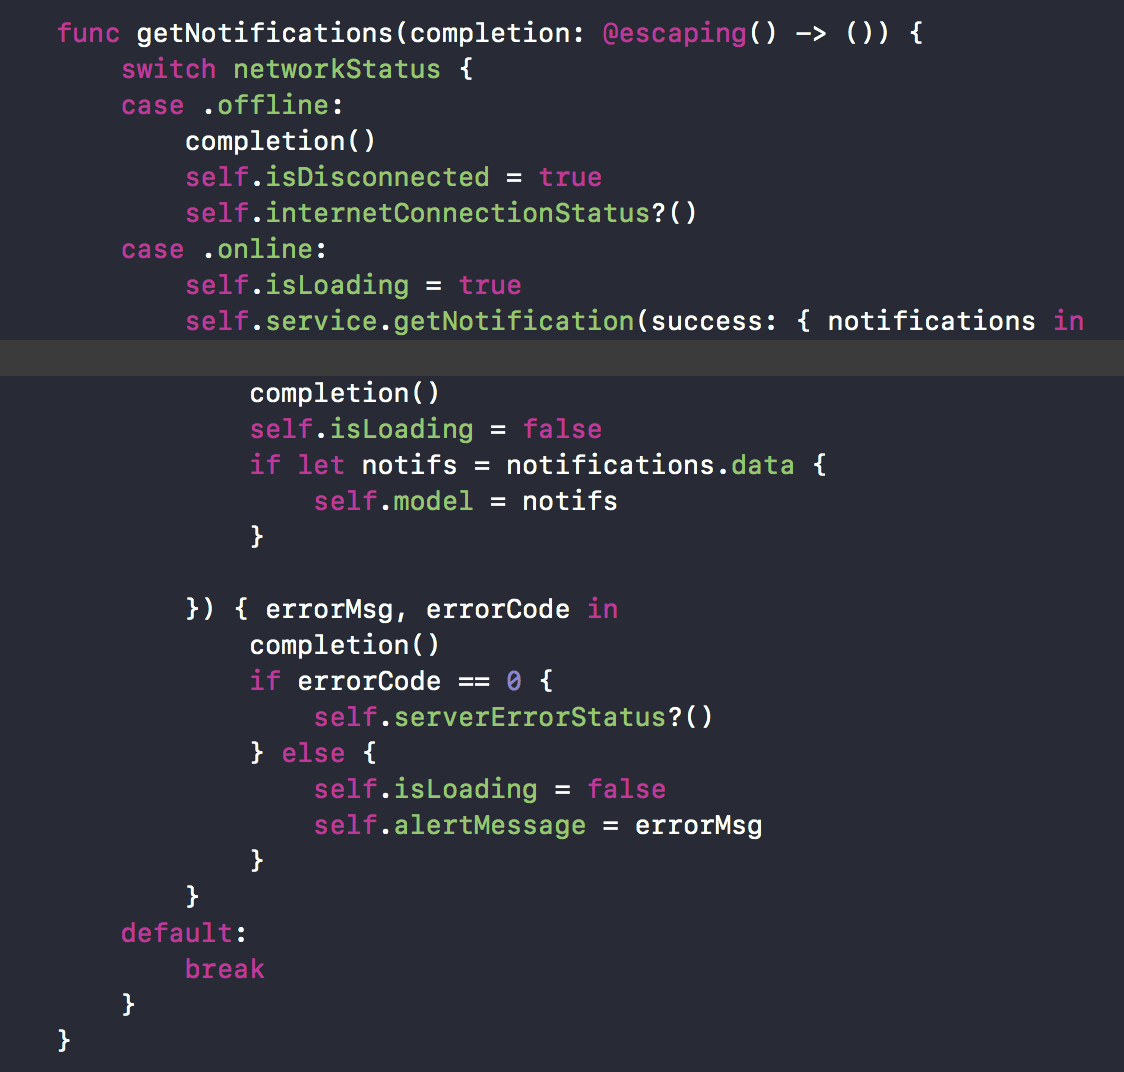
- Support internet checker, server error state, alert message, loading state
- More sample code
- On progress any update
MVVM-AC also makes it easy extend on the project structure by providing some file templates that the base layer making it easy to integrate into the architecture w/ some guided comments as needed.
- Auto Generate - ViewController.
- Auto Generate Services Layer - Networked & Standalone
- Auto Generate Model
- Auto Generate ViewModel
- Auto Generate Protocol
- Many more to come ...
- Clone the MVVM-AC Repository into your developer folder
- Copy MVVm-AC-Template Folder into
~/Library/Developer/Xcode/Templates/. - Required cocoapods libs
Alamofireas default
Clone the MVVM-AC Repository & run:
sudo swift install.swift- APIManager : https://gist.github.com/balitax/feae361311ace824f691341aa3244394
- Reach : https://gist.github.com/balitax/cb5c6ddbe1ab47dabb578c0a9ae0033a
Xcode should now contain the MVVM-AC template in as a default when creating a new project for iOS.
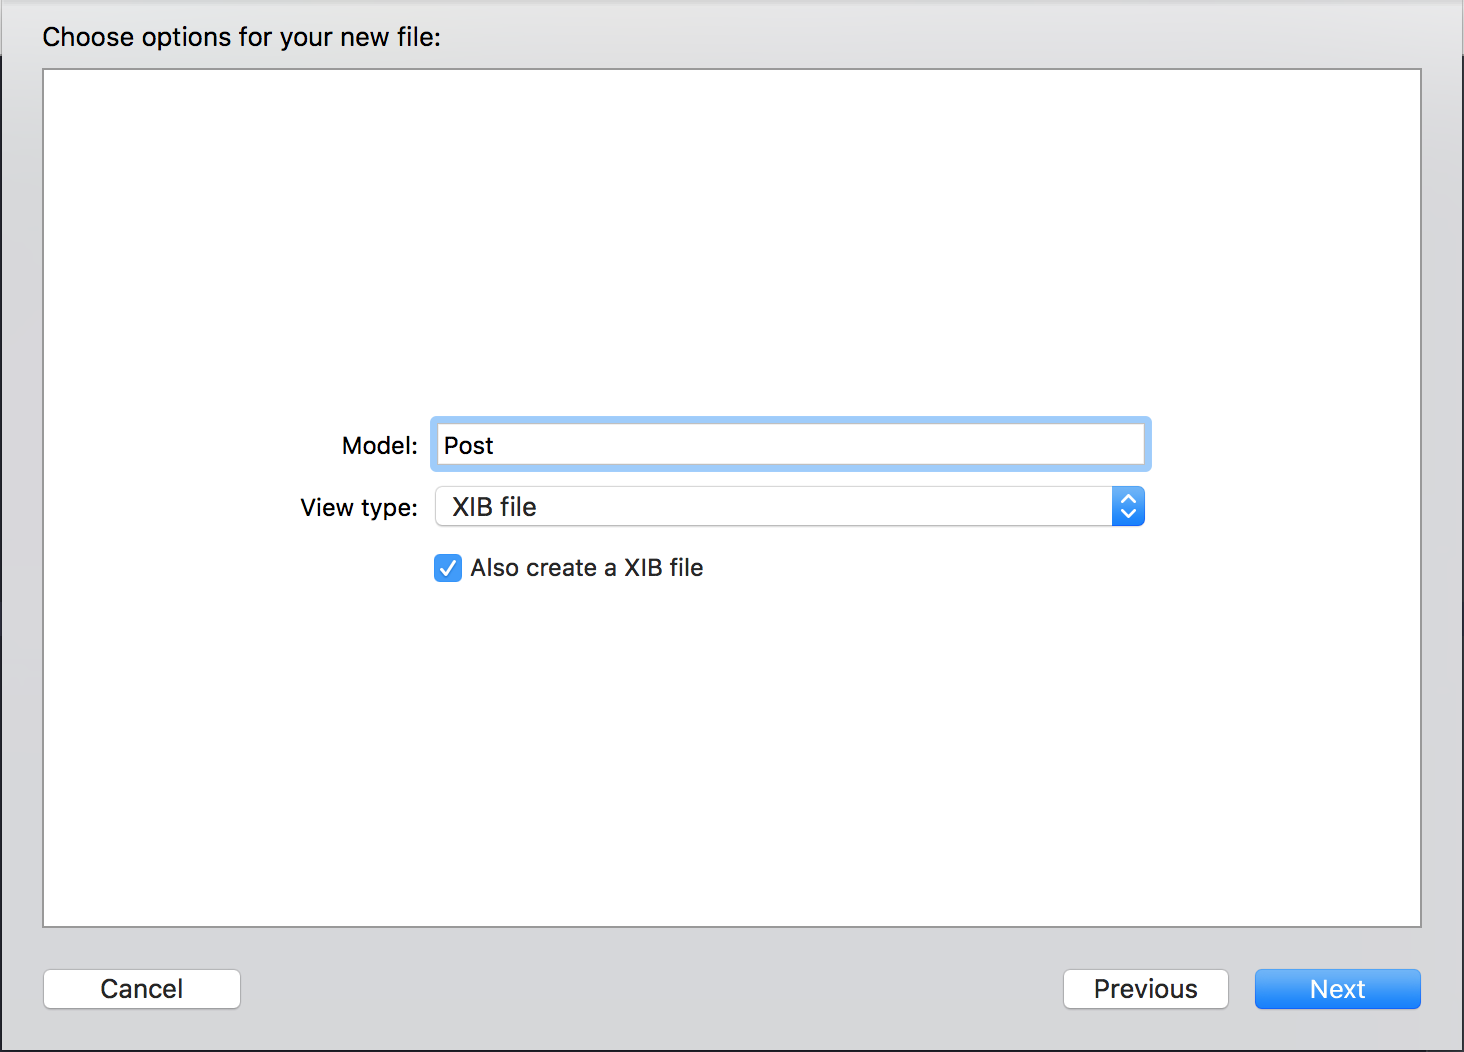
It's as simple as selecting the MVVM-AC template, and following the usual process in creating a new project. Once created,
the project will ask to input Model name and View Type (Storyboard, Xib File, or Fullcode) to
generate a pre-configured scaffolding as follows.
After the project has been created, the first step is to download, and install, the latest frameworks by navigating to the project's root directory, and running the following command:
// iOS
pod init or
pod install  `when you ready init pod library`
The last step to perform is to build (⌘B) the project in Xcode, with an expected failure on the first try, and a successful one on the next.


