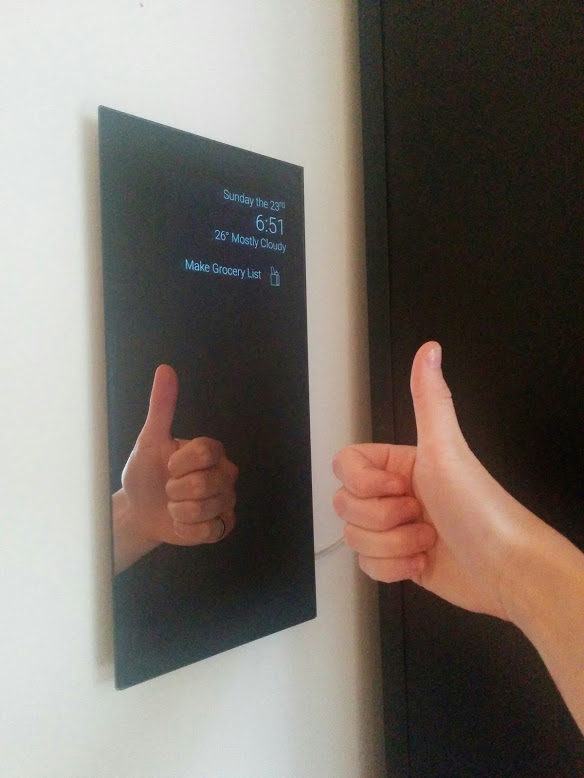
Android application powering the mirror in my house
- Day, time, and weather display
- Birthday messages
- Chore reminders
- Biking weather recommendation
- Stock price swings
- Today's new XKCD
APIs provided by Yahoo Finance, Forecast.io, and XKCD
- Clone project
- Get a forecast.io api key
- Add a keys.xml file with <string name="dark_sky_api_key">your_key</string>
- Import project to Android Studio and run
- Obtain Android device
We had too many. Sad old devices are ideal. I used a 2012 Nexus 7.
- Obtain two-way mirror
We did this the old-fashioned way, and quested to Canal Plastic Center. A beautiful and highly recommended establishment.
There are also two-way mirror acrylic sheets on the internet, though I can't vouch for them.
Get a mirror at least as large as your Android device.
- Sticky stuff for mounting
Our trickiest problem was figuring out how to mount everything with minimal damage and error. We eventually discovered reusable double-sided adhesive, which is amazing.
We're using it both to mount the mirror to the device, and the device to the wall.
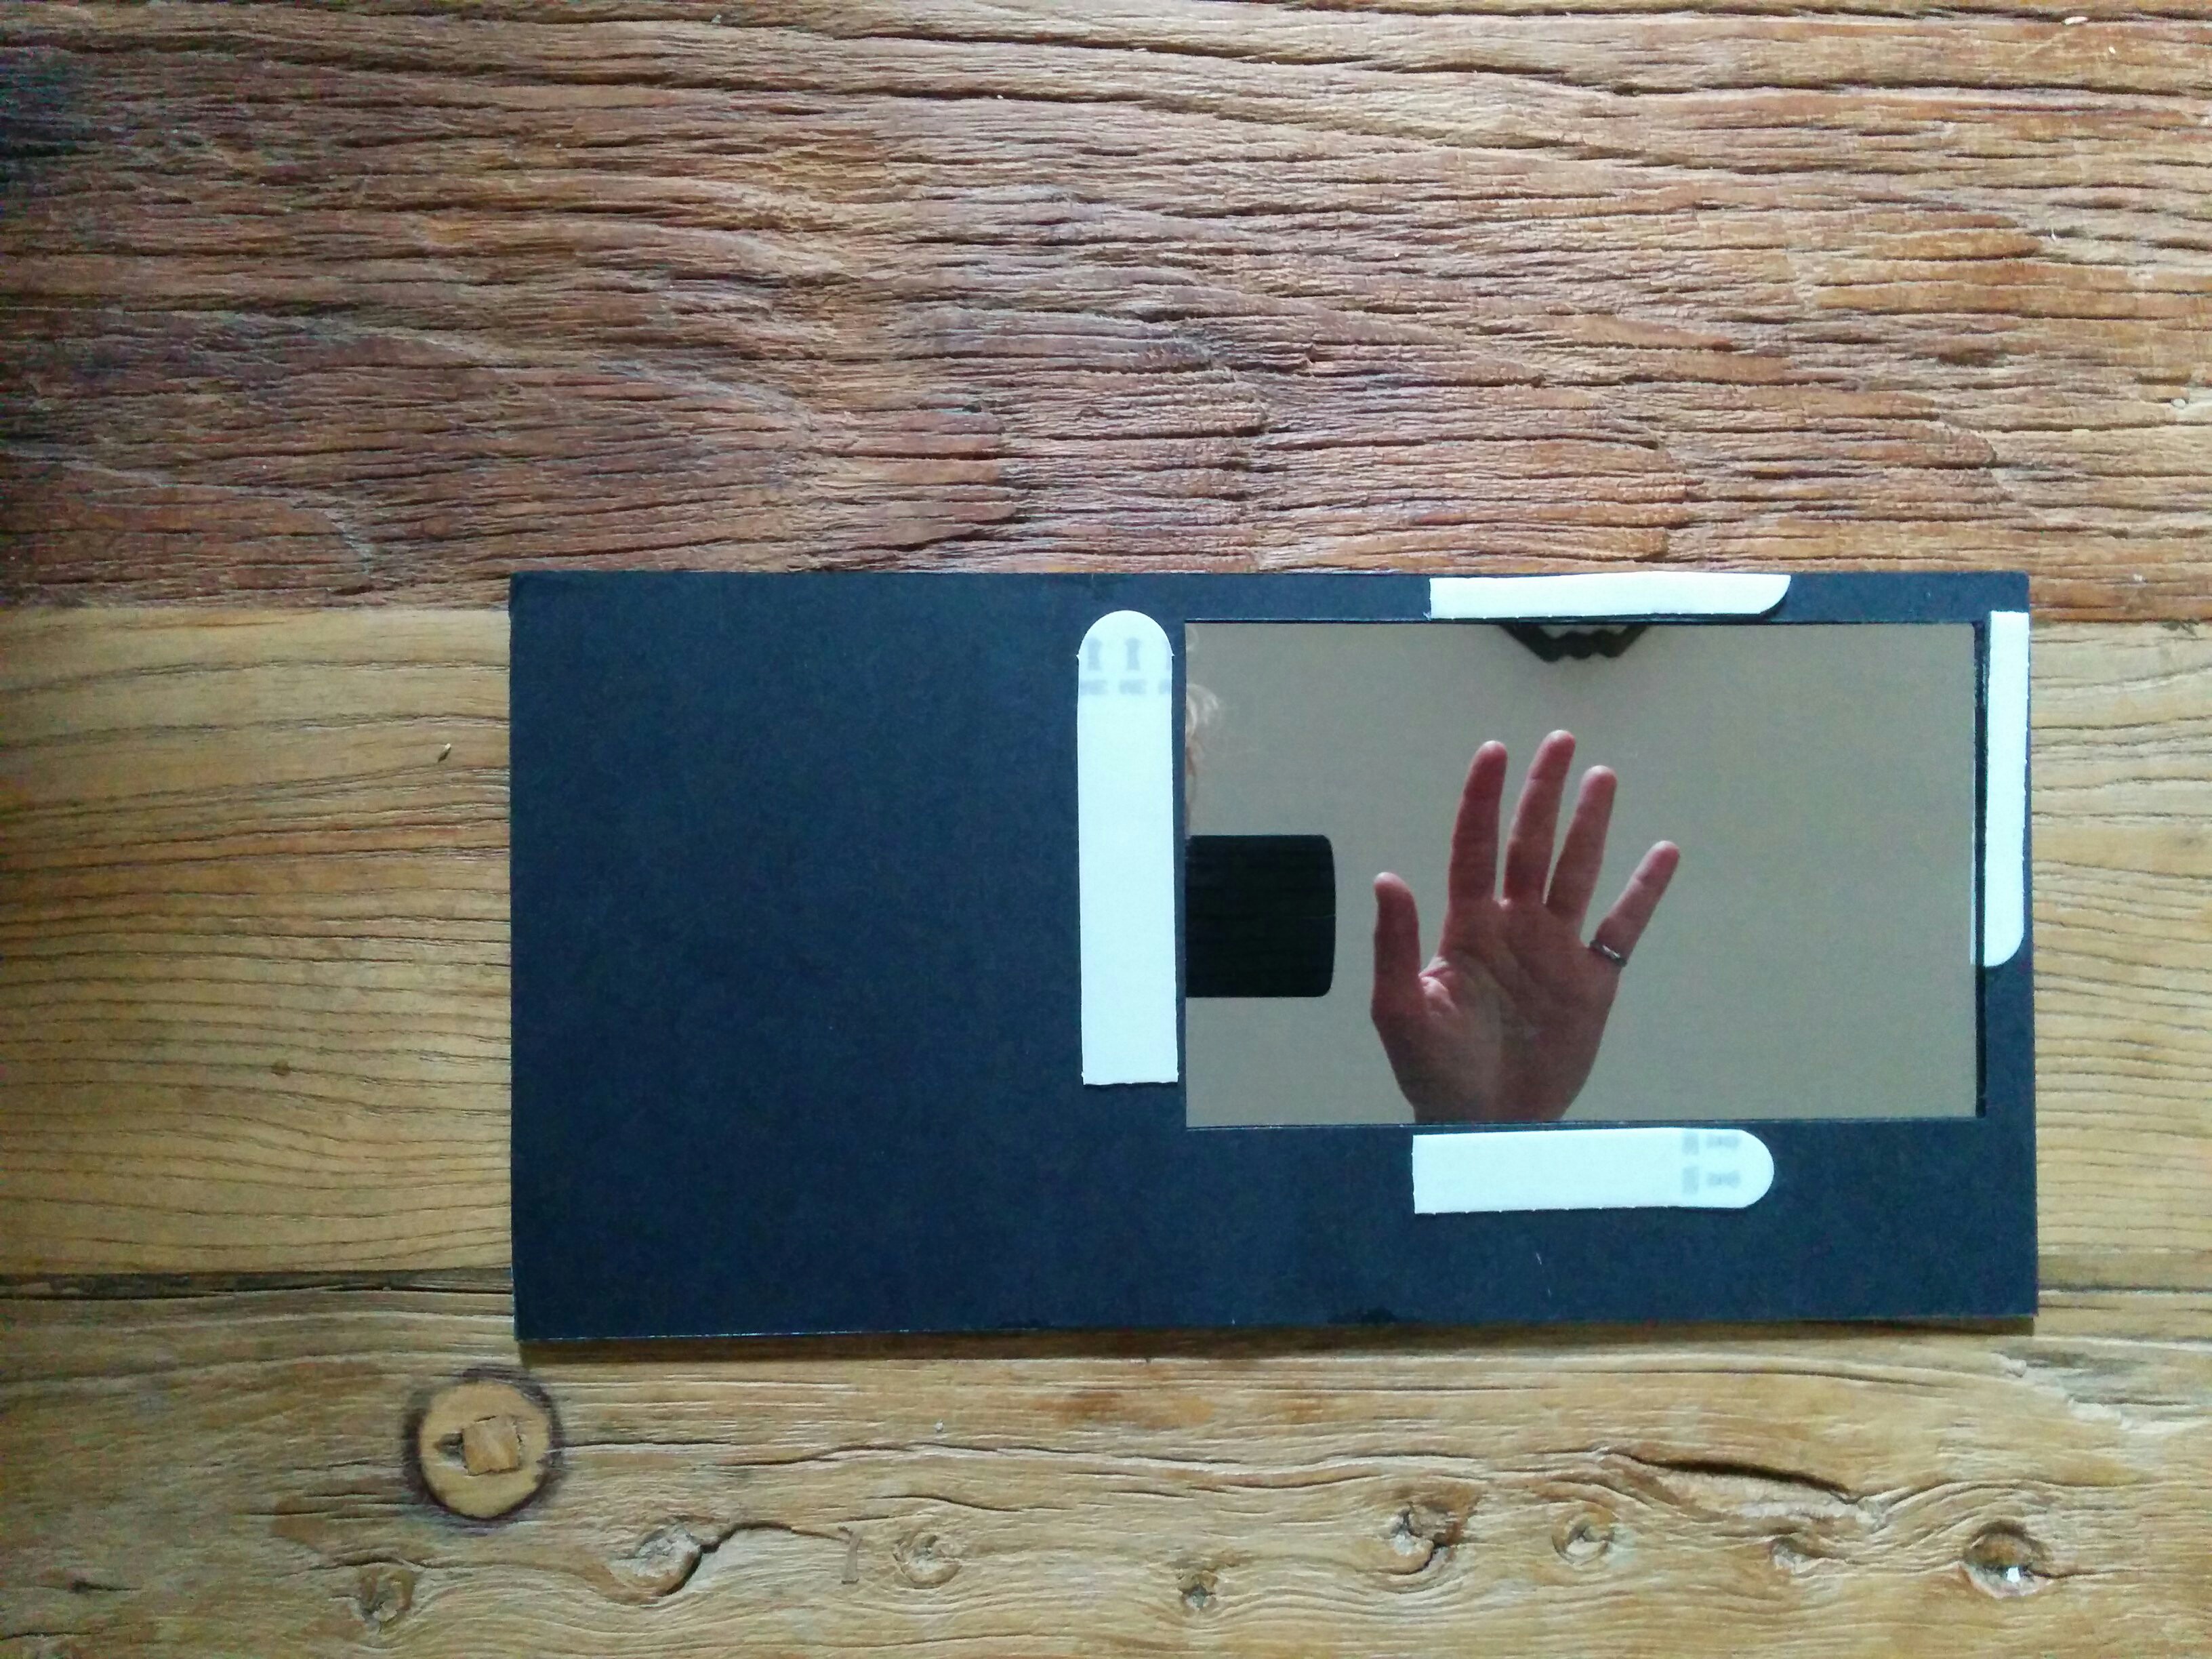
- Attach black backing
We used black construction paper. If your device and mirror are awesomely identical in size, you can skip this.
Note: You want to glue it well, so the backing doesn't tear when the adhesive is holding it.
- Cut a piece of black backing the same size as your mirror
- Decide where you want your device to show through. We did upper right. Leave a border all the way around for adhesive.
- At that location, carefully cut a hole in the backing the same size as your device
- CAREFULLY glue the backing to the mirror. We used spray adhesive, and practiced how we would pick it up and lay it on the mirror a couple times before going for it. We also wore black surgical gloves.
- Adhesion
Fire up the app on the device.
Put the adhesive along the bezel or edges of the device. Line up the mirror and stick it on there.
- Wall spot
You probably want a long usb cable. Find a wall spot where you can keep the device plugged in.
Put a bunch of adhesive on the back of the device, and stick it on there.


