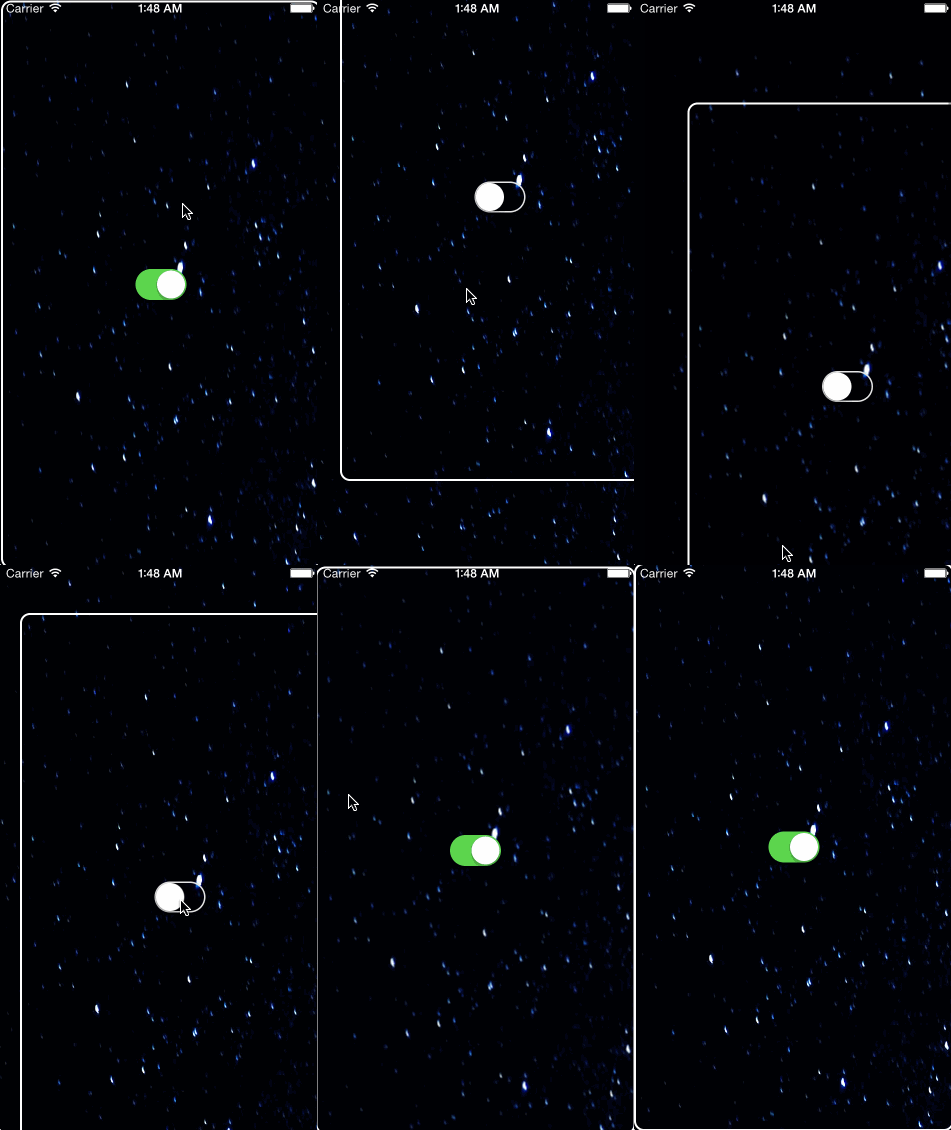
UIScrollView sublass with ability to restrict scrolling area.
In plain UIScrollView only contentSize can be changed, but not the origin of scrolling area. This simple and universal solution allows to restrict scrolling area with CGRect.
For objective-c projects you can use version 1.1.0.
You can setup EARestrictedScrollView using Carthage, CocoaPods, Swift Package Manager or completely manually.
-
Add EARestrictedScrollView to your project's
Cartfile:github "ealeksandrov/EARestrictedScrollView"
-
Run
carthage updatein your project directory. -
On your application targets’ “General” settings tab, in the “Linked Frameworks and Libraries” section, drag and drop EARestrictedScrollView.framework from the
Carthage/Build/iOS/folder on disk. -
On your application targets’ “Build Phases” settings tab, click the “+” icon and choose “New Run Script Phase”. Create a Run Script with the following contents:
/usr/local/bin/carthage copy-frameworks
and add the path to the framework under “Input Files”:
$(SRCROOT)/Carthage/Build/iOS/EARestrictedScrollView.framework
-
Add EARestrictedScrollView to your project's
Podfile:pod 'EARestrictedScrollView', '~> 2.1.0'
-
Run
pod updateorpod installin your project directory.
- Add EARestrictedScrollView to your project’s ‘Swift Packages’ section or
Package.swift:
.package(url: "https://github.com/ealeksandrov/EARestrictedScrollView.git", from: "2.1.0")-
Clone EARestrictedScrollView from Github.
-
Copy and add
EARestrictedScrollViewheader and implementation to your project. -
You can now use EARestrictedScrollView by adding the following import:
import EARestrictedScrollView
Can be created from code as usual:
override func viewDidLoad() {
        super.viewDidLoad()

        restrictedScrollView = EARestrictedScrollView(frame: view.bounds)
        restrictedScrollView.alwaysBounceVertical = true
        restrictedScrollView.alwaysBounceHorizontal = true
        view.addSubview(restrictedScrollView)

        let imageView = UIImageView(image: UIImage(named: "milky-way"))
        restrictedScrollView.addSubview(imageView)
        restrictedScrollView.contentSize = imageView.frame.size
    }
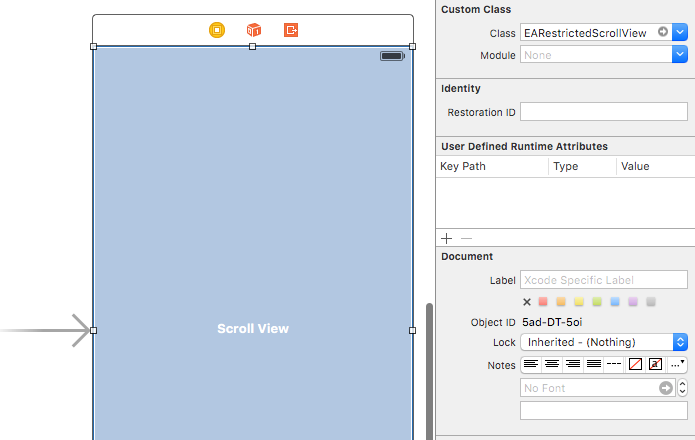
Or from Interface Builder:
Update scrolling area with new restrictionArea property. Reset restriction with passing CGRectZero to restrictionArea.
func flipSwitch(sender: UISwitch) {
        if sender.on {
            restrictedScrollView.restrictionArea = sender.superview!.frame
        } else {
            restrictedScrollView.restrictionArea = CGRectZero
        }
    }
To access subviews use containedSubviews property. It was added in version 0.2.0 since subviews override caused some troubles with autolayout.
let subviews = restrictedScrollView.containedSubviewsCreated and maintained by Evgeny Aleksandrov (@ealeksandrov).
EARestrictedScrollView is available under the MIT license. See the LICENSE.md file for more info.


