The official MyST (Markedly Structured Text) VS Code extension, for extending the Markdown language.
This extension extends VS Code's Markdown language with the following features:
- Extended syntax highlighting
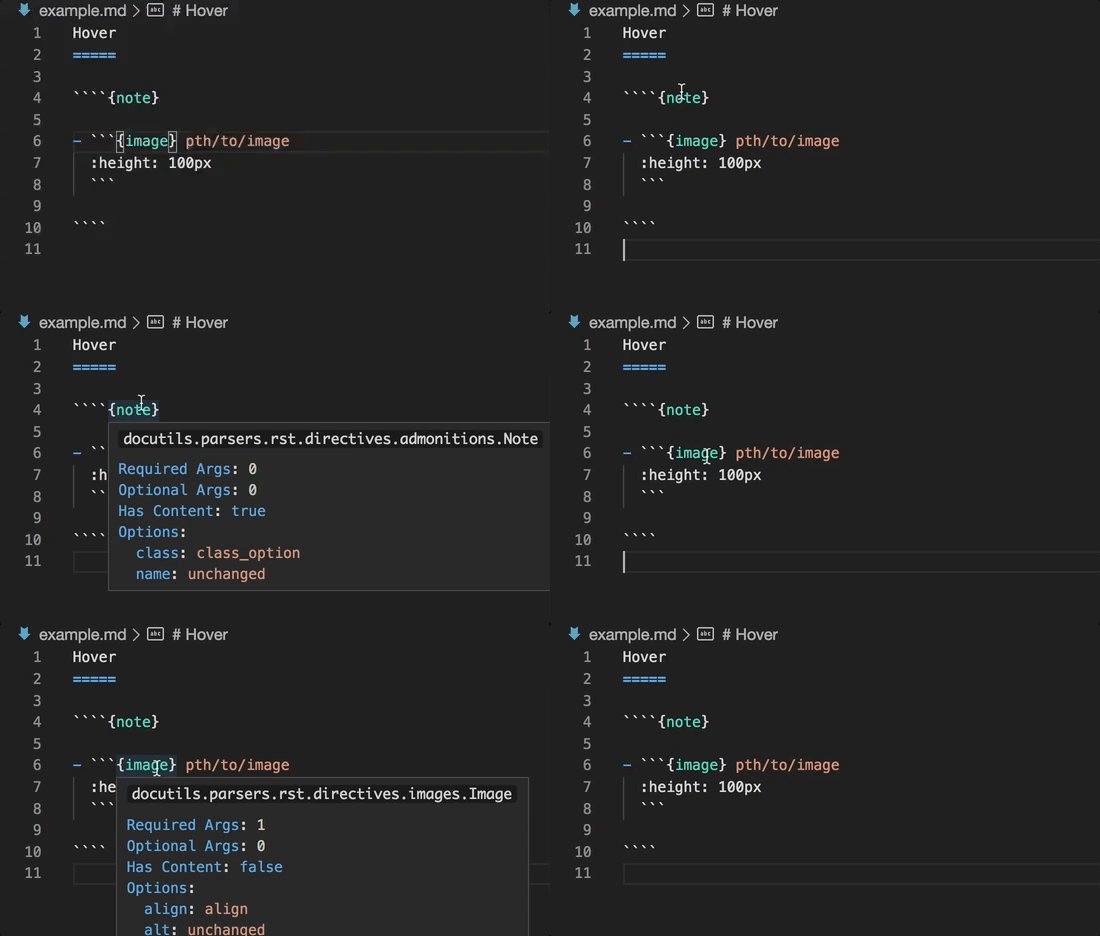
- Hover information and auto-completion for roles and directives
- Extended preview rendering
- Code snippets for role and directive definitions
injects additional elements into the base markdown syntax highlighting grammar, and adds additional language support for MyST specific elements.
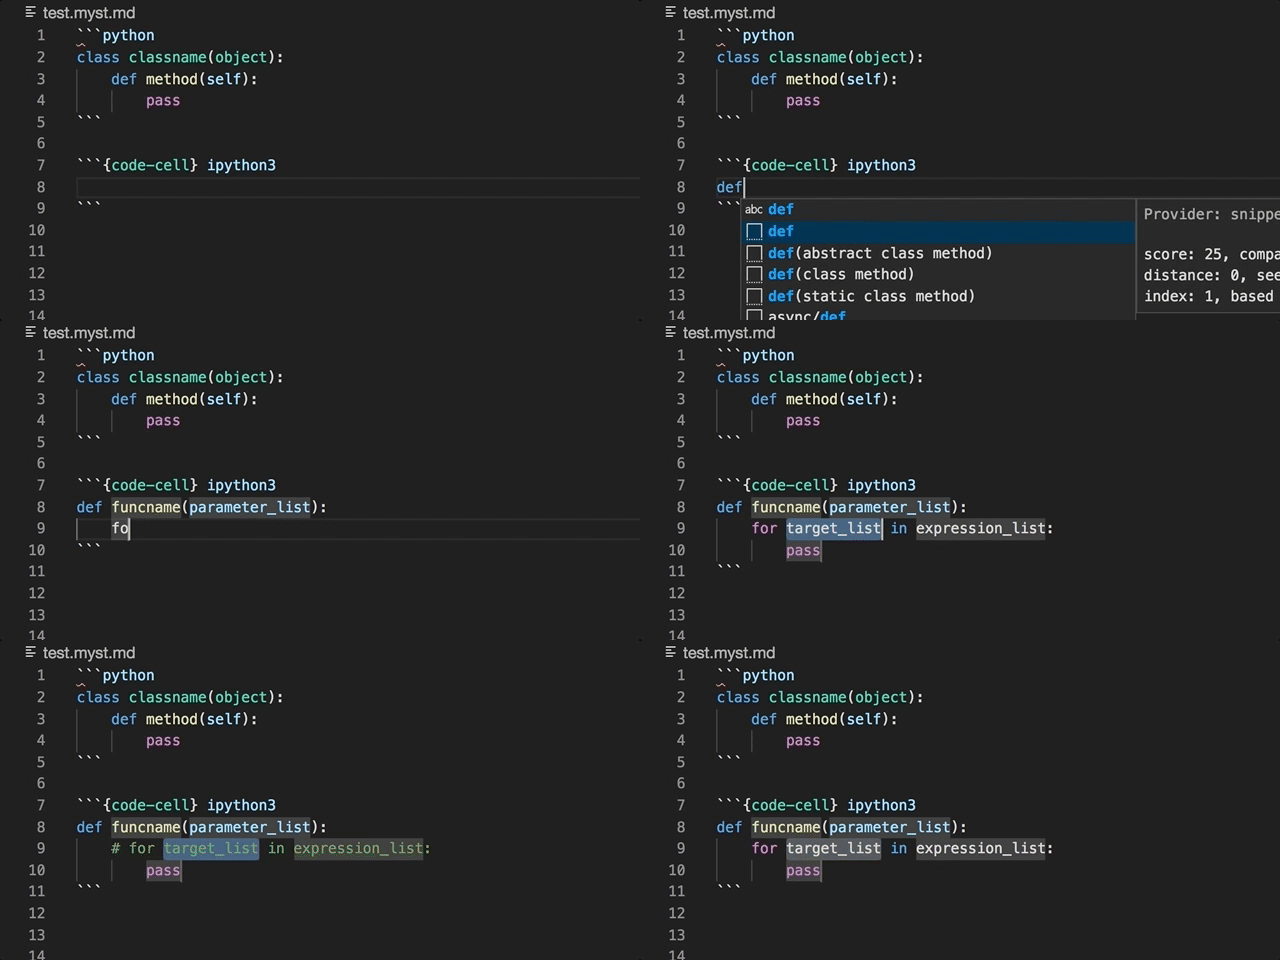
Embedded code blocks/cells can be utilised in their native language:
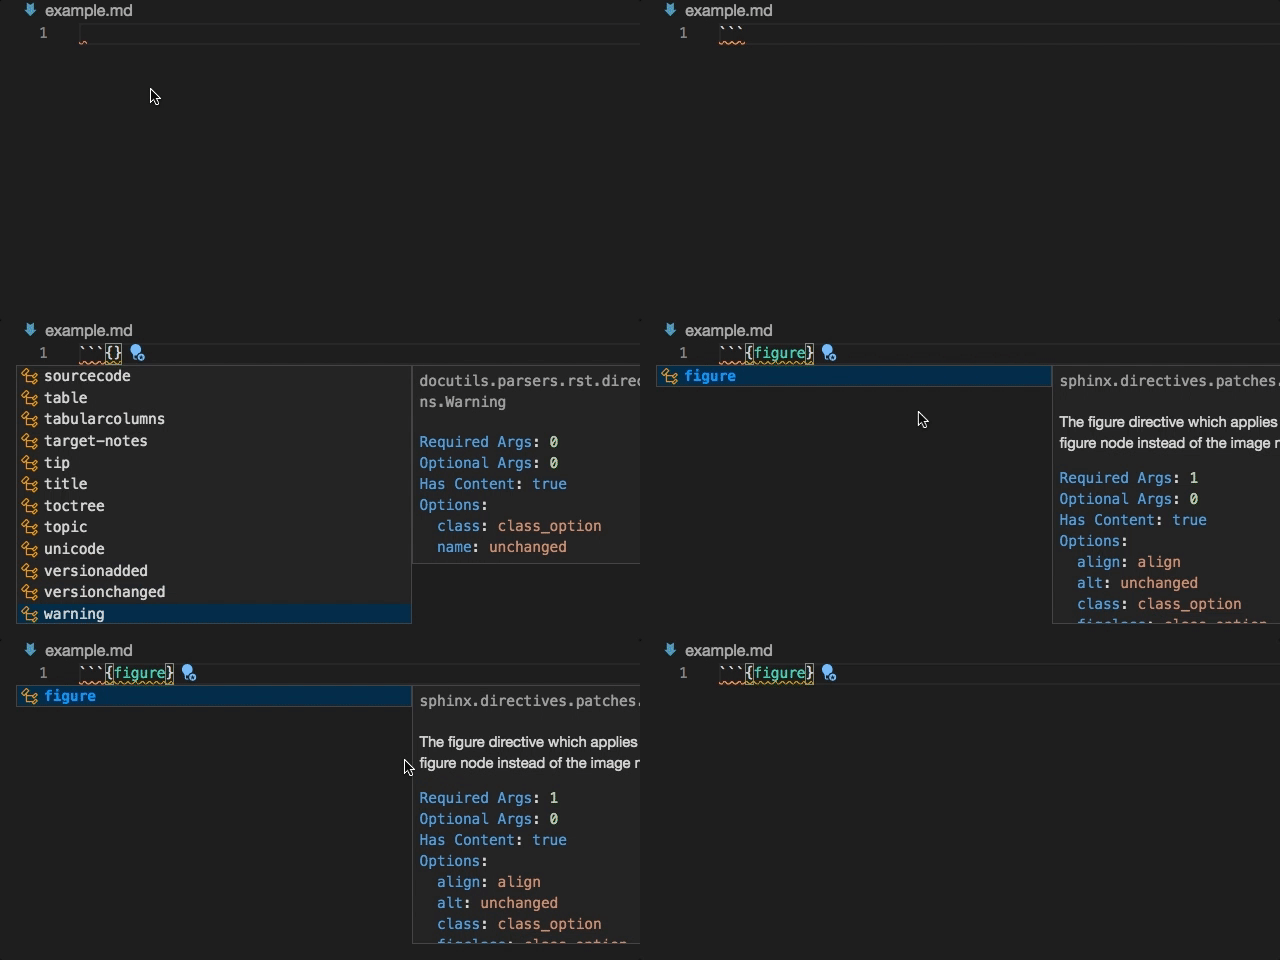
Directive completion and hover is available for all built-in sphinx directives:
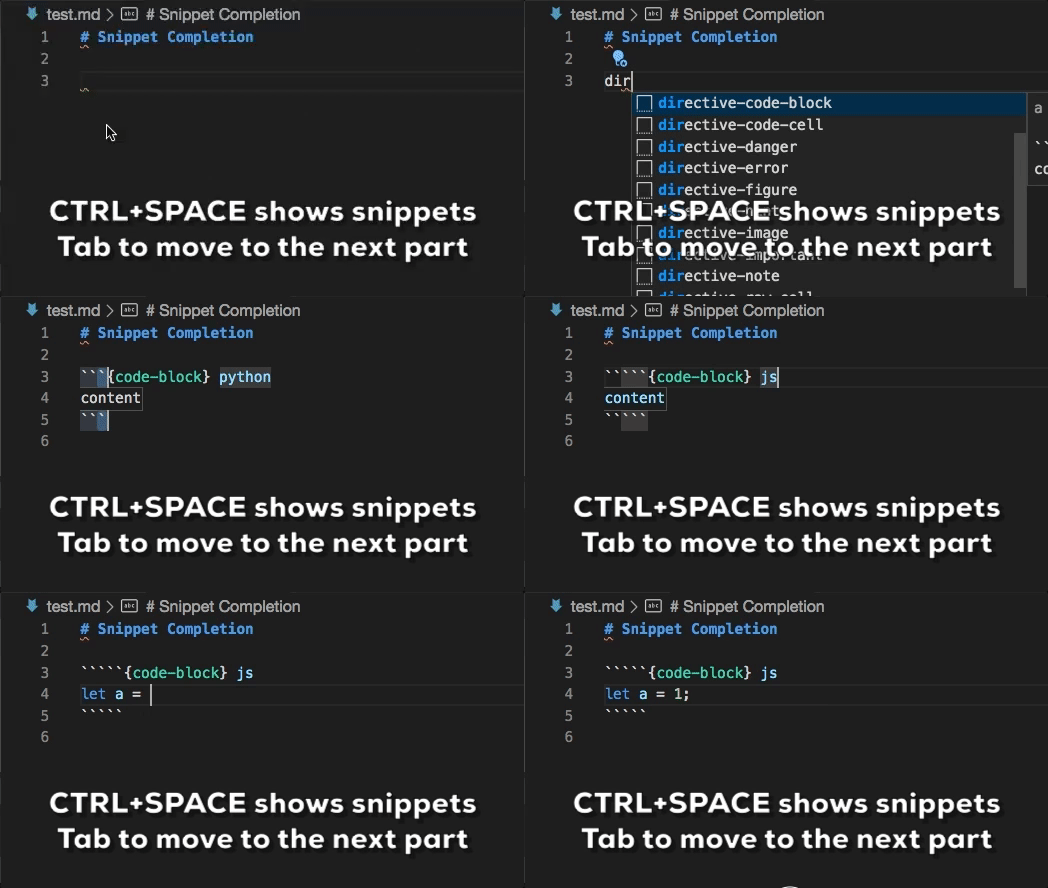
Snippet completions are also available for a number of Sphinx directives:
This extension enhances VS Code's built-in Markdown previewer (see this guide for info), to properly render MyST syntax like directives and other extensions.
If you encounter any issues with this, you can disable it with the myst.preview.enable configuration setting (and please report it).
You can add MyST syntax extensions with the myst.preview.extensions configuration setting. Available extensions:
amsmath: Parse AMS LaTeX math environmentsdeflist: Parse definition listsdollarmath: Parse dollar-delimited math (on by default)tasklist: Parse GitHub style task lists
Note after changing this setting you should reload the VS Code window.
Principally the stylings from markdown-it-docutils are used.
The colors are in light mode by default, switching to the dark mode when set by the users operating system.
See the prefers-color-scheme documentation for details.
From VS Code version v1.58.0, VS Code natively supports dollar math rendering (see here).
Using the dollarmath extension overrides this with some slightly different parsing rules (e.g. dollarmath allows $$ display math in inline contexts and also labels: $$a=1$$ (label)).
If there are still any incompatibilities you can turn off the native support with markdown.math.enabled configuration setting.
Here are some useful editor keyboard shortcuts:
- Split the editor (
Cmd+\on macOS orCtrl+\on Windows and Linux) - Toggle preview (
Shift+CMD+Von macOS orShift+Ctrl+Von Windows and Linux) - Press
Ctrl+Space(Windows, Linux) orCmd+Space(macOS) to see a list of Markdown snippets
For more information:
The main grammar is stored in syntaxes/myst.tmLanguage. This file is generated from myst.tmLanguage.base.yaml.
See this guide on textmate bundles, the VS Code Syntax Highlight guide, and the extension API for more help.
To launch a local version of the extension in VS Code, first ensure the extension build is updated:
$ npm run buildNow select the Launch Extension configuration in the VS Code Run and Debug side panel.
To launch a development version of the extension in VS Code, press F5.
The grammar is written as a Jinja template YAML file,
with the templates and default variables stored in template/
To generate the asset files (grammar and snippets):
$ npm ci
$ npm run build:assets
or with python:
$ pip install yaml jinja2
$ python src/build.pyThe test suite is split into:
- 'integration' tests, which require VS Code to be launched, and
- 'unit' tests, which can be run in the standard fashion with mocha
You can run them on the CLI with npm test, or separately:
$ npm run pretest
$ npm run test:unit
$ npm run test:integration
Running from the CLI will download and launch a specific version of VS Code (see src/test/runIntergration.ts).
Note though, that running integration tests from within VS Code may error (see Testing extensions tips).
In this case you can run the tests directly through the Debug Launcher in the side panel (see .vscode/launch.json). The output can be viewed in the debug console.
The highlighting test cases are stored as markdown files under test_static/colorize-fixtures.
Grammar test results are stored under test_static/colorize-results, which are automatically generated/updated from the fixtures.
Note though that the fixture results can change between VS Code versions, so you should use the version specified in src/test/runIntergration.ts.
$ npm run lintand to auto-fix lints:
$ npm run lint:fixThe publishing of the package should be done via the Github Actions CI:
- Bump the version with npm, e.g.
npm version patch -m "🚀 RELEASE: v%s"(major/minor/patch based on semantic versioning) - Push the commit and tag generated by npm (
git push --follow-tags) - This should trigger the CI action and the
publishstep, check it runs correctly. - Create a GitHub release, pointing to the tag created by npm.
See also: https://code.visualstudio.com/api/working-with-extensions/publishing-extension#publishing-extensions, and the ExecutableBookProject publisher organization.
Testing originally adapted from vscode-markdown-tm-grammar.
VS Code Markdown extension exemplars were taken from vscode/extensions/markdown-math.


