Homebridge plugin for controlling some of the aspects of Grohe Sense water security system using HomeKit.
The following Grohe Sense components are supported:
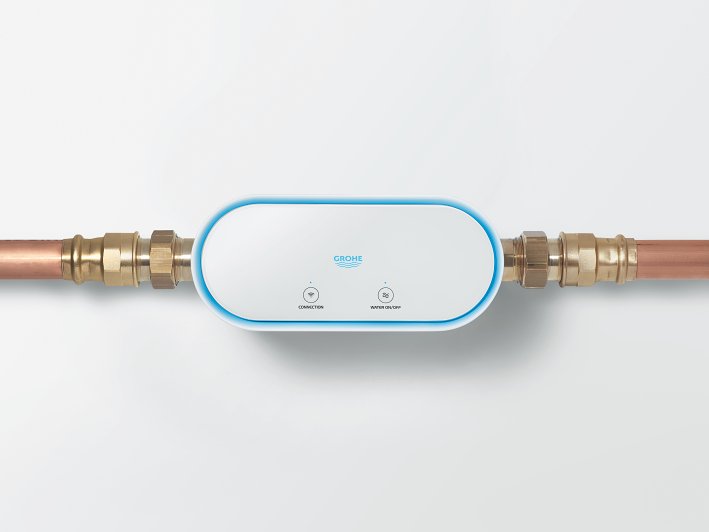
- Sense Guard main water inlet valve
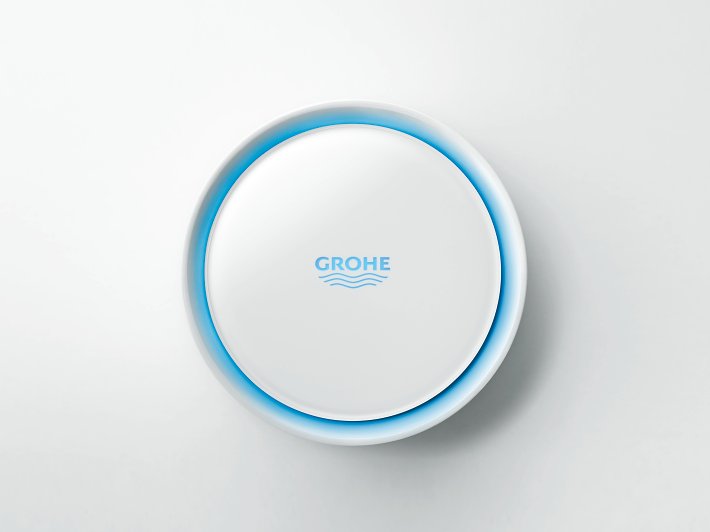
- Sense battery powered water leakage detector
- Sense Plus mains powered water leakage detector
Released versions are published through npm and can be found here:
https://www.npmjs.com/package/homebridge-grohe-sense
You can also search for this plugin from the awesome Homebridge web UI and it will automagically be installed/updated for your.
Plugin will automatically find and configure your Sense devices, and expose the following HomeKit services:
- Sense Guard
- Valve
- Temperature Sensor
- Leakage Sensor
- Water pressure (log only)
- Water flowrate (log only)
- Sense
- Leakage Sensor
- Temperature Sensor
- Humidity Sensor
- Battery Service
- Sense Plus (untested, as I dont have one)
- Leakage Sensor
- Temperature Sensor
- Humidity Sensor
- The system collects a lot of interesting information that unfortunately have no suitable characteristics counterpart defined in the official Apple HAP. This include (but not limited to) for example :
- water pressure
- flow metrics
- water consumption
- statistics
- notifications
- Proper OAuth library handling authentication
- Displaying water pressure, flow metrics +++, but I have no idea what characteristics to use in Homebridge for this...
There is a Settings screen during plugin setup that helps you configure the configuration section shown below.
{
  "name": "Ondus",
  "refresh_token": "<Paste refresh token here>",
  "username": "<user@name.domain>",
  "password": "<secret>",
  "refresh_interval": 3600,
  "valve_control": true,
  "throttle_support": false,
  "throttle_rate": 6,
  "throttle_rateper": 1000,
  "throttle_concurrent": 2,
  "fakegato_support": false,
  "shtf_mode": false,
  "platform": "Ondus"
}
Note that for both refresh_token and username/password you must remove < > above when inserting your credentials.
You do NOT need to provide the refresh_token if you provide your username/password. Some/many are more comfortable using a refresh_token than the actual username/password credentials themselves in a config file.
How often to query Ondus API for new data. Default setting of 3600 seconds is more than sufficient, because sensors only report data every 24 hours unless a notification threshold has been exceeded.
If you have kids like me with iCloud family sharing enabled, and dont want them brats (just kidding, mine are actually angels) to turn off the main water supply through HomeKit as a prank when you are showering - this is for you! Set valve_control to false, and the plugin will ignore all valve control requests :-)
Export historical sensor data for temperature and humidity to HomeKit using the proprietary Elgato Eve protocol. This feature will only be available from the Eve app, and will not display anything in the default Home app.
Depending on the number of Ondus devices you have, the Ondus API might restrict the number of requests accepted within a server configured time. If you see Error: Too Many Requests in the log, its time to start throttling!
The Shit Hit The Fan mode is for debugging. If something is not working as expected, please enable this mode and run homebridge in debug mode. This will include more noisy logging which hopefully can help locate the problem. The debug log must be included when you are reporting an issue.
Actually obtaining a refresh_token from the GROHE ONDUS Api requires some manual steps.
In order to more deeply understand what is happening during the process, you can read more information about the OAuth2/OIDC (OpenID Connect) login flow by searching for these terms in your favorite search engine.
Here is a short step-by-step guide on how to obtain a refresh token:
- Open a new tab in your Internet browser
- Open the developer console of your browser (mostly possible by pressing F12)
- Select the network tab of the developer console (which shows you the network request done by the browser)
- Open the following URL: https://idp2-apigw.cloud.grohe.com/v3/iot/oidc/login
- You will automatically being redirected to the GROHE ONDUS login page, login there
- After logging in successfully, nothing should happen, except a failed request to a page starting with
token? - Click on this request (the URL in the request overview should start with
ondus://idp2-apigw.cloud.grohe.com/v3/iot/oidc/token?or something like that - Copy the whole request URL (which should contain a lot of stuff, like a
stateparameter and so on) - Open a new tab in your Internet browser and paste the URL into the address bar (do not hit ENTER or start the navigation to this page, yet)
- Replace the
ondus://part of the URL withhttps://and hit ENTER - The response of the page should be plain text with a so called
JSON object. Somewhere in the text should be arefresh_tokenstring, select the string after thisrefresh_tokentext, which is encapsulated with".
E.g.: If the response of the page looks like this:
{
    "access_token": "the_access_token",
    "expires_in":3600,
    "refresh_expires_in":15552000,
    "refresh_token":"the_refresh_token",
    "token_type":"bearer",
    "id_token":"the_id_token",
    "not-before-policy":0,
    "session_state":"a-state",
    "scope":"",
    "tandc_accepted":true,
    "partialLogin":false
}
Then the refresh_token value you should copy would be: the_refresh_token.
This value is the refresh_token you should save as described above.
- git clone https://github.com/faune/homebridge-grohe-sense
- cd homebridge-grohe-sense
- npm install
- npm run build
- npm link
- homebridge -I -D
If you really want to know this, lets take a stroll down memory lane:
- https://homebridge.io is AWESOME! Props to everyone who contributed
- I couldnt find a Ondus Sense plugin for homebridge :-(
- I configured OpenHab with FlorianSW https://github.com/openhab/openhab-addons/blob/2.5.x/bundles/org.openhab.binding.groheondus/
- I made Homebridge talk to OpenHab
- 4 kinda worked, but data were never refreshed
- Concluded OpenHab sucks (just kidding)
- Started looking at https://developers.homebridge.io and wondered how hard can it be?
- Looked at FlorianSW java code alot for figuring out the Ondus web API
- Spent 3 days trying to understand how 3 gazillion Node.js HTTP frameworks worked, and they all suck (just kidding.. well, not really) I mean... wtf... Seriosly, what is wrong with you guys??
- Found https://github.com/visionmedia/superagent which was supercool
- Attempted to get OpenHab working again, and it still sucks - especially when I dont want it to consume my life
- Found homebridge example plugin
- Got example up and running
- Played around using TypeScript. Do I like it? Its growing - still wish it was Python, because I have trouble expressing everything I want
- Found more help on Ondus API from https://github.com/gkreitz/homeassistant-grohe_sense - cool shit and written in a proper language :-)
- Managed to piece together something bridging the example plugin framework with my superagent code from 10 worthy of showing the world
- Had lots of fun learning new shit
- Currently waiting for contributions or law suite from Grohe


