Guide and OAuth helper to generate keys
Companion to Web Store Upload.
You can follow this complete guide or the official-but-partial one at: https://developer.chrome.com/docs/webstore/using-api
Tip
The names you enter here don't really matter. It's an app that only you will have access to. This will take approximately 10 minutes and Google likes to change these screens often. Sorry.
-
Visit https://console.developers.google.com/apis/credentials
-
Create a project:

-
Enter
chrome-webstore-uploadand Create -
Visit https://console.cloud.google.com/apis/credentials/consent
-
Select on External and Create

-
Only enter the Application name (e.g.
chrome-webstore-upload) and required email fields, and click Save
-
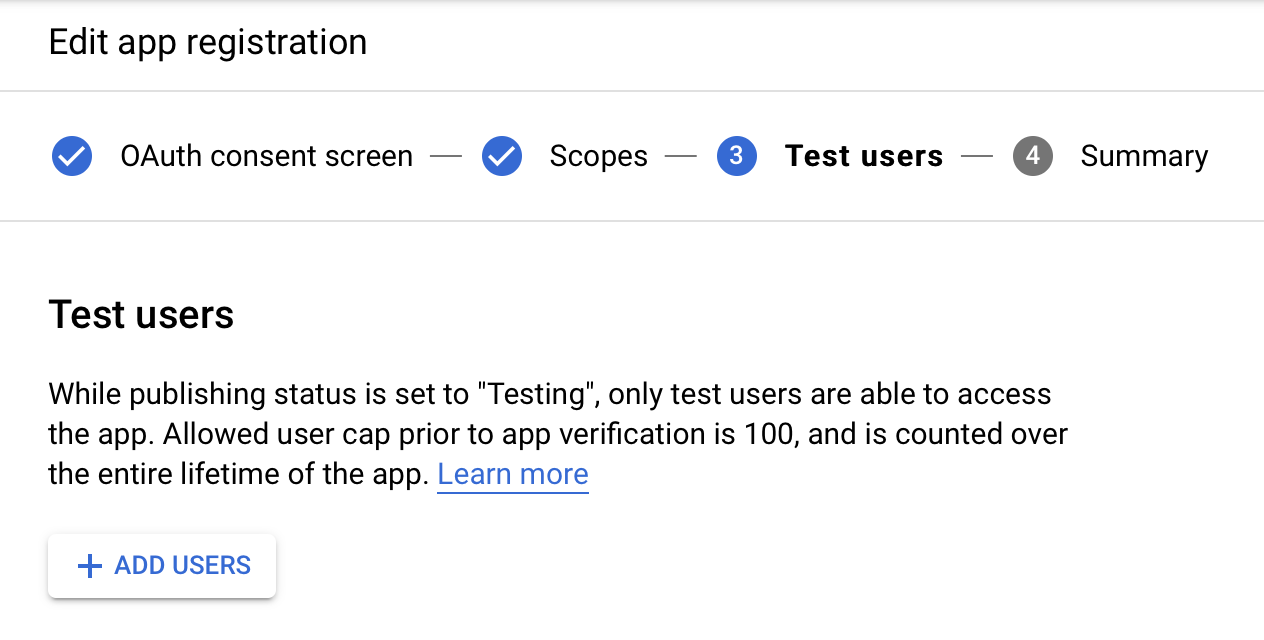
On the 3rd screen, add your own email address:

-
Visit https://console.developers.google.com/apis/library/chromewebstore.googleapis.com
-
Click Enable
-
Visit https://console.developers.google.com/apis/credentials
-
Click Create credentials > OAuth client ID:

-
Select Desktop app, enter
Chrome Webstore Uploadand click Create
-
Save your ✅
clientIdand ✅clientSecret:
-
Visit https://console.cloud.google.com/apis/credentials/consent
-
Click PUBLISH APP and confirm

-
Run this CLI tool to generate the required
refreshTokennpx chrome-webstore-upload-keys
or
bunx chrome-webstore-upload-keys

-
Done. Now you should have ✅
clientId, ✅clientSecretand ✅refreshToken. You can use these for all your extensions, but don't share them!
- Requests the two keys you have
- Opens a local server to handle the OAuth redirect from Google's servers with an
approvalCode - Uses Google's
oauth2API to request arefreshToken