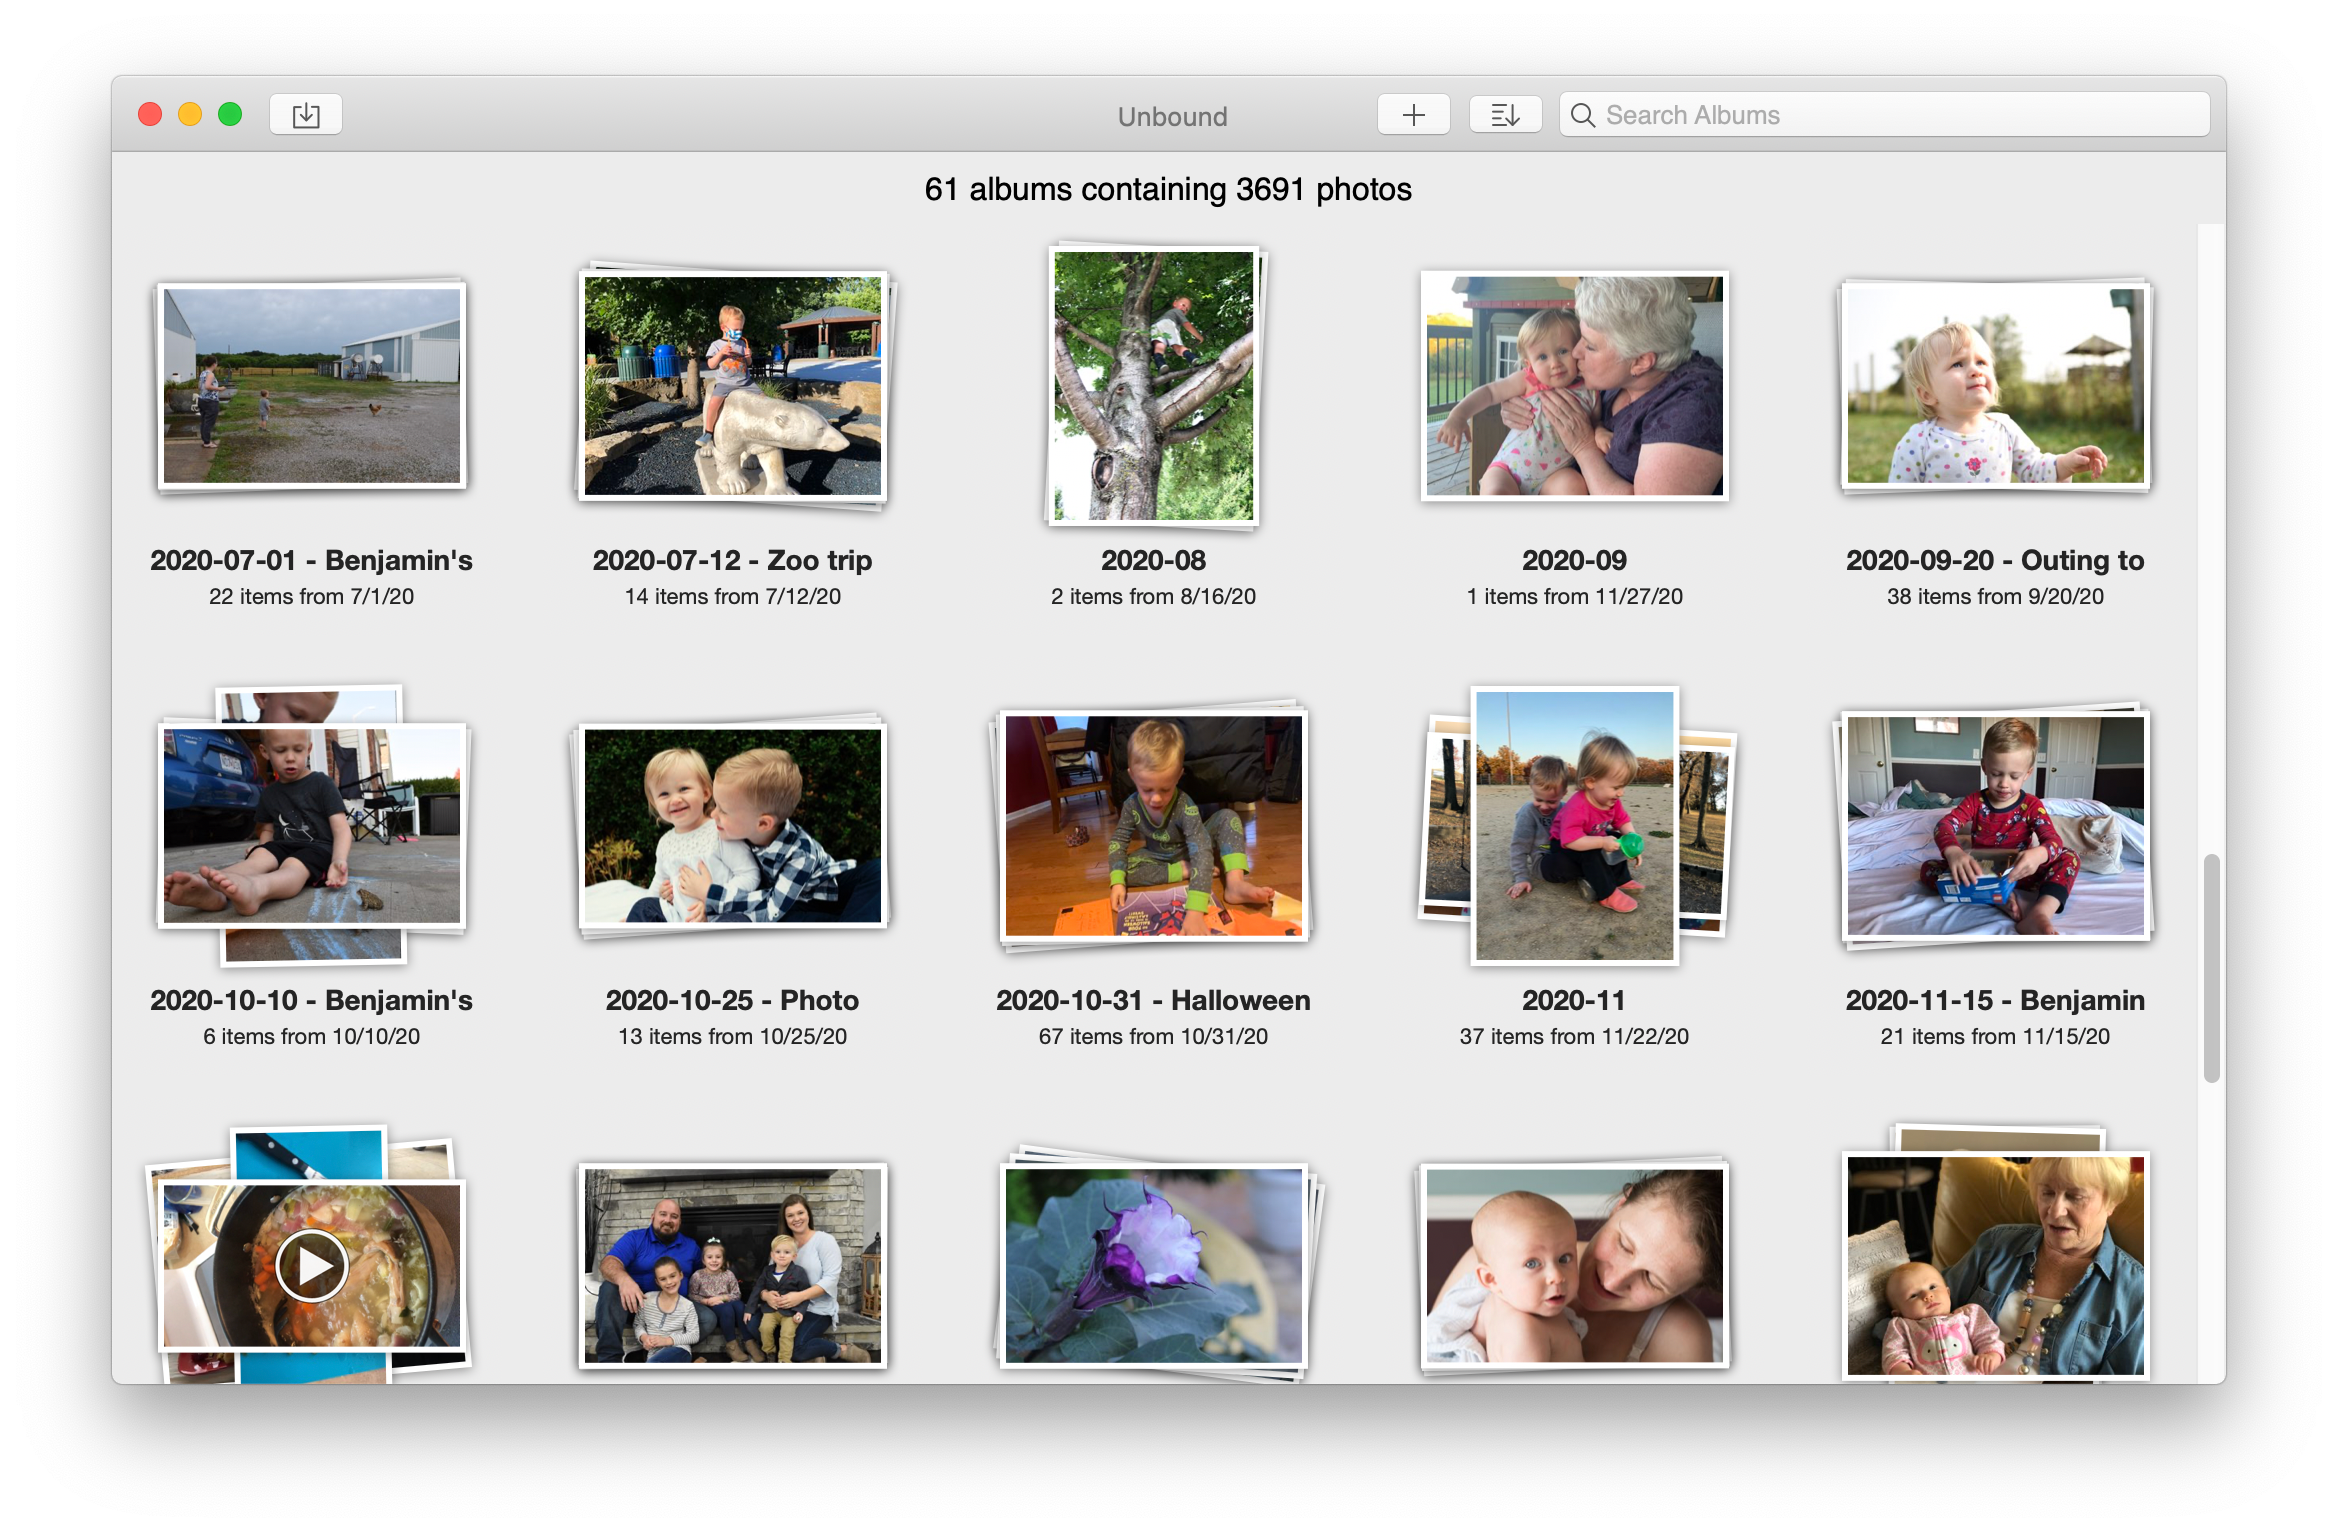
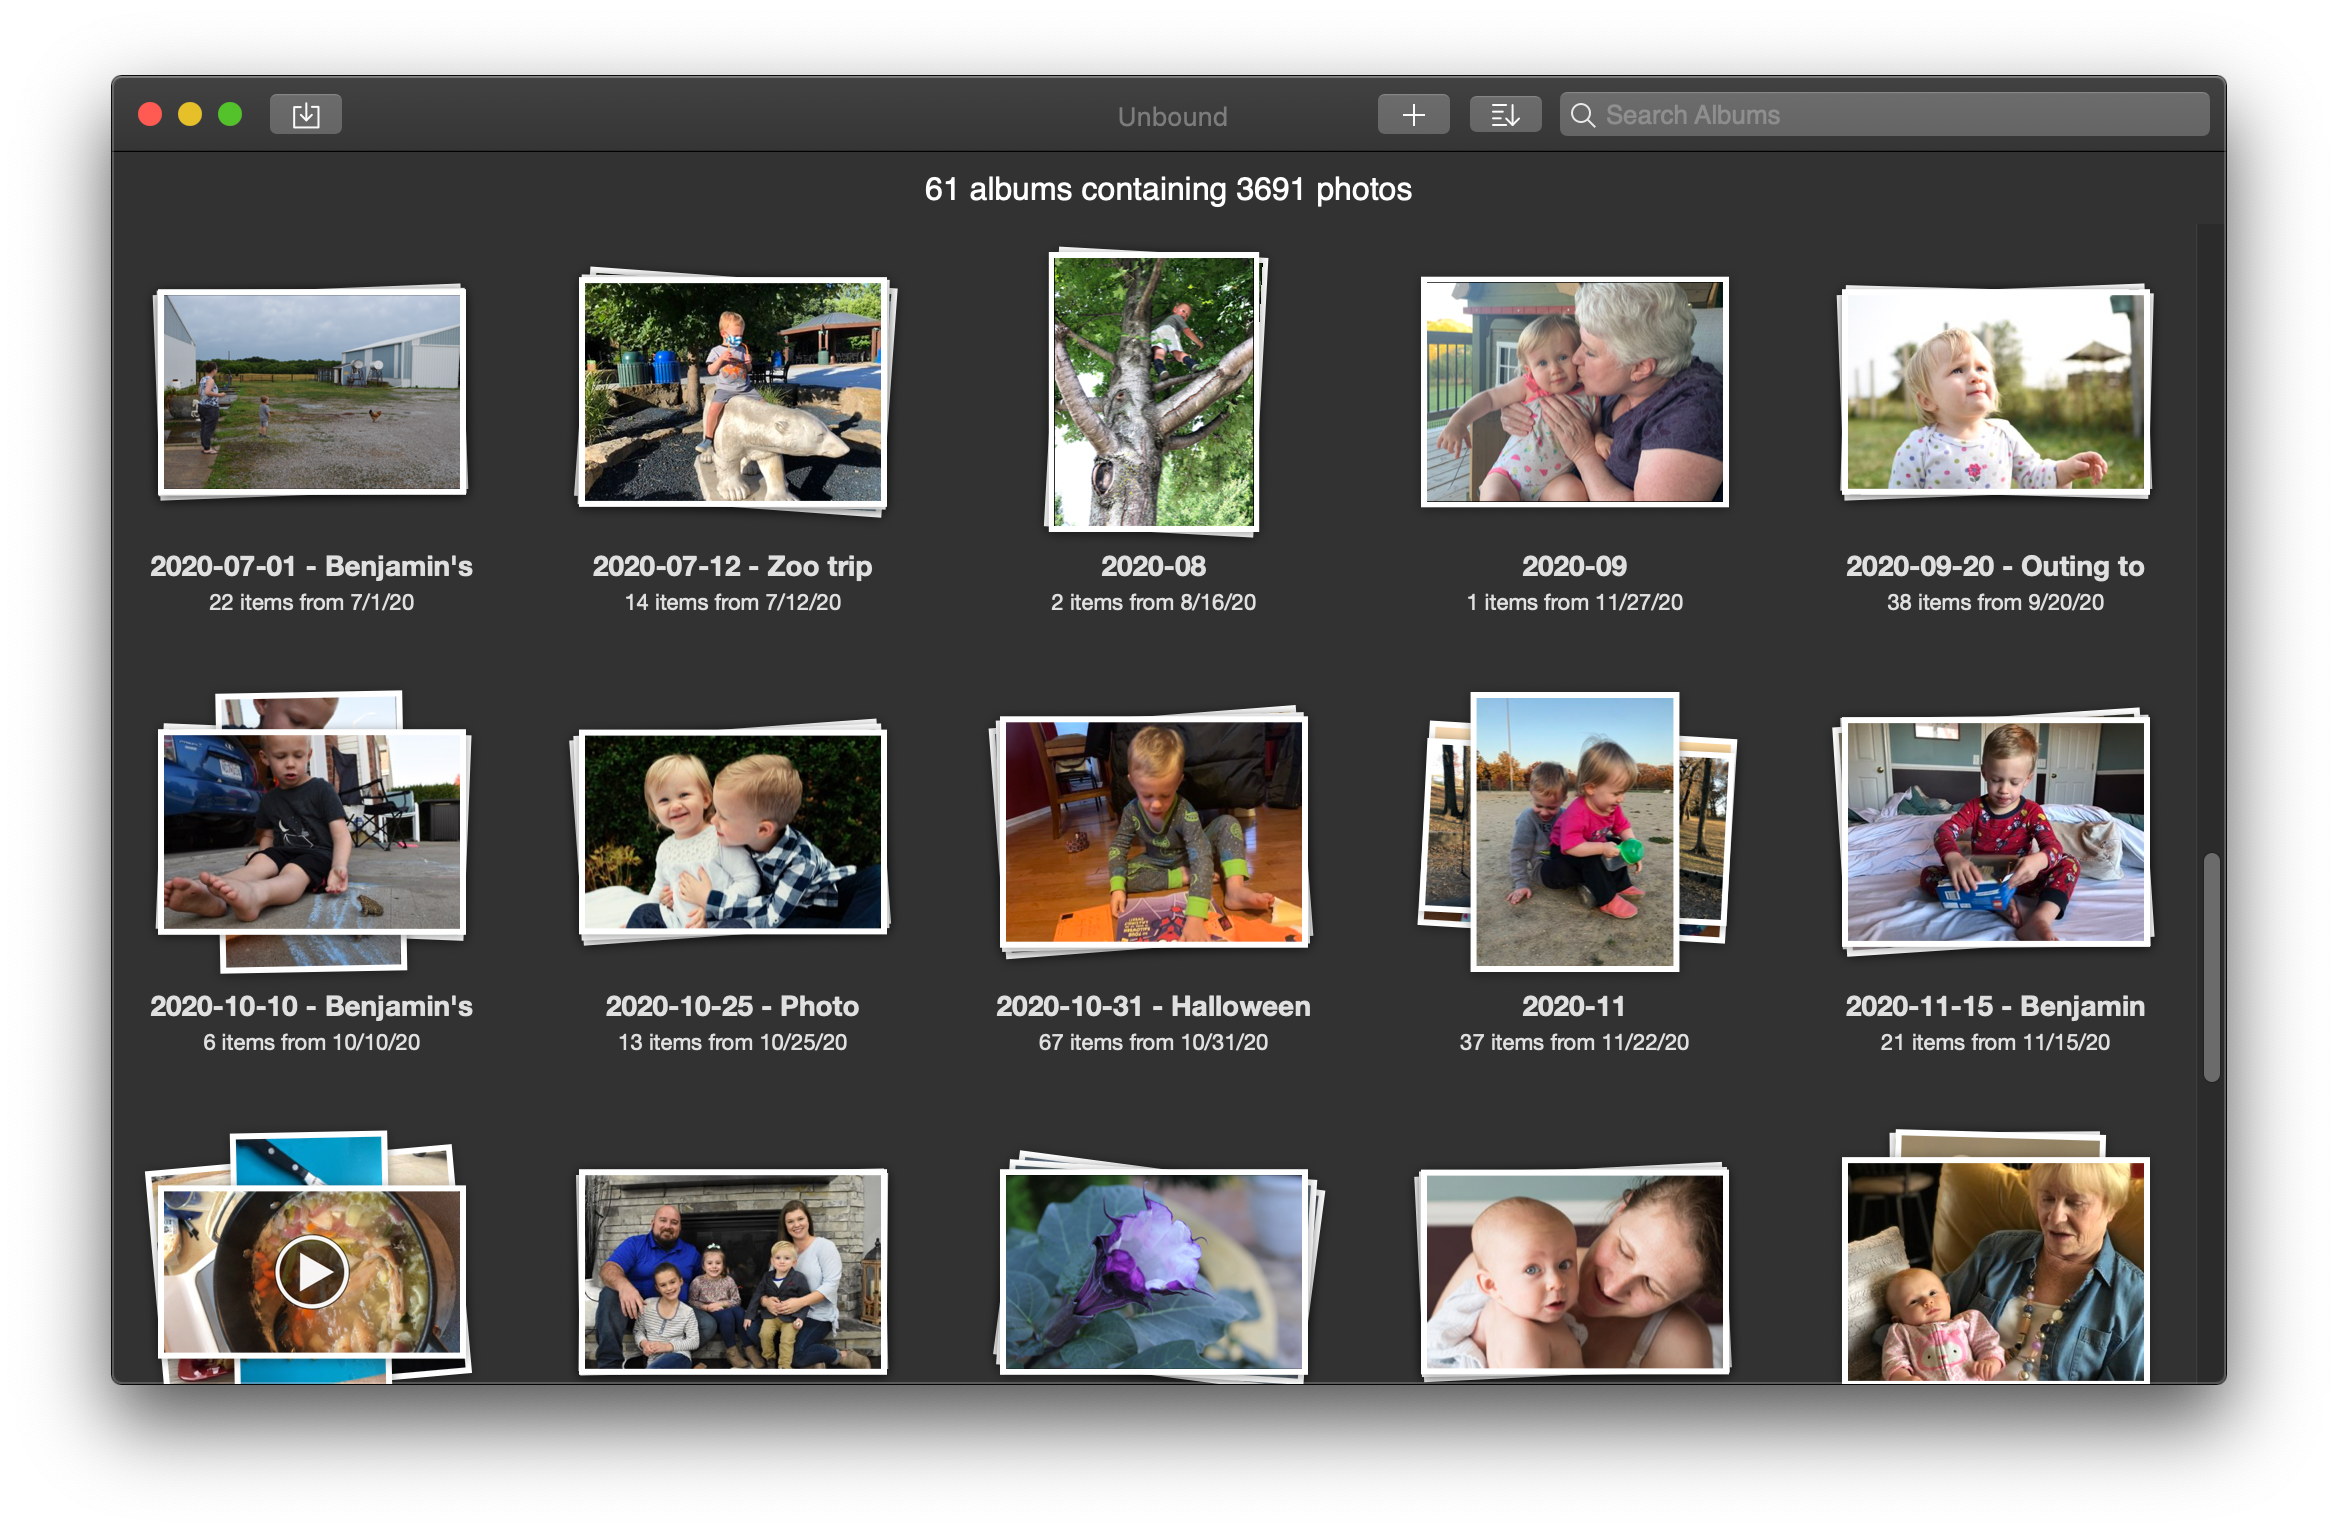
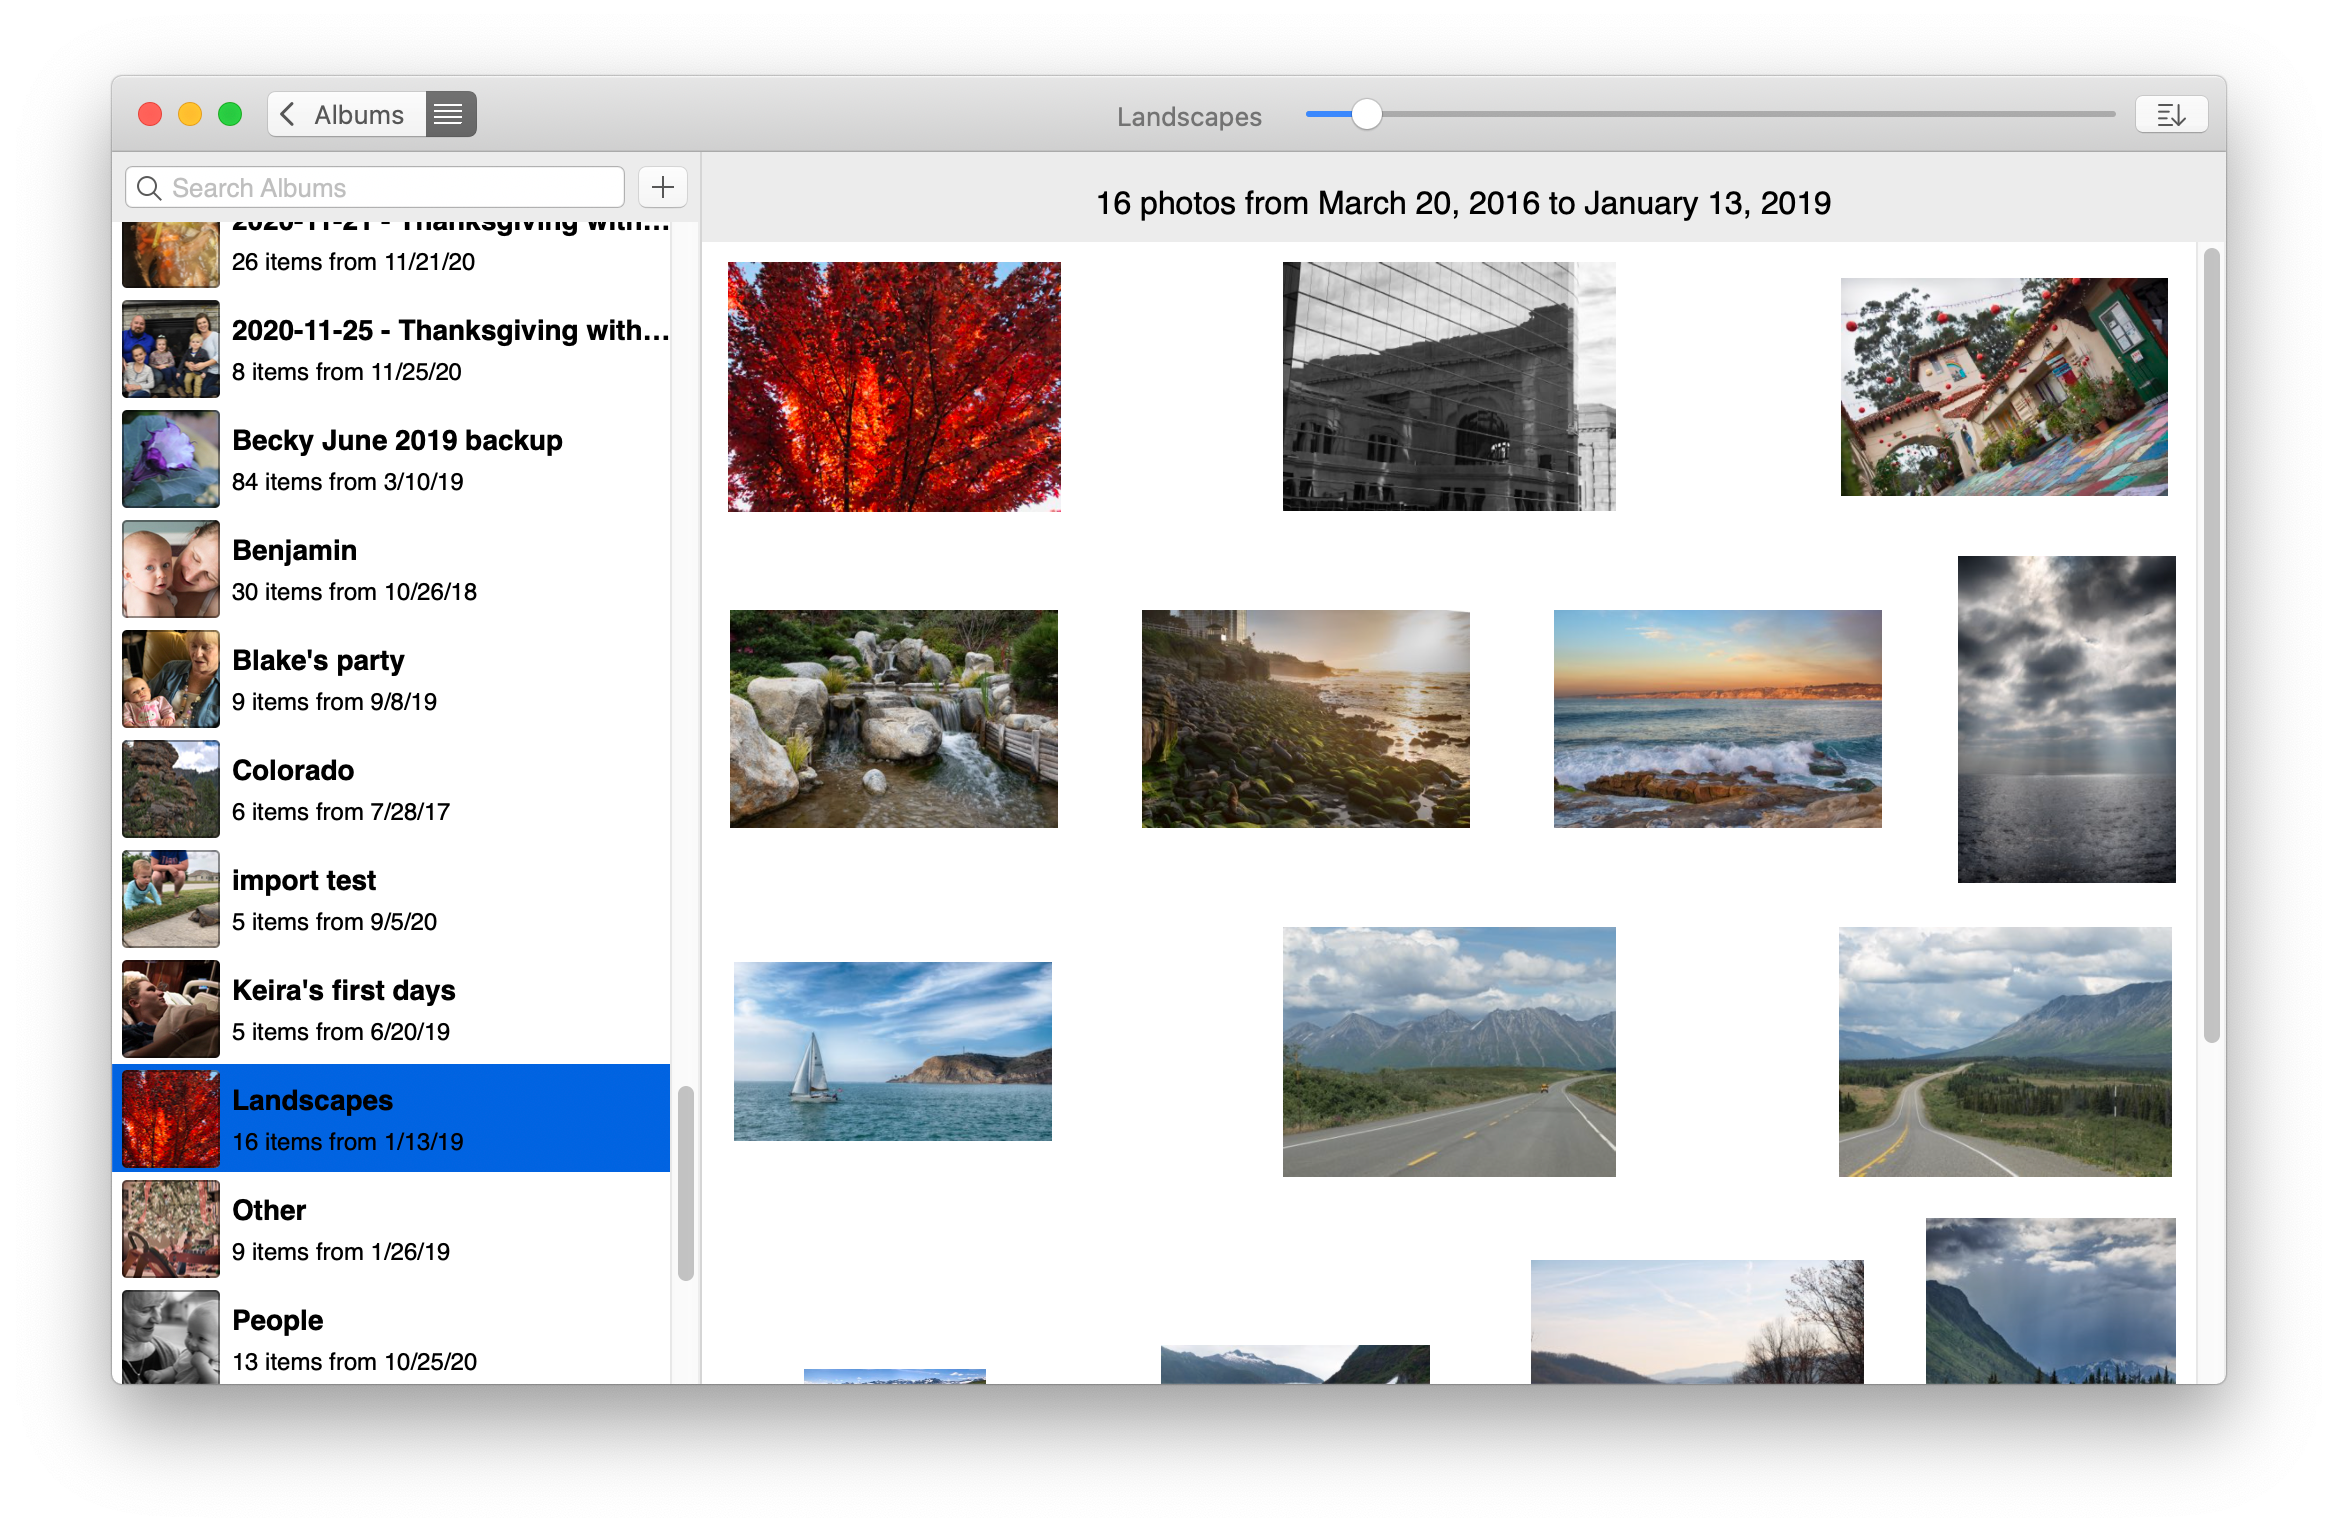
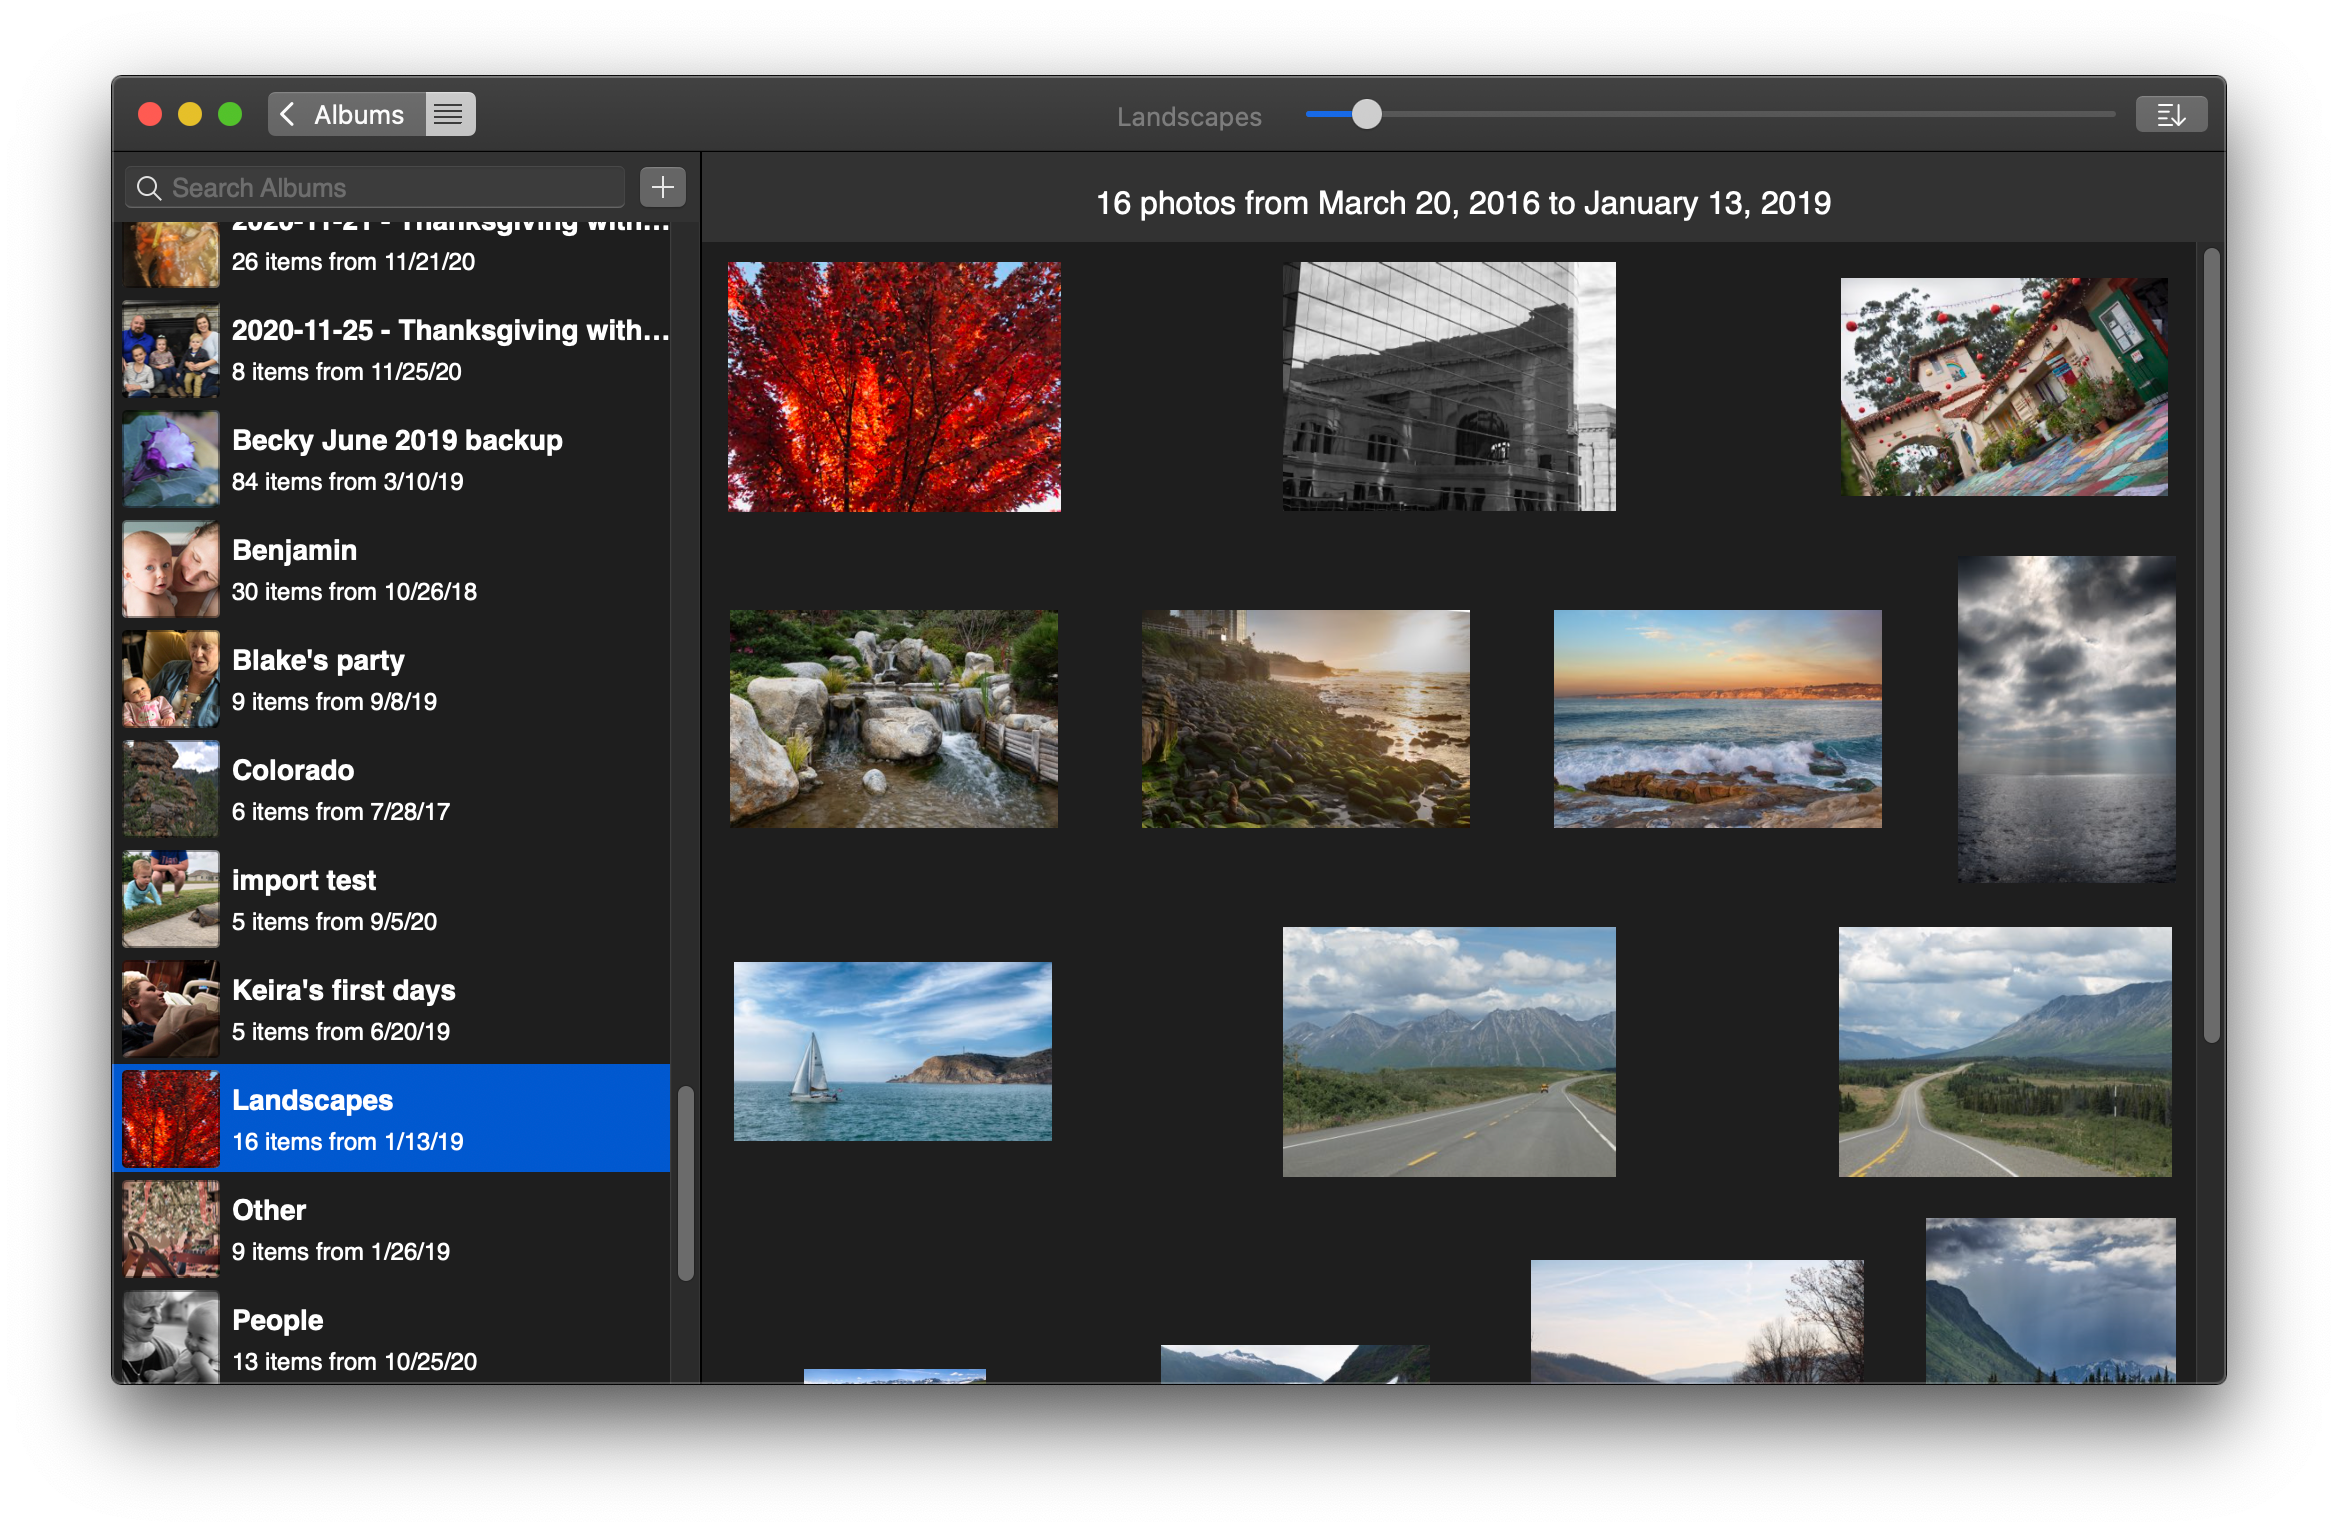
A simple, no-nonsense photo manager and viewer for Mac. See the marketing website for more information about what makes Unbound different from, say, Apple's Photos app.
You can download the final version for free. (More on why it's free below.)
| Light Mode | Dark Mode |
|---|---|
 |
 |
 |
 |
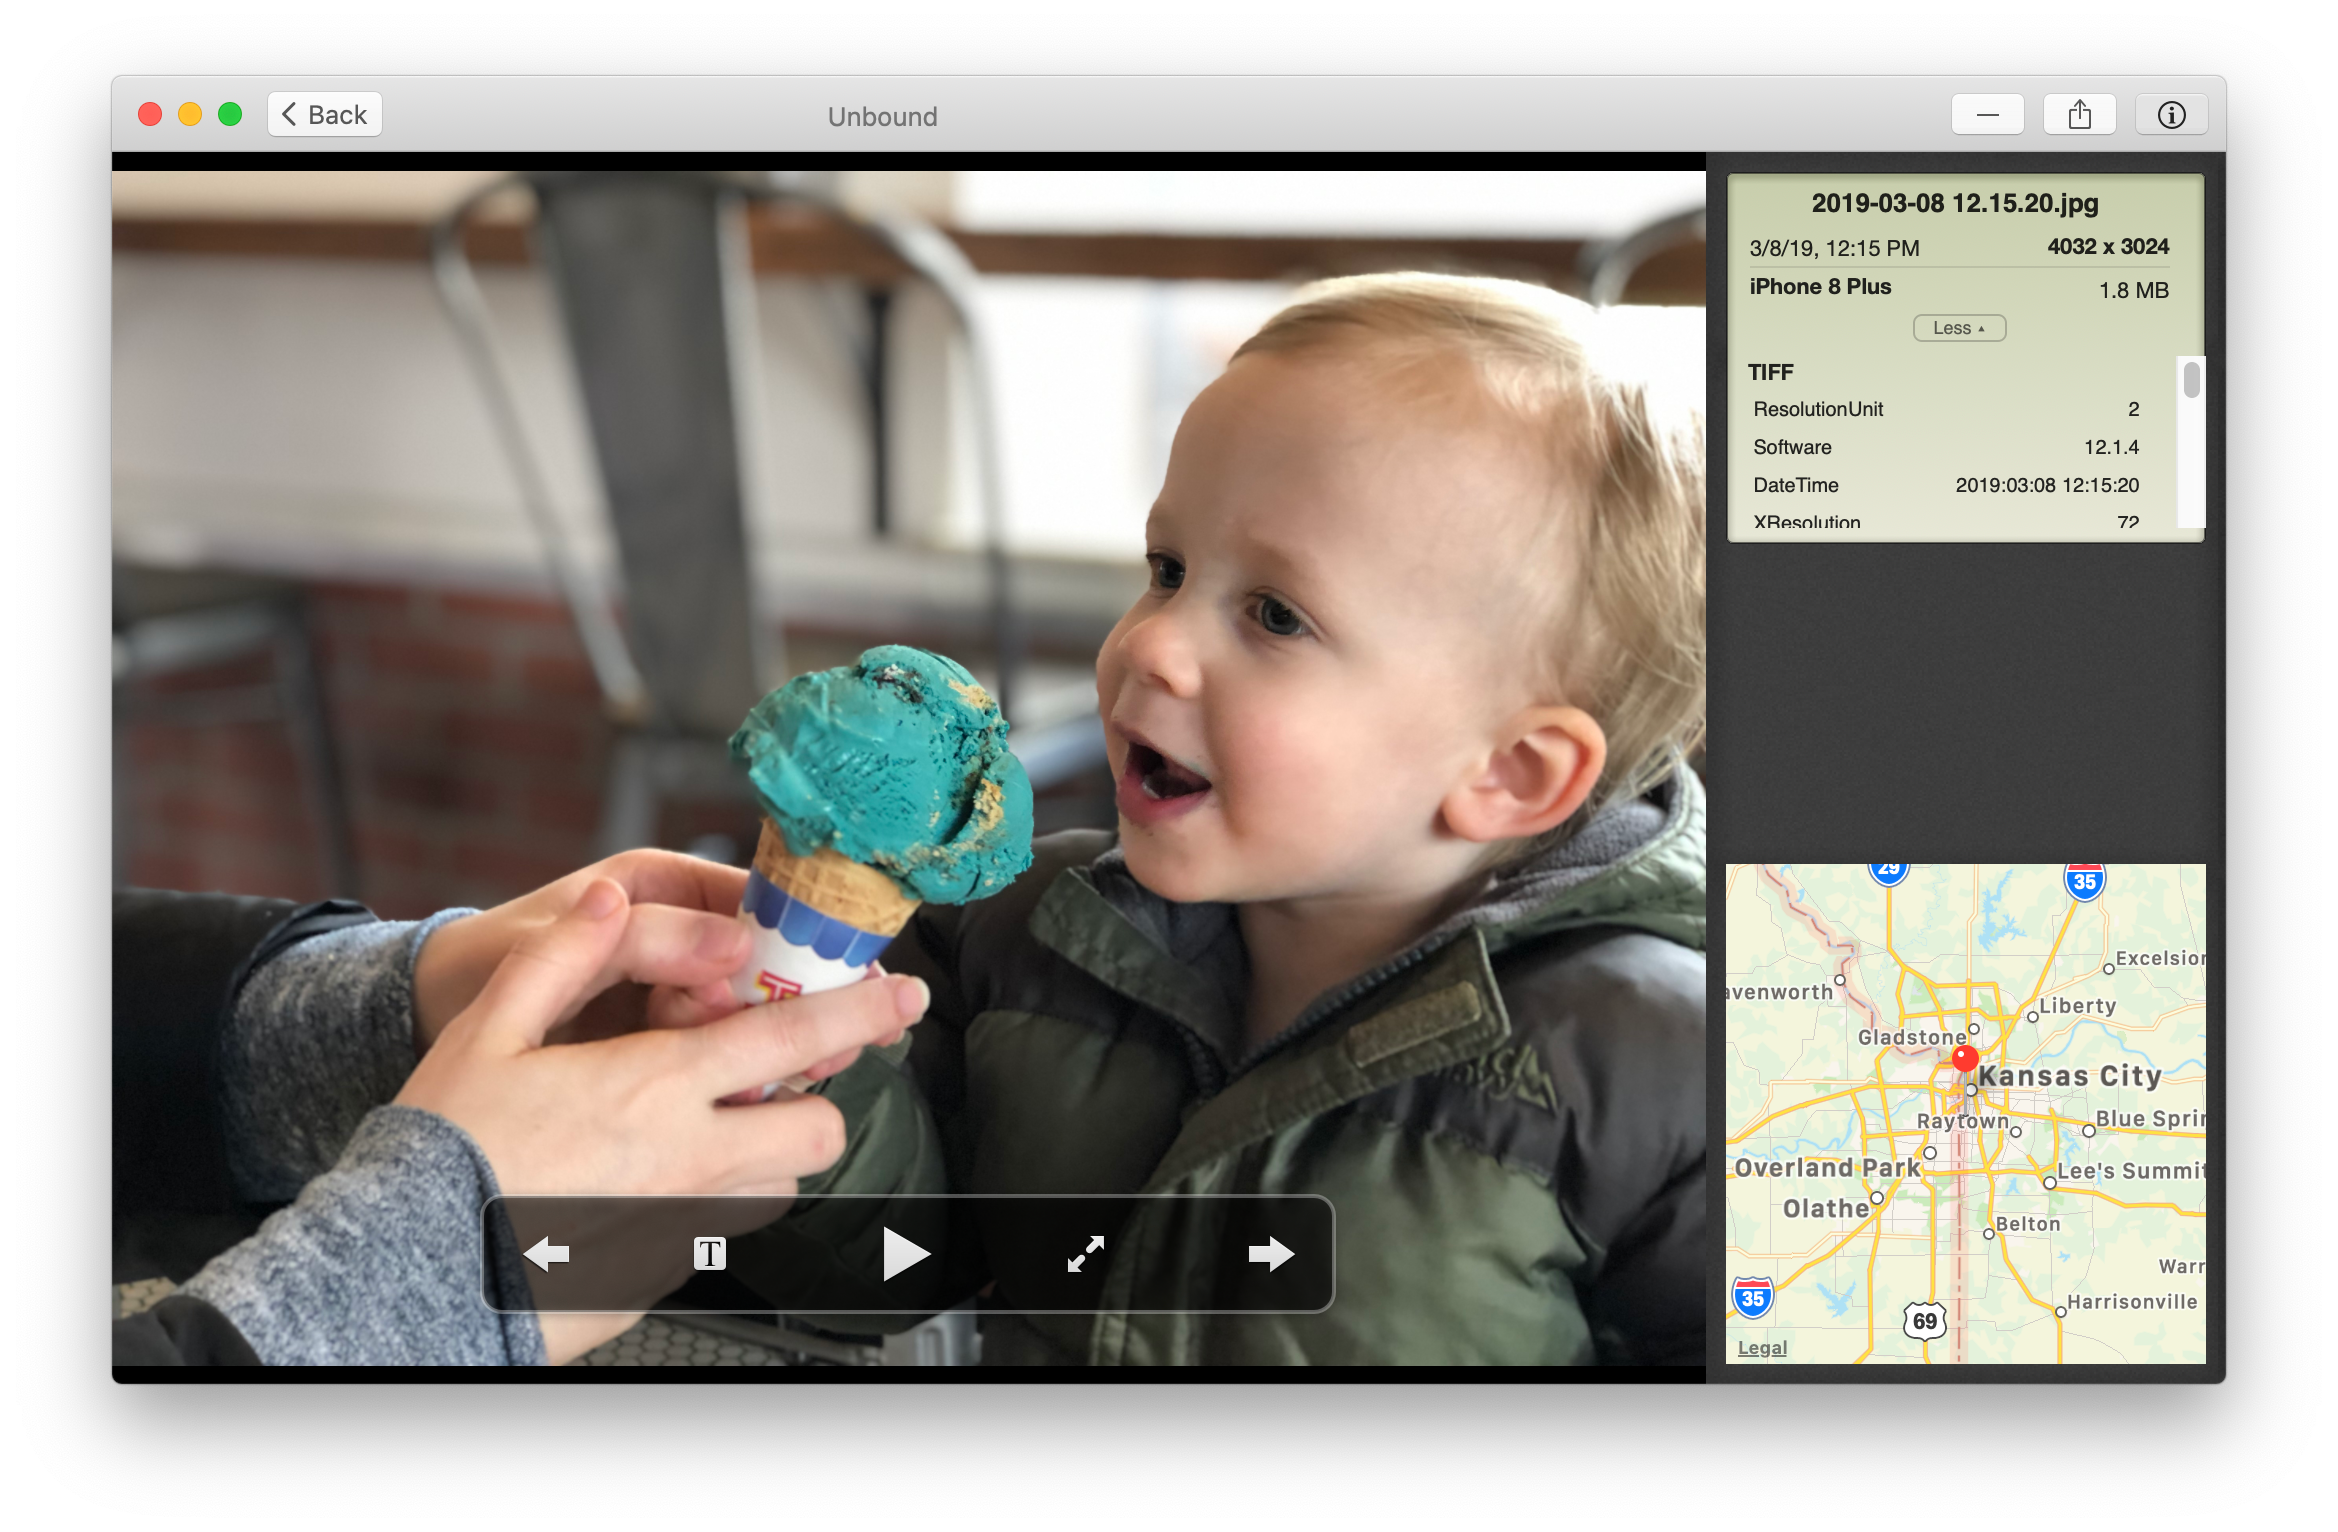 |
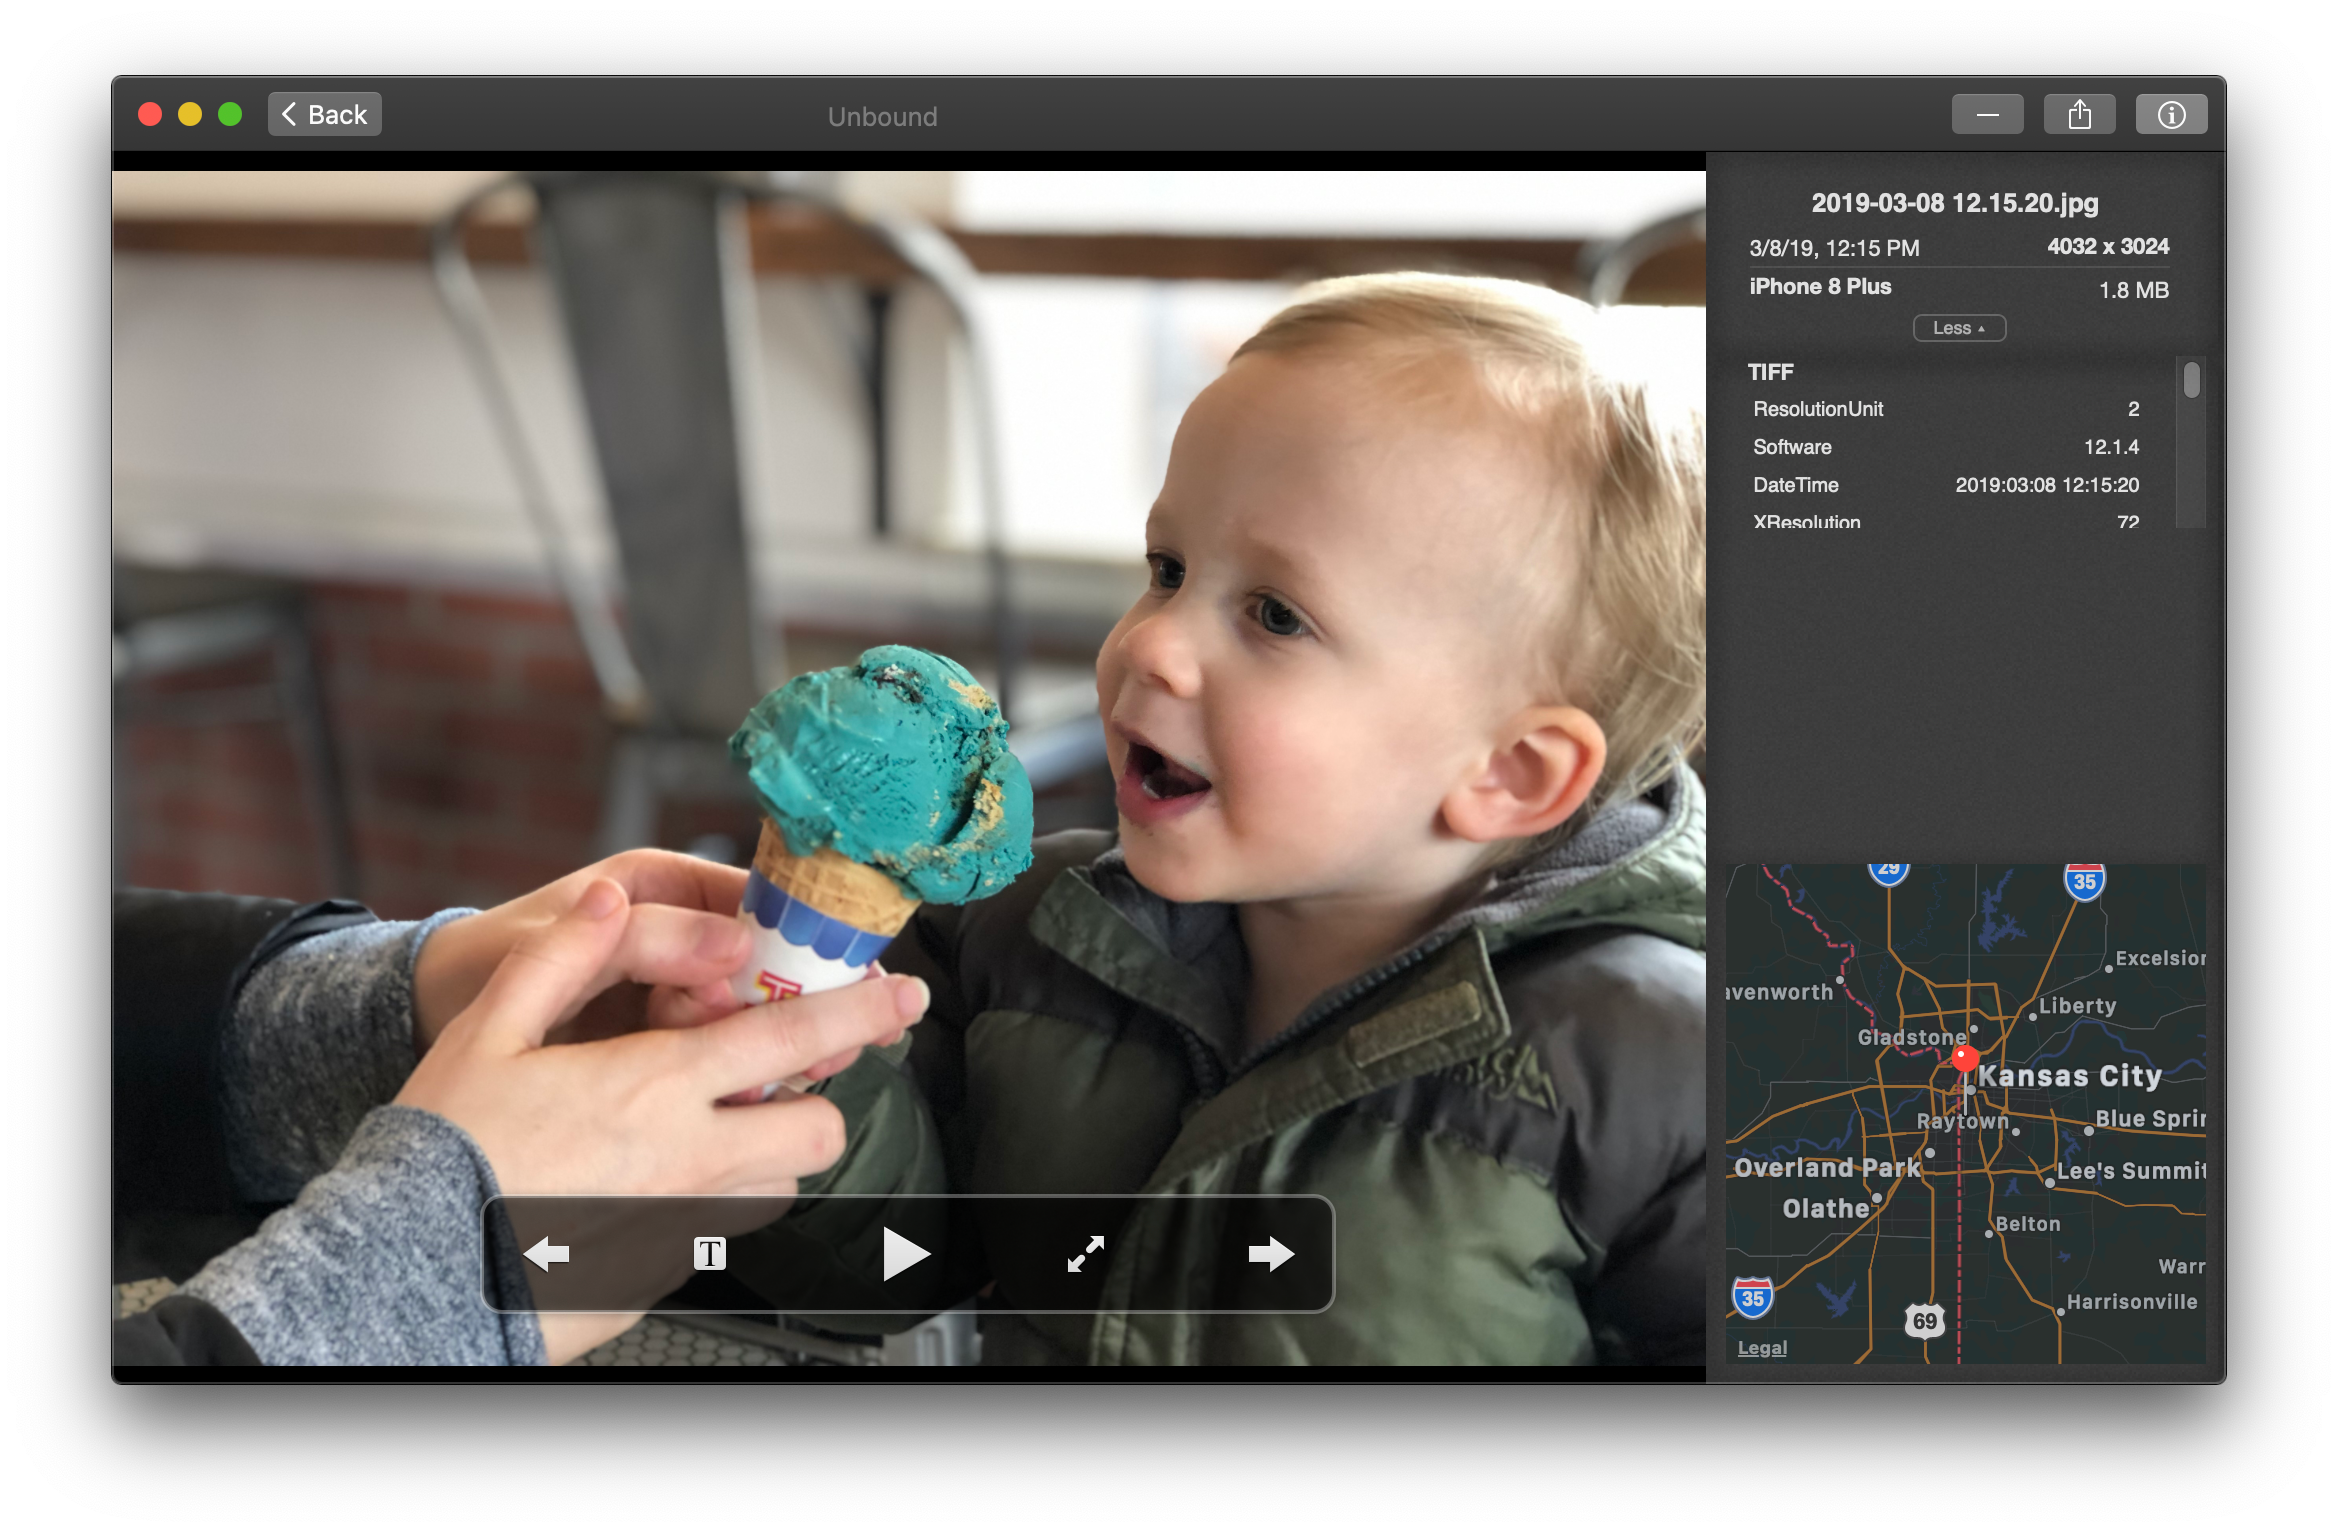 |
Hi, I'm Tyler. I took over development of Unbound in early 2020 as a way to learn more about the Apple UI frameworks and to try my hand at building an app business. I was kind of sick of my day job, and working on Unbound provided a nice outlet.
Fast forward to today, I have a new full-time job that I'm quite happy in, and I've just not had the motivation or spare brain cycles to give Unbound the attention it needs. I dread support emails, and I feel vaguely guilty that I'm not working on improving the app more.
Thus, after many years of being a paid app, I've decided to make Unbound free (both in the sense of freedom and advice).
There is absolutely no support available for Unbound. (That's the whole point of me ceasing to sell it! 😅)
With that said, I believe it's more or less functional on Catalina and Big Sur.
I'm releasing the code in this repo under the 2-clause BSD license. This applies to the code only—neither the art assets nor the Unbound name or brand may be used in any commercial projects.
(If, tempted by the prospect of making tens of dollars per month, you fork Unbound and stick it up as-is on the App Store, you'll have it taken down for copyright infringement.)
In my estimation, this is not a codebase to model your own app off of.
- It's mostly Objective-C, and not particularly good Objective-C; sometimes downright horrifying Objective-C.
- The multithreading model is frankly a mess, and a huge source of bugs. If I had the time and inclination (and if Unbound made more than tens of dollars a month at its peak 😅) I would rewrite it either using the Nuke Image Loading System directly or adopting a very similar model to Nuke. (This could make a very interesting project for someone else, though!)
So why open source it at all?
- I'm reasonably proud of my contributions to it. I've done quite a few bug fixes and rewrites that I'd like to put out in the open just as a portfolio piece. (I've squashed the commits prior to me taking it )
- Some people like the app well enough, and if they want to hack on it, more power to them.
- I have a vague dislike of codebases just disappearing into the void when they stop being financially viable.
- Install Cocoapods; on Mojave,
sudo gem install cocoapodswas giving me a Ruby interpreter error any time I tried to actually usepod, so I had to:sudo gem install -n /usr/local/bin rubysudo gem install -n /usr/local/bin cocoapods
cd path/to/unbound-mac/UnboundApppod installopen UnboundApp.xcworkspace/- Build & run Unbound
We format our Swift code using SwiftFormat, the proposed-for-standardization formatter from Dave Abrahams et al.
CocoaPods installs it for the sake of providing warnings, but you'll probably want it installed as a command line tool as well for the sake of auto-fixing stuff.
Install it like this: $ brew install swiftformat
Use it like this:
cd UnboundApp
swiftformat .
Additionally, you may want to install the Xcode editor extension: $ brew install swiftformat-for-xcode
This will install SwiftFormat for Xcode in your Applications folder. Double-click the app to launch it, and then follow the on-screen instructions. Once you have launched the app and restarted Xcode, you'll find a SwiftFormat option under Xcode's Editor menu.
- Bump the Version and Build fields in Project -> Unbound -> General (these correspond to
Build versionandShort Build Version Stringin the/UnboundApp/Supporting Files/UnboundApp-Info.plistfile) - Using Xcode, build and archive the
Unboundtarget. - Open the Organizer window, and select the created archive.
- Click Distribute App
- Mac App Store, Next
- Upload, Next
- Remain opted in to uploading symbols, Next
- Automatically manage signing, Next
- If it gives you an error about a missing signing cert, add it (currently in Dropbox/Conversion Insights/Apple Signing Certificate.p12, password is in 1Password under "Conversion Insights signing certificate")
- Update release notes!!
- Using Xcode, build and archive the
Unbound Trialtarget. - Open the Organizer window and select the Mac App Store build you did above
- Click
Distribute App, and choose theDeveloper IDdistribution method. - Have it automatically manage signing
- Choose to upload to Apple (this is necessary for notarization)
- Leave the window open for as long as it takes (usually a couple minutes)
- Once notarized, you'll be able to select the Trial build in the Organizer, and the lower right corner will have a button to Export Notarized App. Do that.
- Verify the exported app looks good:
$ spctl -a -v "Unbound Trial.app"- Ensure it says both "accepted" and "source=Notarized Developer ID"—not just "source=Developer ID"
- Zip the resulting
.appfile using ditto.ditto -ck --rsrc --sequesterRsrc --keepParent "Unbound Trial.app" "Unbound Trial.app.zip" - Move to the
unboundapp.comrepo:$ mv "Unbound Trial.app.zip" ~/Documents/repos/unboundapp.com/downloads/ - Add:
$ cd ~/Documents/repos/unboundapp.com/downloads/ && git add "Unbound Trial.app.zip" - Commit:
$ git commit -m "feat (release): Trial version 1.3.5" - Push:
$ git push - Update release notes!!
