This is a heavily modified fork of the IGV Snapshot Automator by Stephen Kelly. It comes packaged with a special modified fork of IGV, which provides a number of critical features that are unavailable in standard IGV batch runs.
In particular: it allows modification of the snapshot image size and resolution, making it possible to create high-resolution, publication-quality IGV screenshots via an automated pipeline.
Designed for use on Linux systems, and intended to be used as a component of sequencing analysis pipelines.
If you encounter bugs or problems, let me know by creating an issue on the github repository.
igvSnap is portable and runs on any linux-based system. Simply clone the github repository with the command:
git clone https://github.com/hartleys/igvSnapOr you can download the repository and unzip it to the desired location:
wget https://github.com/hartleys/igvSnap/archive/master.zip
unzip master.zip
Either way, you should then add the "bin" directory to your path:
export PATH=$PATH:/my/directory/containing/igvSnap/binAnd you're all set! You can access the basic syntax and help using the command:
igvSnap --help- Python 3+
- bash version 4.1.2+
- Xvfb
- xdpyinfo
- Java runtime environment
If you have trouble getting any of these dependencies, PLEASE let me know by creating an issue on the github repository. Some of these dependencies can be stripped out, but it would be a lot of work so I don't want to do it unless it's really necessary.
This usage manual can be accessed (in plaintext form) using the command:
igvSnap --helpigvSnap - Simple wrapper for IGV-snapshot-automator tool (vv0.1.477)
This tool is a heavily modified version of the
IGV-Snapshot-Automator by Stephen Kelly.
It is intended to allow users to create publication-quality IGV
screenshots in an automated fashion.
While the general capability to create automated screenshots in IGV
is provided by the IGV batch mode, standard IGV cannot increase the
size or resolution of the images, and the output is extremely small
(640 pixels wide)
This tool allows users to increase the resolution and/or the
dimensions of the output images.
It also provides a simple wrapper that streamlines the automation
process.
igvSnap [options] bamfile.bam
--help: displays syntax and help info.
--man: synonym for --help.
--bedFile <filename.bed>: The bedfile to use, listing the desired
      regions. This can be combined with the --region parameter.
--region chr1:10000-20000: Explicitly list a region to plot. Note,
      the region can optionally be preceded with the region ID using the
      format: regionID:chr1:1000-2000. This parameter can be set more
      than once, in which case separate snapshots will be generated for
      each region.
--roi chr1:10000-20000: One or more regions of interest to mark on
      the track. If this is set more than once, then one region of
      interest will be assigned to each region parameter, in one to one
      order.
--viewAsPairs: view bam file reads using the viewaspairs mode.
--outDir <output/dir/>: The directory to put output images.
      Defaults to the current directory
--outPrefix <fileSuffix>: A suffix to append to each output image
      filename.
--outSuffix <fileSuffix>: A suffix to append to each output image
      filename.
--trackFile <trackFile.bam/bed/vcf/etc>: Additional track files to
      include.
--ht <ht>: The maxHeight param for IGV.
--wd <wd>: The width of the output image(s), in pixels. (default
      1920)
--resolutionFactor 1.0: The resolution multiplication factor. This
      can be used to increase the resolution without shrinking the
      elements. Roughly 4.17 is equivalent to 300dpi.
--onlySnap <batchfile.bat>: Instead of creating a new batch file
      and running it, just use the supplied headlessIGV batch file.
--noSnap: Instead of creating a new batch file and running it, just
      create the batch file and stop.
--additionalInitCommand: Add an additional IGV batch file command
      to the beginning of the batch file. This can be specified more than
      once.
--fmt png/svg/jpg: The image file format you want. Can be png, svg,
      or jpg. Default: png.
--python path/to/python: The path to the python executable you want
      to use. Defaults to just 'python'. This is useful if you have both
      python 2.7 and python 3+ installed.
--igvJar path/to/jarfile: The headlessIGV jarfile to use. It is
      strongly recommended to use the version that comes with this
      version of igvSnap, as different versions of igvSnap and
      headlessIGV may not be compatible. Also note that you can NOT use a
      standard IGV jarfile.
To run the script on the included demo files:
$ igvSnap \
          --resolutionFactor "1" \
          --wd "1000" \
          --region "chr1:714000-714400" \
          --roi "chr1:714067-714070" \
          --fmt png \
          --viewAsPairs \
          --outDir "./testResults" \
          --outPrefix "testrun.72dpi." \
          "testdata/test_alignments.bam"
To generate a high-resolution, publication-quality png (roughly equivalent to 600dpi):
$ igvSnap \
          --resolutionFactor "8.3" \
          --wd "1000" \
          --region "chr1:714000-714400" \
          --roi "chr1:714067-714070" \
          --fmt png \
          --viewAsPairs \
          --outDir "./testResults" \
          --outPrefix "testrun.600dpi." \
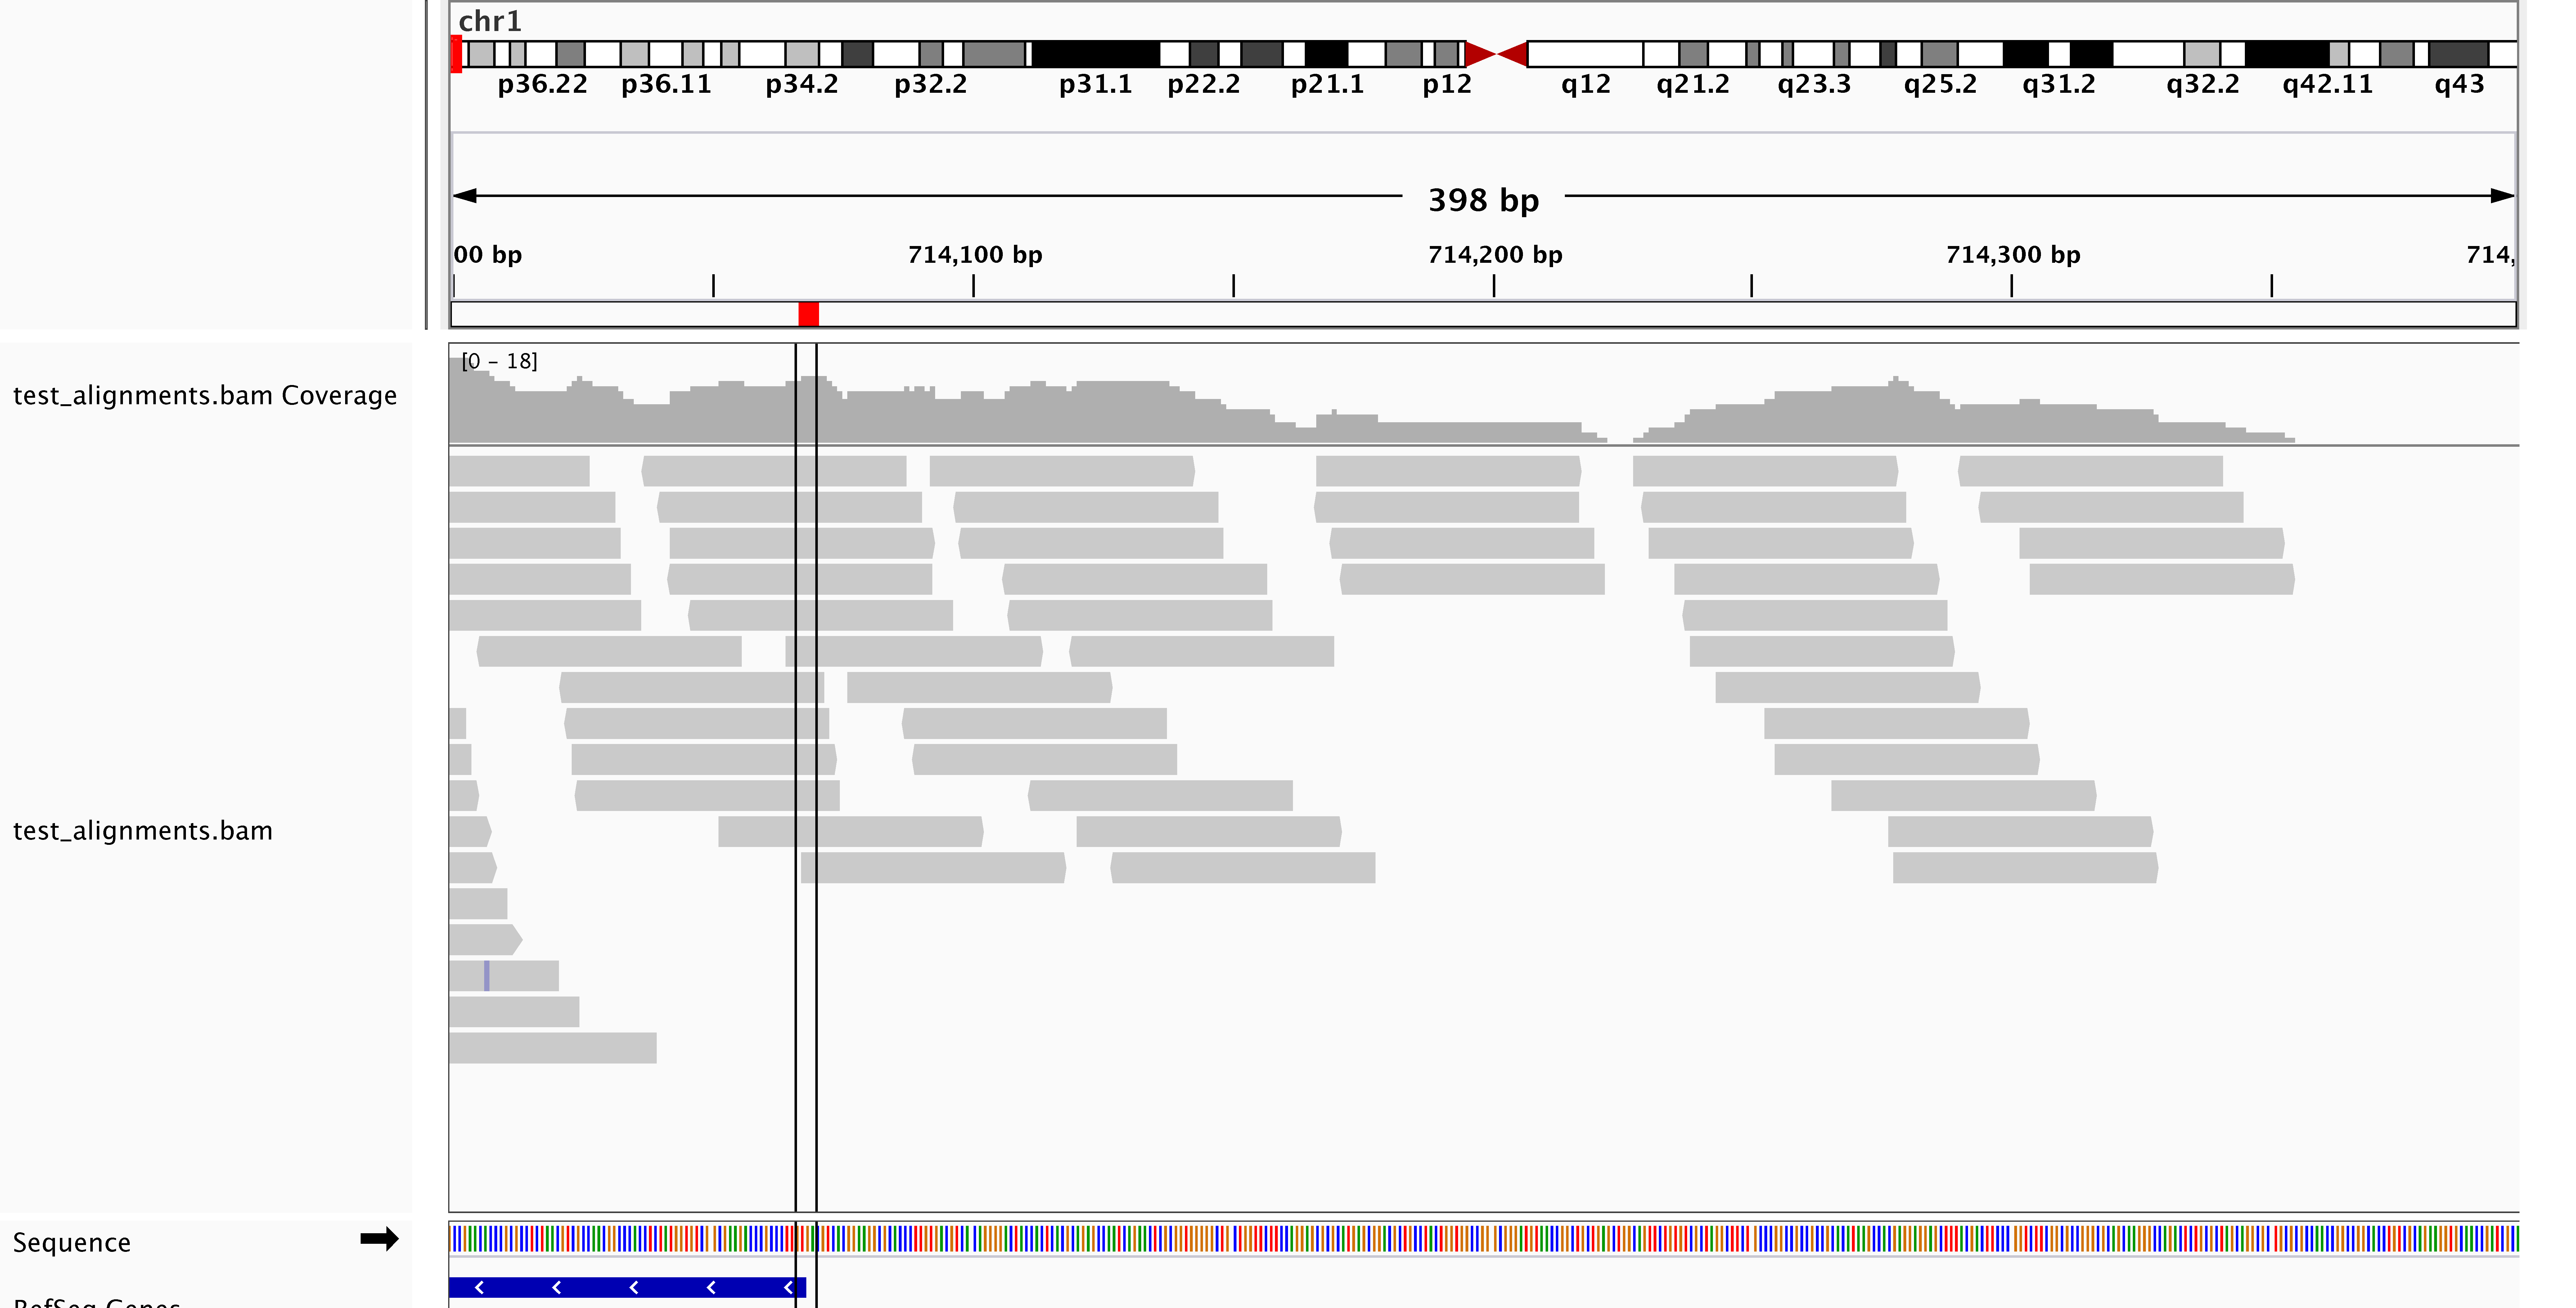
"testdata/test_alignments.bam"High resolution image generated by igvSnap:
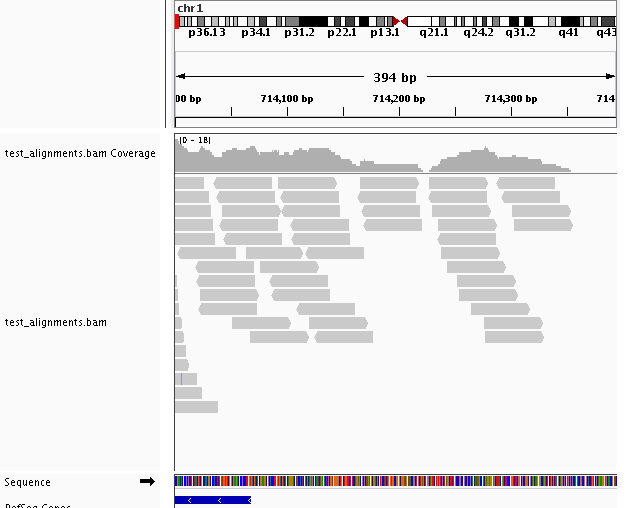
Simple IGV batch snapshot, without the extra capabilities offered by igvSnap:
Default memory allotment is set at 4GB; this can be changed with the -mem argument (e.g. -mem 1000 sets memory to 1GB).
IGV may take several minutes to run, depending on the number of input files and regions to snapshot. Unlike with the base IGV-snapshot-automator tool from Stephen Kelly, stdout output from IGV should appear while IGV runs.

