-
Notifications
You must be signed in to change notification settings - Fork 5
Delivery improvements and rich content notifications
With the new iOS 10 you can attach a static or animated (GIF) image (see Rich Notifications for more details), or even a video to push notifications as well as modify the notification content prior to show it to the user. But what is more important for us is that with the Notification Service Extensions we can run arbitrary code in background even if your main application is killed by the user. This feature gives us an opportunity to improve message handling and delivery reporting. In this tutorial you will learn how to integrate the Notification Service Extension with your existing application.
- Ruby 2.3.8 to run "mmine" command.
- iOS deployment target not lower than 10.0
As a prerequisite, you need to register a new App Group with a unique App Group Id on this site: https://developer.apple.com/account/ios/identifier/applicationGroup. The App Group is needed for your application and notification extension to exchange important data via shared data container, remember this ID for further integration steps.
-
Install and run Ruby Gem mmine, passing appropriate parameters:
$ sudo gem install mmine
$ mmine integrate \
--application-code <your Push Application Code from Infobip portal> \
--project <absolute path to your Xcode project (.xcodeproj file)> \
--app-group <your App Group Id from previous section> \
--target <name of your projects main target> \
--static-linkage \
--react-native
This tool will automatically integrate Mobile Messaging Notification Extension into your Xcode project. Your Application Code will be automatically injected into
NotificationService.swiftsource file as a hardcoded string parameter forMobileMessagingNotificationServiceExtension.startWithApplicationCode(_)method call.
Linking of the MobileMessaging static library is supported starting from 6.2.0 version of the plugin, for the lower plugin versions
--static-linkageparameter shouldn't be provided into themmine integratecommand anduse_frameworks!should be added to thePodfile
-
Add settings for
MobileMessagingNotificationExtensiontarget to your Podfile as follows:- Further steps applicable if you use Cocoapods to integrate MobileMessaging SDK. If you use Carthage, next steps are on Integration via Carthage page.
- It's strongly recommended to have the latest version of CocoaPods.
target 'YourProjectsMainTarget' do
    ...

    target 'MobileMessagingNotificationExtension' do
        inherit! :search_paths
    end
end
-
Run
pod updatefrom Terminal, from theiosfolder
- Check article for native platform - Notification Service Extension for Rich Notifications and better delivery reporting on iOS
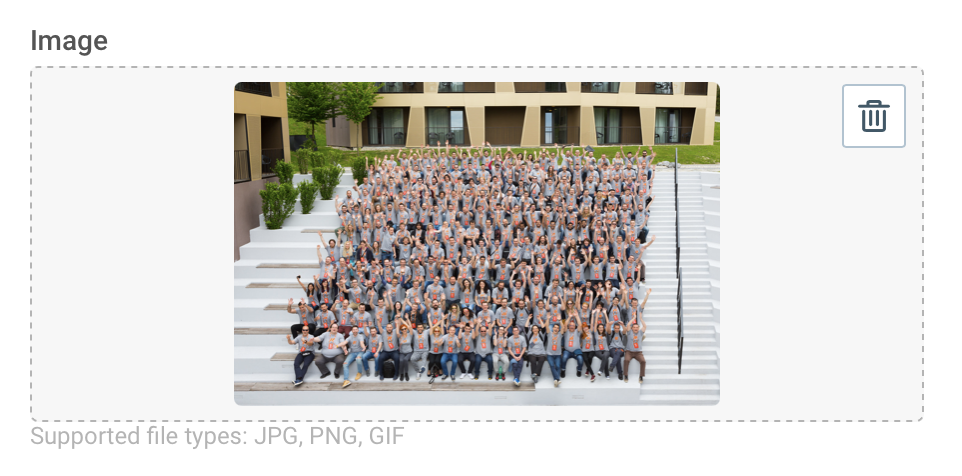
In order to receive media content through Push messages, you need to create a new campaign on Customer portal or send a message through Push HTTP API
 |
 |
 |
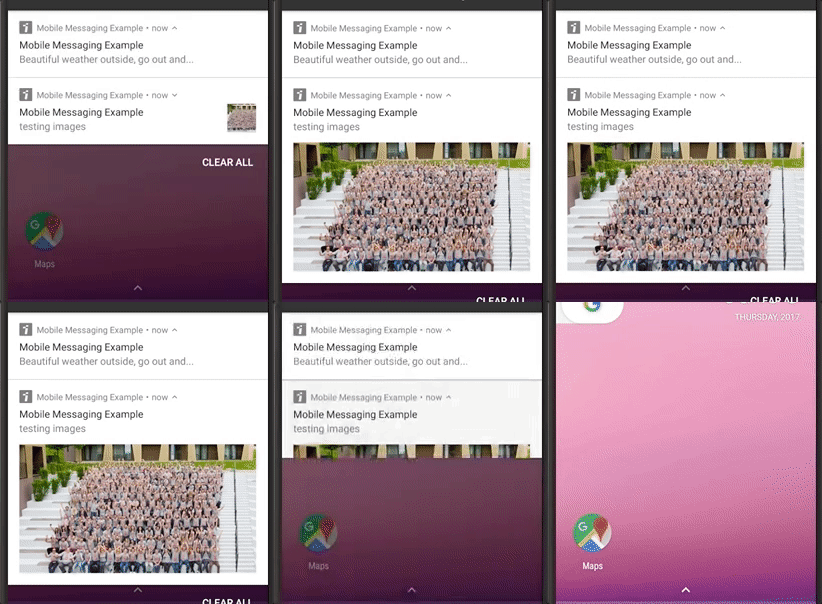
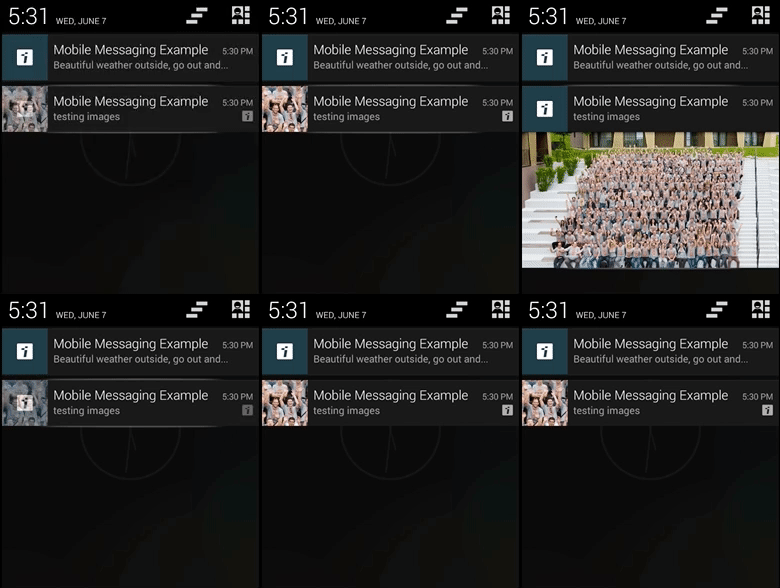
Provided image will be displayed in the notification drawer where default rich notification’s design correlates with OS version. As of API 16 - Jelly Bean, image downloaded from provided URL will be displayed not only in normal view, but also in expanded, big view.
 |
 |
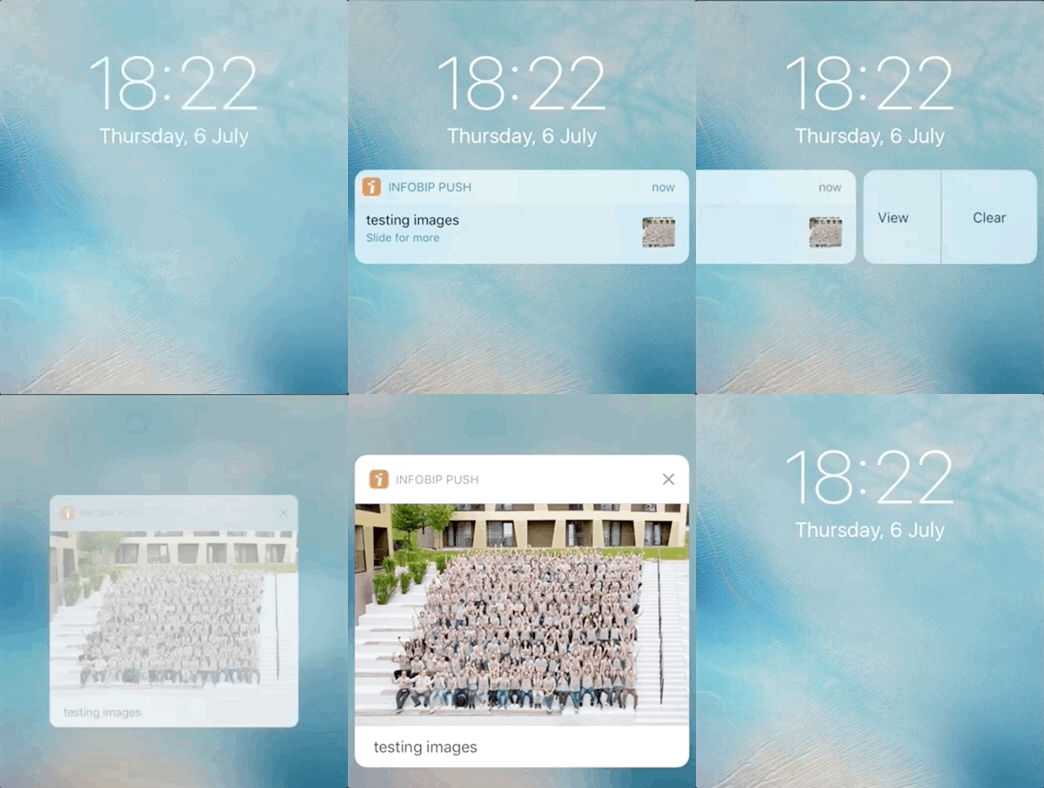
Provided content will be displayed on devices with iOS 10.+ in the notification center.

If you have any questions or suggestions, feel free to send an email to support@infobip.com or create an issue.
- Library events
- Server errors
- Users and installations
- Messages and notifications management
- Inbox
- Privacy settings
- In‐app chat
- WebRTC Calls and UI
- Migration guides