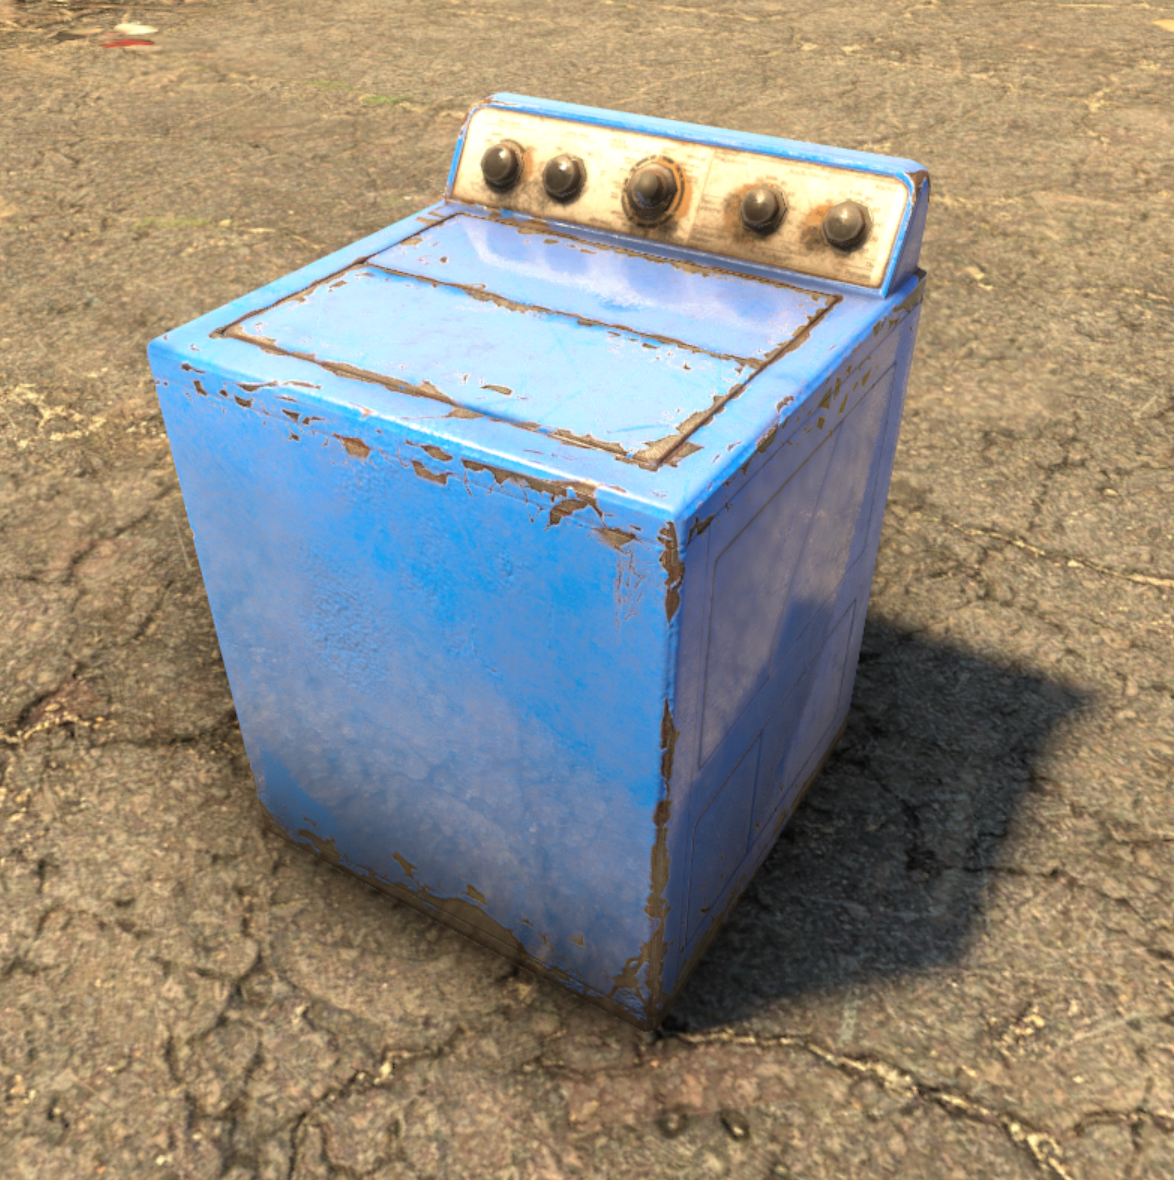
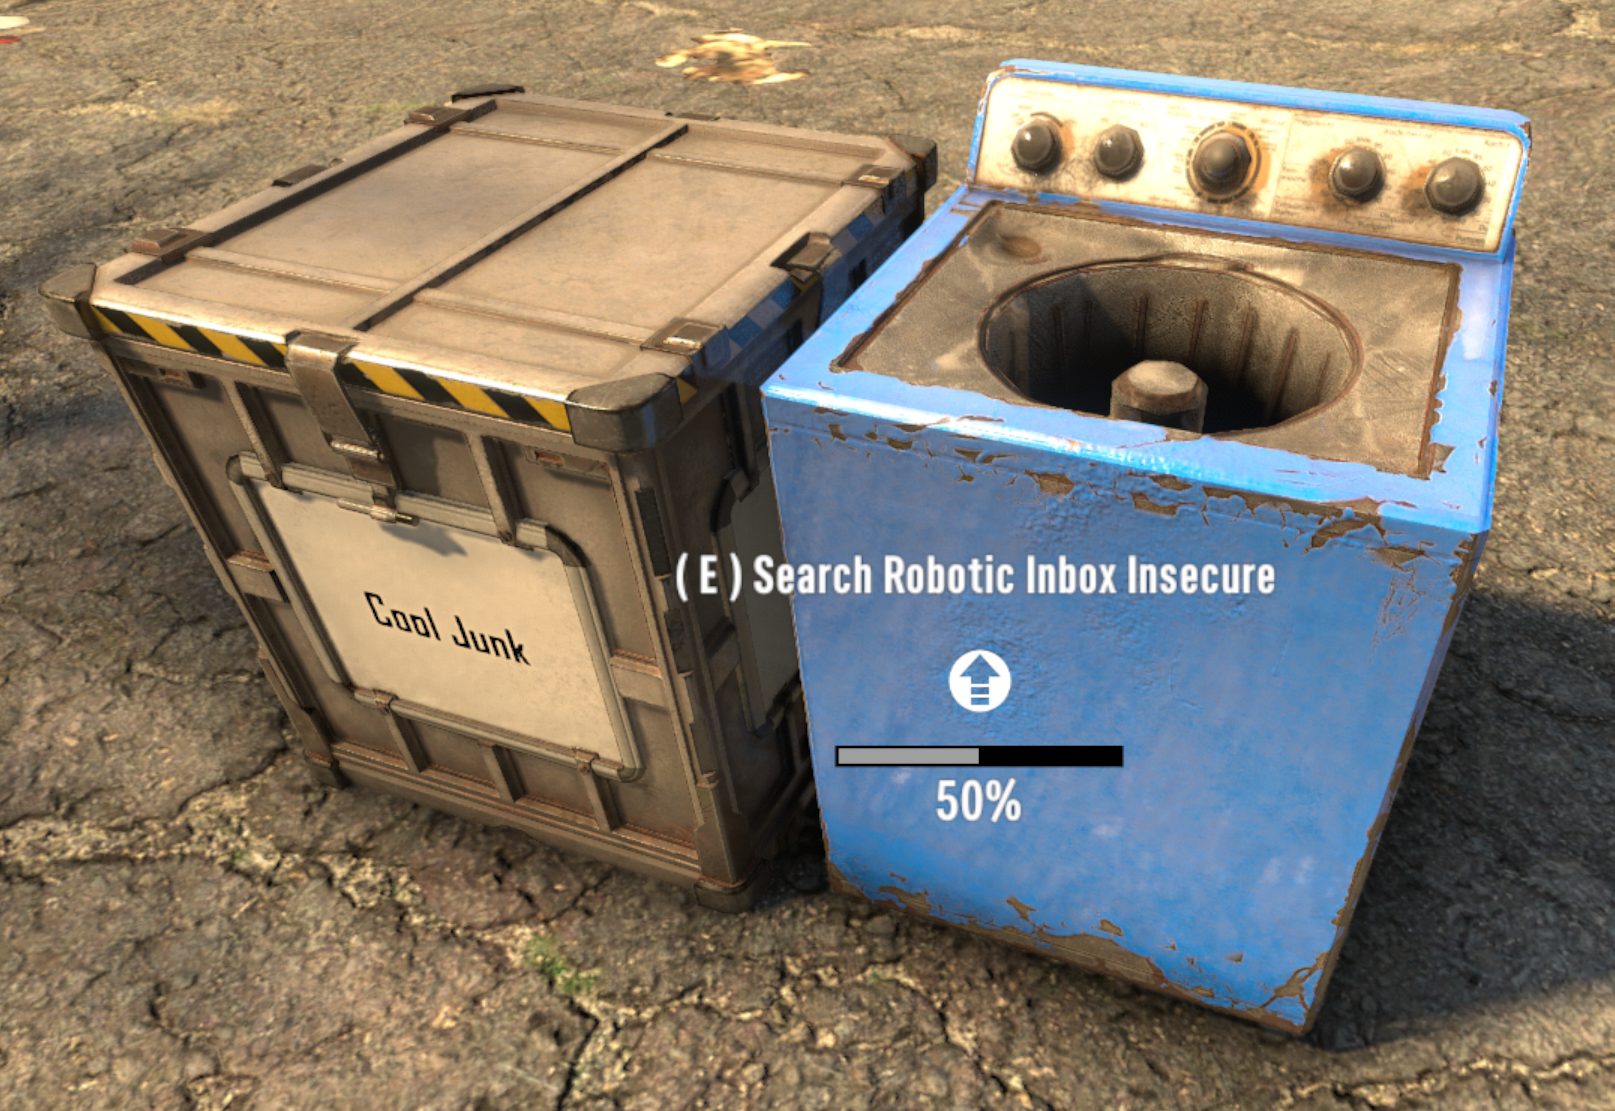
A special container that automatically sorts and distributes items to other nearby storage containers.
🗪 If you would like support for this mod, please feel free to reach out to me via Discord (my username is kanaverum).
This container will automatically distribute resources placed within it if they are present in other nearby containers.
Resources can be distributed to any container within 5 meters by default (horizontally and vertically), so long as the following conditions are met:
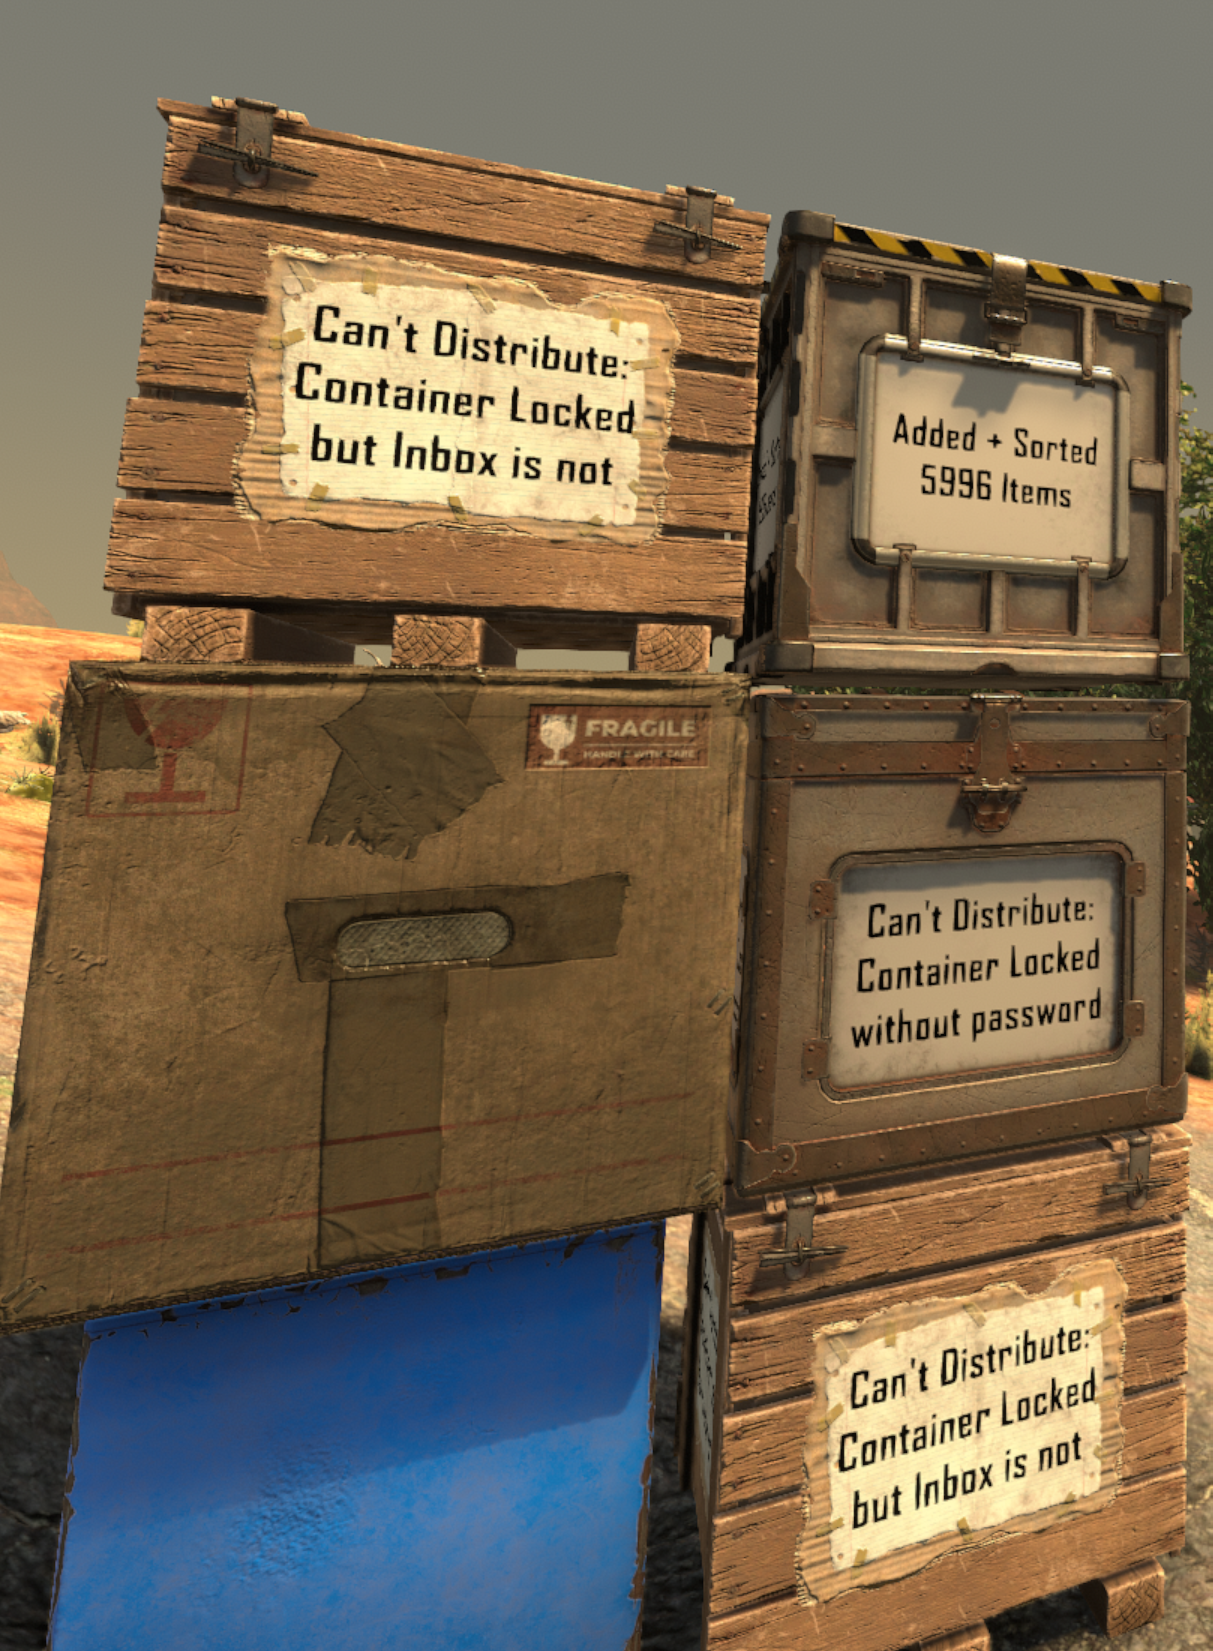
- If inbox is locked, target must be locked, and share same password.
- If inbox is unlocked, target must also be unlocked.
- If inbox is within an LCB, target must also be within that same LCB.
- Backpack, vehicle, and storage not placed by a player are ignored.
Press & hold Action Key to lock it or set a combination.
This explanation is included in-game as the Robotic Inbox Block Description.
✏️ While any secure or insecure player-placed storage container can be targeted by the Inbox, Writable Storage Containers will describe how the Inbox is interacting with them, making them the recommended type of container to place near an Inbox.
If someone busts your lock, you can replace the lock simply by repairing it. This will go through the upgrade flow and should appear relatively seamless.
Or if you break the lock on someone else's Robotic Inbox (such as a friend no longer logs in), breaking the lock and repairing it will allow you to take ownership of the Inbox and adjust its password, lock state, etc.
⚠️ Robotic Inboxes with broken locks will not be able to distribute items again until they're repaired.
unlit in daylight
lit in daylight with a headlamp
You now have a slew of options you can use to fine-tune the experience for yourself and any other players who happen to join your game!
| Command | Default | Constraints | Description | Impact |
|---|---|---|---|---|
help roboticinbox |
N/A | N/A | Receive help information about the set of commands this mod provides | N/A |
ri horizontal-range <int> |
5 | 0 to 128 | set how wide (x/z axes) the inbox should scan for storage containers | very high |
ri vertical-range <int> |
5 | -1 to 253 (-1 = bedrock-to-sky) | set how high/low (y axis) the inbox should scan for storage containers | high |
ri success-notice-time <float> |
2.0 | 0.0 to 10.0 | set how long to leave distribution success notice on boxes | N/A |
ri blocked-notice-time <float> |
3.0 | 0.0 to 10.0 | set how long to leave distribution blocked notice on boxes | N/A |
ri base-siphoning-protection <bool> |
True | True or False | whether inboxes within claimed land should prevent scanning outside the bounds of their lcb | N/A |
ri dm |
False | True or False | toggle debug logging mode | medium |
ri debug |
False | True or False | toggle debug logging mode (same as dm) |
medium |
- 📝 Settings like
horizontal-rangeandvertical-rangewill actually update the block description for your players as well, so things remain clear and accurate. Changes made during runtime will even auto-update the block description for all online players, too!- 💾 Except for
debug, these settings are retained in a file on the host system:
- Windows:
%AppData%\Roaming\7DaysToDie\Saves\MapName\GameName\robotic-inbox.json- Linux:
~/.local/.local/share/7DaysToDie/Saves/MapName/GameName/robotic-inbox.json
📦 Any items in the Inbox that are not able to be matched with another container will be left there until you have time to decide which container to store them in.
🏪 Robotic Inbox can be purchased from a trader as soon as you start the game.
🛠️ Robotic Inboxes can also be crafted at the Workbench after reading enough about robotics to also craft a Tier 1 Junk Sledge.
| Ingredient | Count |
|---|---|
| resourceForgedIron | 4 |
| resourceMetalPipe | 3 |
| resourceMechanicalParts | 6 |
| resourceElectricParts | 8 |
This mod does a lot, so I would understand if you have any concern around how much load it would add to your server.
Here are some things I kept in mind as I was designing and tweaking this mod:
- Container data is already processed server-side in 7 days to die. This means that
- adjustments to storage are actually most performant on the server's end rather than on the client's end and...
- this approach to manipulating container data actually reduces networking calls vs any client-side mod that operates from the players' ends
- Container organization is run on each box within range via a concurrent loop. This ensures that as inboxes are scanning and updating your players' containers, the server can still process other tasks and avoid zombie or crafting lag.
Without proper installation, this mod will not work as expected. Using this guide should help to complete the installation properly.
If you have trouble getting things working, you can reach out to me for support via Support.
| Environment | Compatible | Does EAC Need to be Disabled? | Who needs to install? |
|---|---|---|---|
| Dedicated Server | Yes | no | only server |
| Peer-to-Peer Hosting | Yes | only on the host | only the host |
| Single Player Game | Yes | Yes | self (of course) |
🤔 If you aren't sure what some of this means, details steps are provided below to walk you through the setup process.
- Does adding this mod require a fresh map?
- No! You can drop this mod into an ongoing map without any trouble.
- Does removing this mod require a fresh map?
- Since this mod adds new blocks, removing it from a map could cause some issues: previously placed robotic inbox blocks would now throw exceptions in your logs, at the very least.
ℹ️ If you plan to host a multiplayer game, only the host PC will need to install this mod. Other players connecting to your session do not need to install anything for this mod to work 😉
- 📦 Download the latest release by navigating to this link and clicking the link for
robotic-inbox.zip - 📂 Unzip this file to a folder named
robotic-inboxby right-clicking it and choosing theExtract All...option (you will find Windows suggests extracting to a new folder namedrobotic-inbox- this is the option you want to use) - 🕵️ Locate and create your mods folder (if missing): in another Windows Explorer window or tab, paste
%APPDATA%\7DaysToDieinto your address bar and, double-click yourModsfolder to enter it.- If no
Modsfolder is present, you will first need to create it, then enter yourModsfolder after that
- If no
- 🚚 Move your new
robotic-inboxfolder into yourModsfolder by dragging & dropping or cutting/copying & pasting, whichever you prefer - ♻️ Stop the game if it's currently running, then start the game again without EAC by navigating to your install folder and running
7DaysToDie.exe- running from Steam or other launchers usually starts 7 Days up with the
7DaysToDie_EAC.exeprogram instead, but running 7 Days directly will skip EAC startup
- running from Steam or other launchers usually starts 7 Days up with the
⚠️ it is NECESSARY for the host to run with EAC disabled or the DLL file in this mod will not be able to run- 😉 other players DO NOT need to disable EAC in order to connect to your game session, so you don't need to walk them through these steps
- 🔑 it is also HIGHLY RECOMMENDED to add a password to your game session
- while disabling EAC is 100% necessary (for P2P or single player) to run this mod properly, it also allows other players to run any mods they want on their end (which could be used to gain access to admin commands and/or grief you or your other players)
- please note that dedicated servers do not have this limitation and can have EAC fully enabled; we have setup guides for dedicated servers as well, listed in the next 2 sections: Windows/Linux Installation (Server via FTP from Windows PC) and Linux Server Installation (Server via SSH)
- 📦 Download the latest release by navigating to this link and clicking the link for
robotic-inbox.zip - 📂 Unzip this file to a folder named
robotic-inboxby right-clicking it and choosing theExtract All...option (you will find Windows suggests extracting to a new folder namedrobotic-inbox- this is the option you want to use) - 🕵️ Locate and create your mods folder (if missing):
- Windows PC or Server: in another window, paste this address into to the address bar:
%APPDATA%\7DaysToDie, then enter yourModsfolder by double-clicking it. If noModsfolder is present, you will first need to create it, then enter yourModsfolder after that - FTP: in another window, connect to your server via FTP and navigate to the game folder that should contain your
Modsfolder (if noModsfolder is present, you will need to create it in the appropriate location), then enter yourModsfolder. If you are confused about where your mods folder should go, reach out to your host.
- Windows PC or Server: in another window, paste this address into to the address bar:
- 🚚 Move this new
robotic-inboxfolder into yourModsfolder by dragging & dropping or cutting/copying & pasting, whichever you prefer - ♻️ Restart your server to allow this mod to take effect and monitor your logs to ensure it starts successfully:
- you can search the logs for the word
RoboticInbox; the name of this mod will appear with that phrase and all log lines it produces will be presented with this prefix for quick reference
- you can search the logs for the word
- 🔍 SSH into your server and navigate to the
Modsfolder on your server- if you installed 7 Days to Die with LinuxGSM (which I'd highly recommend), the default mods folder will be under
~/serverfiles/Mods(which you may have to create)
- if you installed 7 Days to Die with LinuxGSM (which I'd highly recommend), the default mods folder will be under
- 📦 Download the latest
robotic-inbox.ziprelease from this link with whatever tool you prefer- example:
wget https://github.com/jonathan-robertson/robotic-inbox/releases/latest/download/robotic-inbox.zip
- example:
- 📂 Unzip this file to a folder by the same name:
unzip robotic-inbox.zip -d robotic-inbox- you may need to install
unzipif it isn't already installed:sudo apt-get update && sudo apt-get install unzip - once unzipped, you can remove the robotic-inbox download with
rm robotic-inbox.zip
- you may need to install
- ♻️ Restart your server to allow this mod to take effect and monitor your logs to ensure it starts successfully:
- you can search the logs for the word
RoboticInbox; the name of this mod will appear with that phrase and all log lines it produces will be presented with this prefix for quick reference - rather than monitoring telnet, I'd recommend viewing the console logs directly because mod and DLL registration happens very early in the startup process and you may miss it if you connect via telnet after this happens
- you can reference your server config file to identify your logs folder
- if you installed 7 Days to Die with LinuxGSM, your console log will be under
log/console/sdtdserver-console.log - I'd highly recommend using
lessto open this file for a variety of reasons: it's safe to view active files with, easy to search, and can be automatically tailed/followed by pressing a keyboard shortcut so you can monitor logs in realtime- follow:
SHIFT+F(useCTRL+Cto exit follow mode) - exit:
qto exit less when not in follow mode - search:
/RoboticInbox[enter] to enter search mode for the lines that will be produced by this mod; while in search mode, usento navigate to the next match orSHIFT+nto navigate to the previous match
- follow:
- you can search the logs for the word
-blue.svg)


