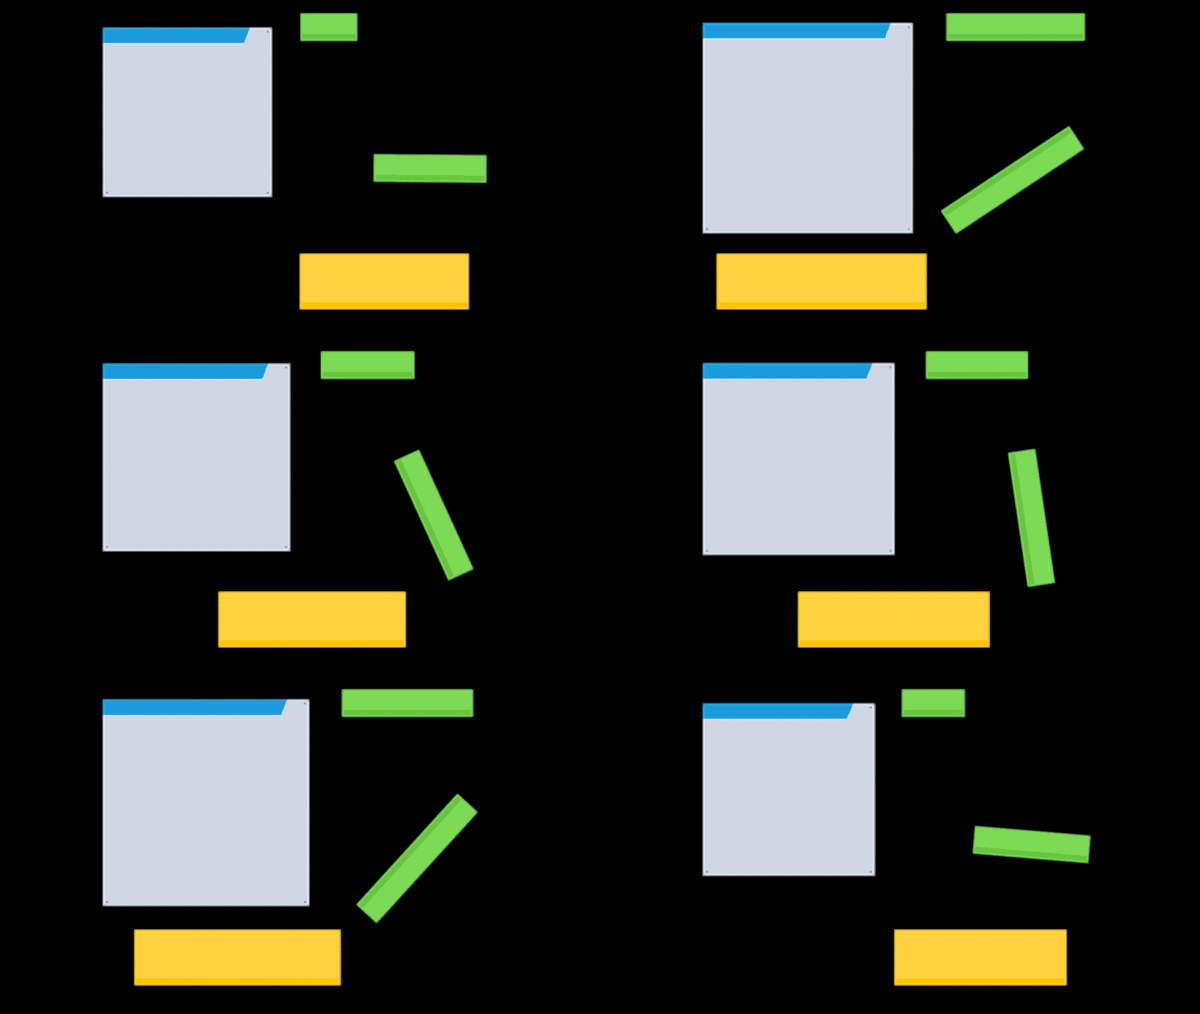
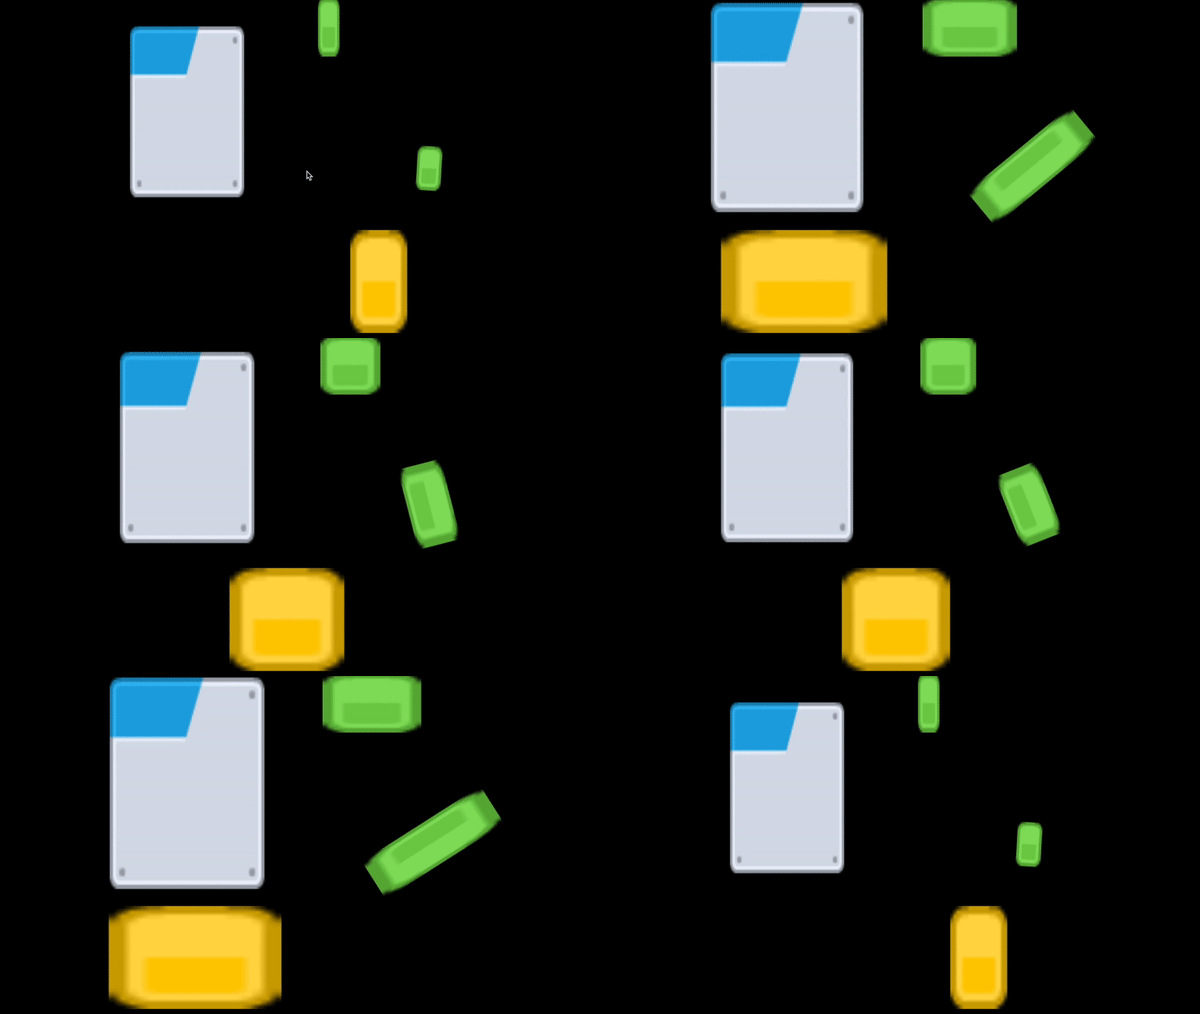
Phaser3 Nine Patch plugin adds 9-slice scaling support to Phaser3!
Key features:
- Blazing fast
- Low memory usage
- Easy to use API
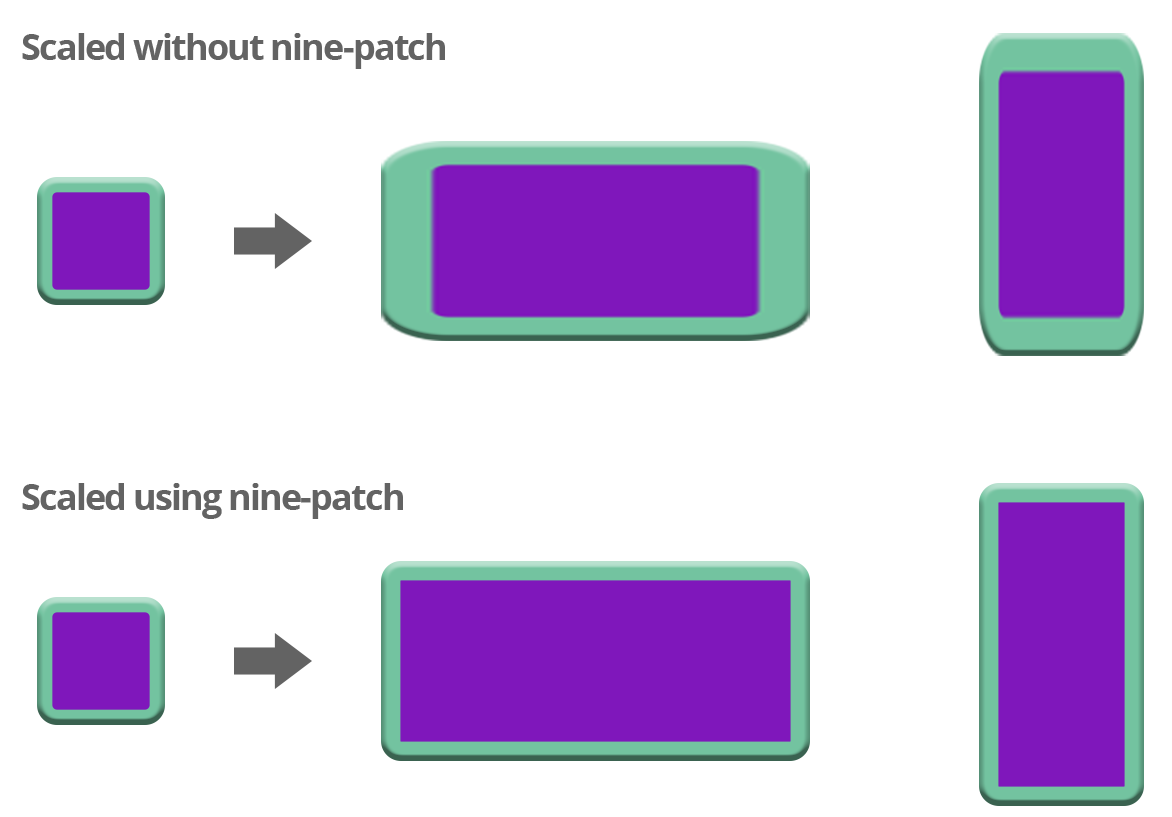
A Nine-Patch is an image format that uses extra information, defining what parts of it should be scaled (and which are not) when the image is rendered in a larger or smaller size. This technique is very useful for creating UI components like buttons, panels, containers, etc.
Using this technique, you can define the background of multiples UI components like panels or buttons with the same image asset. You can also create large panels with a reduced image asset so is very useful for optimizing your project resources.
First you want to get a fresh copy of the plugin. You can get it from this repo or from npm, ain't that handy.
npm install @koreez/phaser3-ninepatch --save
You still need to load the plugin in your game. This is done just like any other global plugin in Phaser3. So, to load the plugin, include it in phaser game config.
{
  type: Phaser.WEBGL,
  width: 540,
  height: 960,
  backgroundColor: '#626262',
  parent: 'gameContainer',
  scene: [GameScene],
  plugins: {
    global: [{ key: 'NinePatchPlugin', plugin: NinePatchPlugin, start: true }],
  },
}
The plugin will patch your Phaser game with additional add/make methods so the NinePatch game object fits up in Phaser like any normal object!
Also adding and creating of 9-patch images is exposed through Phaser's GameObjectCreator and GameObjectFactory. So you can add a 9-patch image to your game just like any other image once it's preloaded!
//We specify the x and y position, the width and height and the key for the image of the image. It will be automaticly scaled!
this.add.ninePatch(100, 100, 200, 400, "my-image", null, {
    top: 10, // Amount of pixels for top
    bottom: 20, // Amount of pixels for bottom
    left: 30, // Amount of pixels for left
    right: 40 // Amount of pixels for right
});
Or if you'd want to do something with it first:
//Two options here, first we use Phaser
var ninePatch = this.make.ninePatch({
    key: "my-image",
    width: 200,
    height: 200,
    patchesConfig: {
        top: 10, // Amount of pixels for top
        bottom: 20, // Amount of pixels for bottom
        left: 30, // Amount of pixels for left
        right: 40 // Amount of pixels for right
    }
});
ninePatch.x = 20;
ninePatch.y = 20;
this.add.existing(ninePatch);

//Or we use the Constructor
var ninePatch = new NinePatch(this, 0, 0, 200, 50, "my-image", null, {
    top: 10, // Amount of pixels for top
    bottom: 20, // Amount of pixels for bottom
    left: 30, // Amount of pixels for left
    right: 40 // Amount of pixels for right
});
ninePatch.x = 50;
ninePatch.y = 50;
this.add.existing(nineSlice);It's also possible to use an image that's located inside a Texture atlas. The only difference then is that you don't have to preload the image, instead you use the object's constructor and pass the framedata directly on creation:
//Add an nineslice image with an texture atlas
var ninePatch = new NinePatch(
    this, // Phaser.Scene
    150, // x position
    100, // y position
    200, // expected width
    100, // expected height
    "buttons", // atlas key
    "btn_clean.png", // Image frame
    {
        top: 20, // Amount of pixels for top
        bottom: 23, // Amount of pixels for bottom
        left: 27, // Amount of pixels for left
        right: 28 // Amount of pixels for right
    }
);
this.add.existing(ninePatch);9-patch image has a resize method which lets you expand/shorten the width or length of the image. When using resize method, make sure values are not lower than the width of the image corners
var ninePatch = this.add.ninePatch(5, 5, 48, 48, "image", null, {
    top: 5 // Amount of pixels for top, bottom, left, right
});
ninePatch.resize(100, 200);Big thanks to this great repo:


