#Practice React Natvie
######대략 한시간 정도 천천히 읽고 따라치면서 React Native의 개념들과 느낌을 익히는데 노력했습니다.
######iOS, Android 가 하나의 완전히 같은 소스로 동작한다는 것(최소한 tutorial에서는..) 그리고 fetch 부분이 너무 간단하고 쉬웠다는 것들이 매우 좋았습니다. React Native를 이용하면 iOS, Android에서 data fetch 후 listview에 출력하는 것에 비해 학습량이 매우 적은것 같습니다.
#####1. fetch
-
fetch 후 json parsing 과정에 대해 이해할 수 없음. (나중에 찾아봅시다)
-
하지만 굉장히 심플하다..
fetchData: function() {
	fetch(REQUEST_URL)
	.then((response) => response.json())
	.then((responseData) => {
		this.setState({movies: responseData.movies,});
	})
	.done();
},
#####2. getInitialState : function()
- 데이터가 변했을 때,
getInitialState함수 안에 정의되어 있는 변수를 이용해서 render에notify를 할 수 있음. this.setState()함수를 이용해서 render 함수에게 notify를 보내고 render 함수가 화면을 다시 그릴 수 있게함.this.setState({ movies: responseData.movies, });- render 함수
  render: function() {
      if (!this.state.movies) {
        return this.renderLoadingView();
      }

      var movie = this.state.movies[0];
      return this.renderMovie(movie);
  },
setup 부분 잘 까먹으니 스크랩.. ####Setup React Native requires the basic setup explained at React Native Getting Started. After installing these dependencies there are two simple commands to get a React Native project all set up for development.
####1. npm install -g react-native-cli
- react-native-cli is a command line interface that does the rest of the set up. It’s installable via npm. This will install react-native as a command in your terminal. You only ever need to do this once.
####2. react-native init AwesomeProject
- This command fetches the React Native source code and dependencies and then creates a new Xcode project in
AwesomeProject/iOS/AwesomeProject.xcodeprojand a gradle project inAwesomeProject/android/app.
####Development
For iOS, you can now open this new project (AwesomeProject/AwesomeProject.xcodeproj) in Xcode and simply build and run it with ⌘+R. Doing so will also start a Node server which enables live code reloading. With this you can see your changes by pressing ⌘+R in the simulator rather than recompiling in Xcode.
For Android, run react-native run-android from AwesomeProject to install the generated app on your emulator or device, and start the Node server which enables live code reloading. To see your changes you have to open the rage-shake-menu (either shake the device or press the menu button on devices, press F2 or Page Up for emulator, ⌘+M for Genymotion), and then press Reload JS.
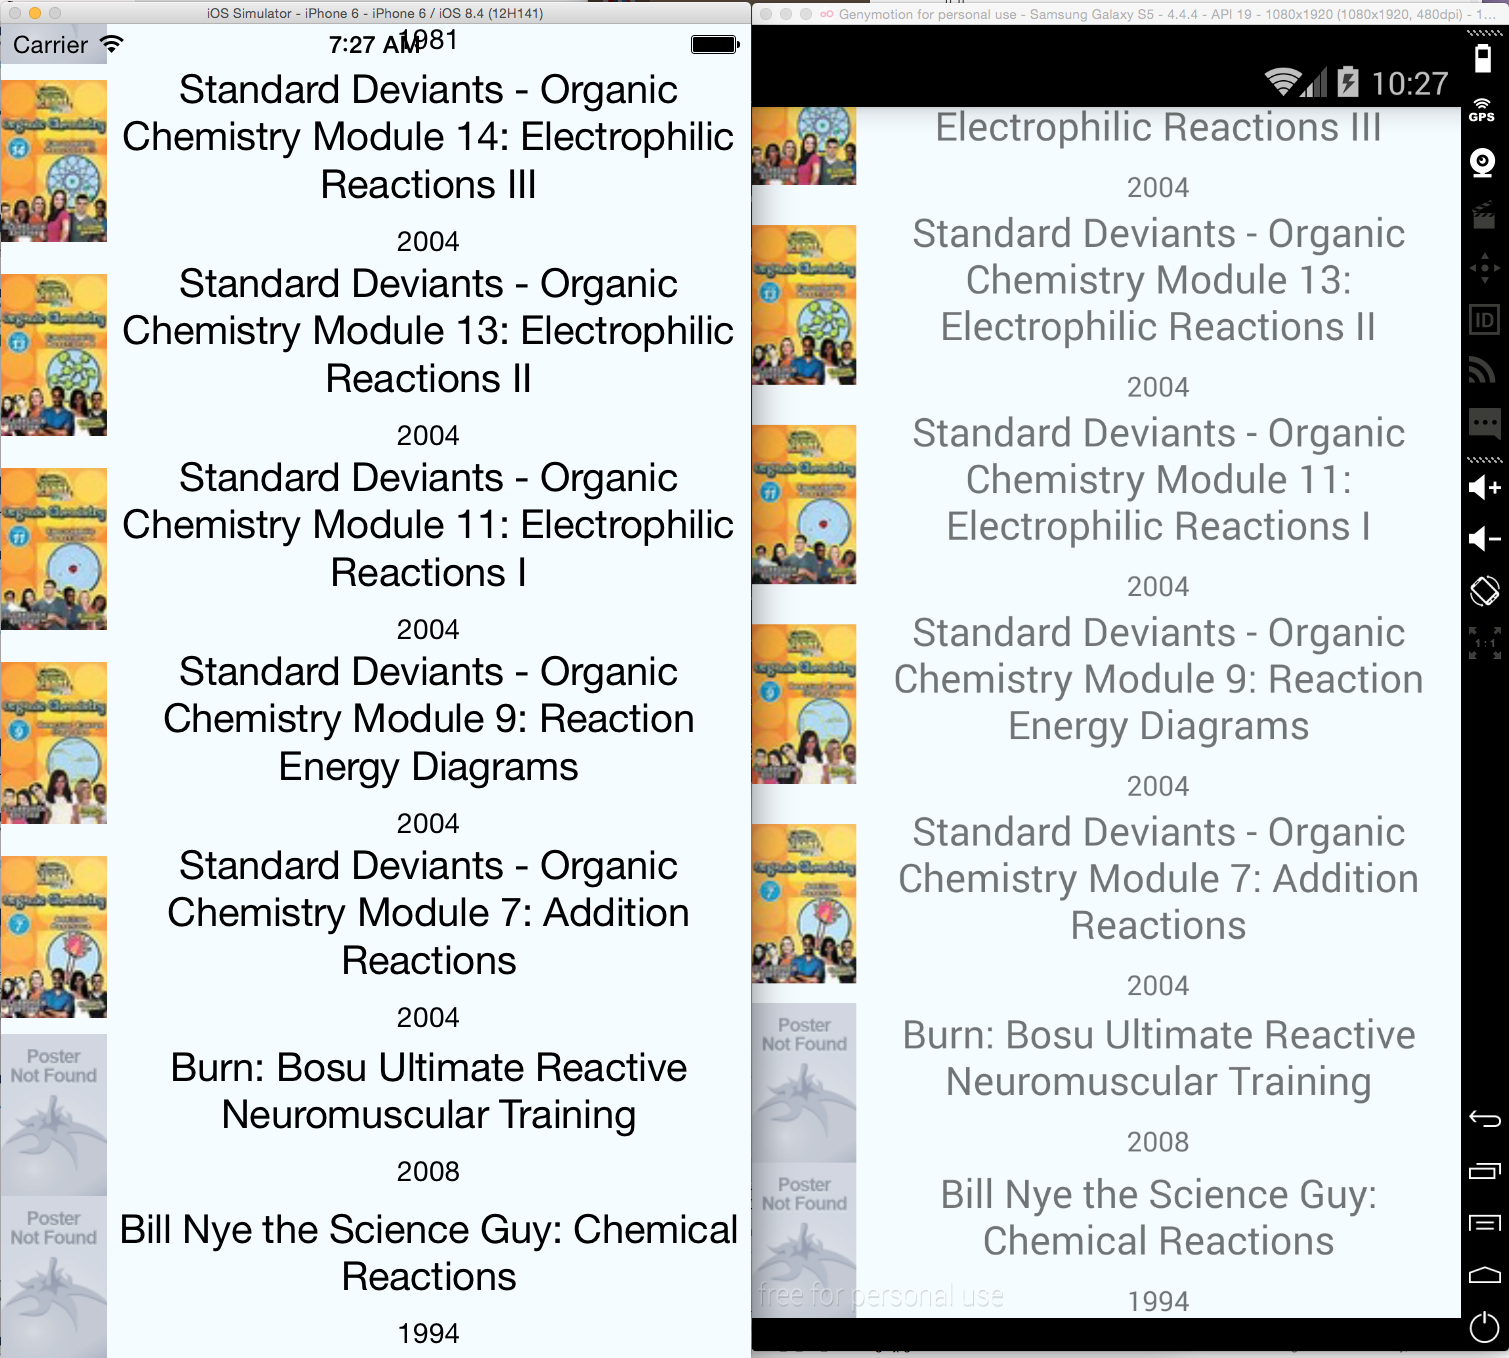
For this tutorial we'll be building a simple version of the Movies app that fetches 25 movies that are in theaters and displays them in a ListView.
#####완성 화면 캡쳐
#####Final source code
/**
 * Sample React Native App
 * https://github.com/facebook/react-native
 */
'use strict';

var React = require('react-native');
var {
  AppRegistry,
  Image,
  ListView,
  StyleSheet,
  Text,
  View,
} = React;

var REQUEST_URL = 'https://raw.githubusercontent.com/facebook/react-native/master/docs/MoviesExample.json';

var MOCKED_MOVIES_DATA = [
  {title: 'Title', year: '2015', posters: {thumbnail: 'http://i.imgur.com/UePbdph.jpg'}},
];

var AwesomeProject = React.createClass({
  getInitialState: function() {
    return {
      dataSource: new ListView.DataSource({
          rowHasChanged: (row1, row2) => row1 !== row2,
      }),
      loaded: false,
    };
  },
  componentDidMount: function() {
    this.fetchData();
  },
  fetchData: function() {
    fetch(REQUEST_URL)
      .then((response) => response.json())
      .then((responseData) => {
        this.setState({
          dataSource: this.state.dataSource.cloneWithRows(responseData.movies),
          loaded: true,
        });
      })
      .done();
  },
  render: function() {
    if (!this.state.loaded) {
      return this.renderLoadingView();
    }

    return (
      <ListView
        dataSource={this.state.dataSource}
        renderRow={this.renderMovie}
        style={styles.ListView}/>
    );
  },

  renderLoadingView: function() {
    return (
      <View style={styles.container}>
        <Text>
          Loading movies...
        </Text>
      </View>
    );
  },

  renderMovie: function(movie) {
    return (
      <View style={styles.container}>
        <Image
          source={{uri: movie.posters.thumbnail}}
          style={styles.thumbnail}
        />
        <View style={styles.rightContainer}>
          <Text style={styles.title}>{movie.title}</Text>
          <Text style={styles.year}>{movie.year}</Text>
        </View>
      </View>
    );
  },
});

var styles = StyleSheet.create({
  container: {
    flex: 1,
    flexDirection: 'row',
    justifyContent: 'center',
    alignItems: 'center',
    backgroundColor: '#F5FCFF',
  },
  rightContainer: {
    flex: 1,
  },
  title: {
    fontSize: 20,
    marginBottom: 8,
    textAlign: 'center',
  },
  year: {
    textAlign: 'center',
  },
  thumbnail: {
    width: 53,
    height: 81,
  },
  listView: {
    paddingTop: 20,
    backgroundColor: '#f5fcff'
  },
});

AppRegistry.registerComponent('AwesomeProject', () => AwesomeProject);