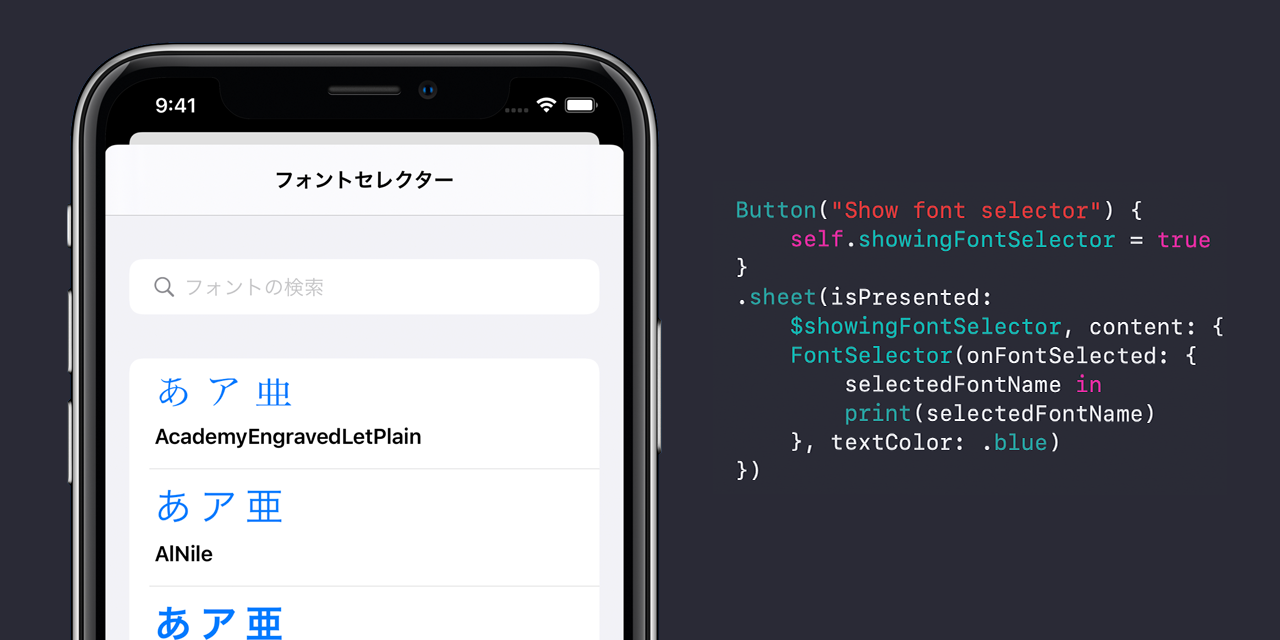
これは、SwiftUIで書かれたフォントセレクターです。このフォントセレクターを表示させると、ユーザーがフォントを選ぶことができます。
フォントセレクターを初期化するには、このコードを使います:
FontSelector(onFontSelected: { selectedFontName in
    print(selectedFontName)
})
フォントセレクターを提示するには、このコードを使うことができます:
@State private var showingFontSelector = false
Button("Show font selector") {
    self.showingFontSelector = true
}
.sheet(isPresented: $showingFontSelector, content: {
    FontSelector(onFontSelected: { selectedFontName in
        print(selectedFontName)
    })
})
オプションでパラーメーターをいくつか設定できます:
public init(onFontSelected: @escaping (String) -> Void, demoText: String = "あ ア 亜", displayAllLocalFonts: Bool = true, customFontNames: [String] = [], options: [FontSelectorOption] = [.displayFontNameAsSubtitle])こちらは、パラメーターの説明です:
- onFontSelected: この機能はユーザーがフォントを選択すると呼び出されます。
- demoText: これは表示デモ目的のためのテキスト内容です。デフォルト値は `あ ア 亜` に設定されています
- displayAllLocalFonts: この変数を真に設定すると、すべてのシステムフォントをメニューに表示します。
- customFontNames: フォントの一部のみ表示したい場合は、`displayAllLocalFonts` を偽に設定し、フォントを選択して `customFontNames` に追加してください。
- options: 上の `FontSelectorOption` コードで指定されているように、複数の選択肢から選択することができます。
- textColor: 文字の色- Xcode内からプロジェクトを開く
- 上部のシステムバーの"File"をクリック
- "Swift Packages"をクリック、次いで"Add package dependency…"をクリック
- 以下のURLをペースト:
https://github.com/mszmagic/FontSelector.git - Version: Up to Next Major
1.0.3 < - "Next"をクリック
- "Done"をクリック。
