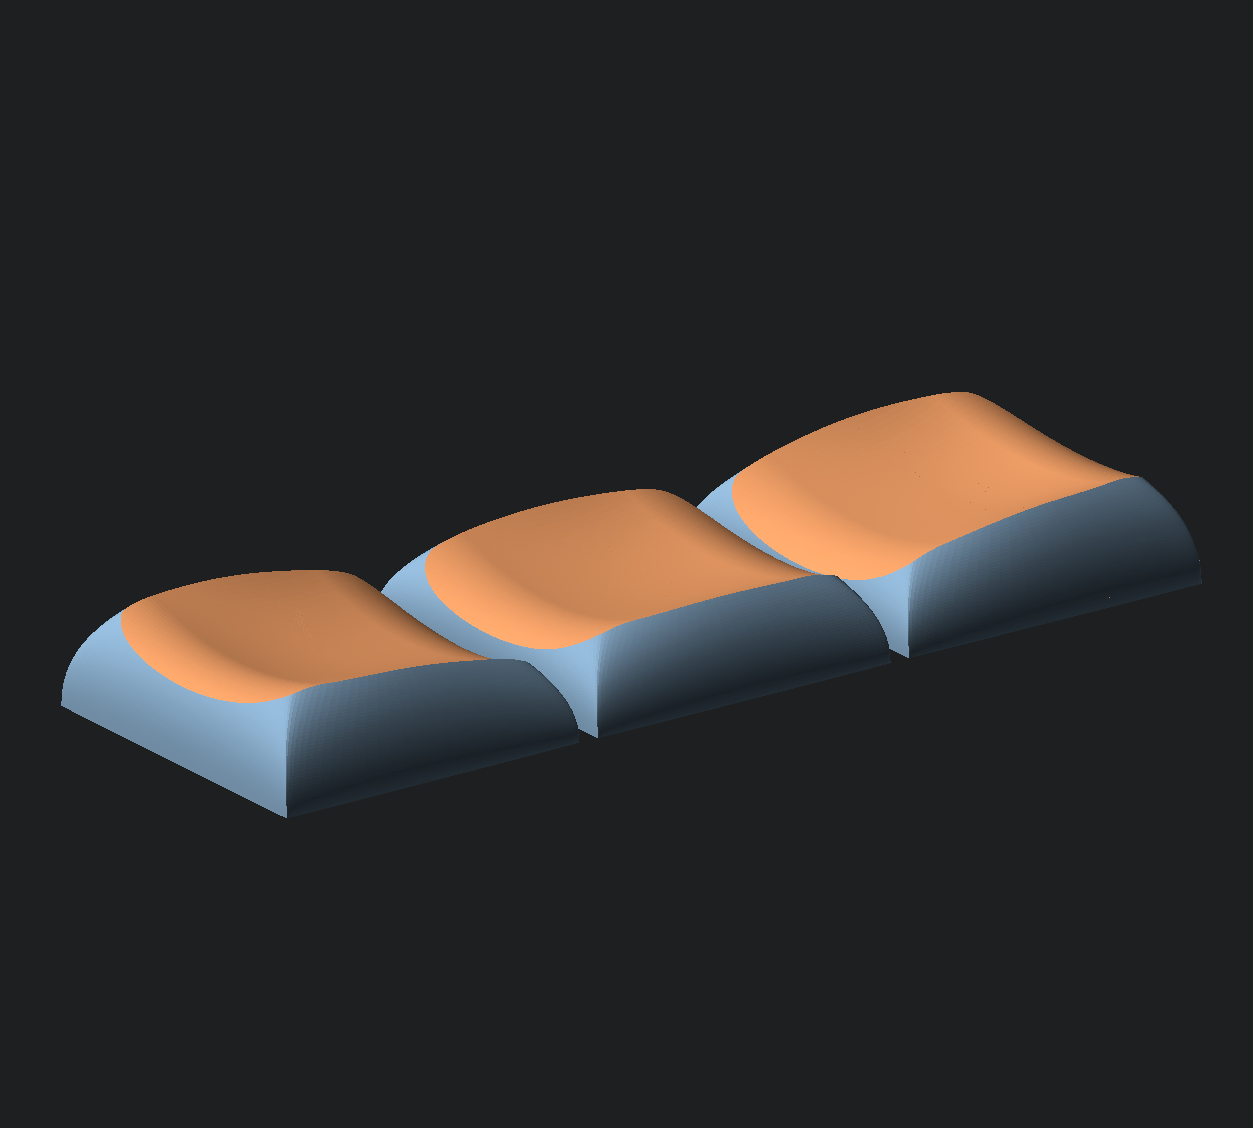
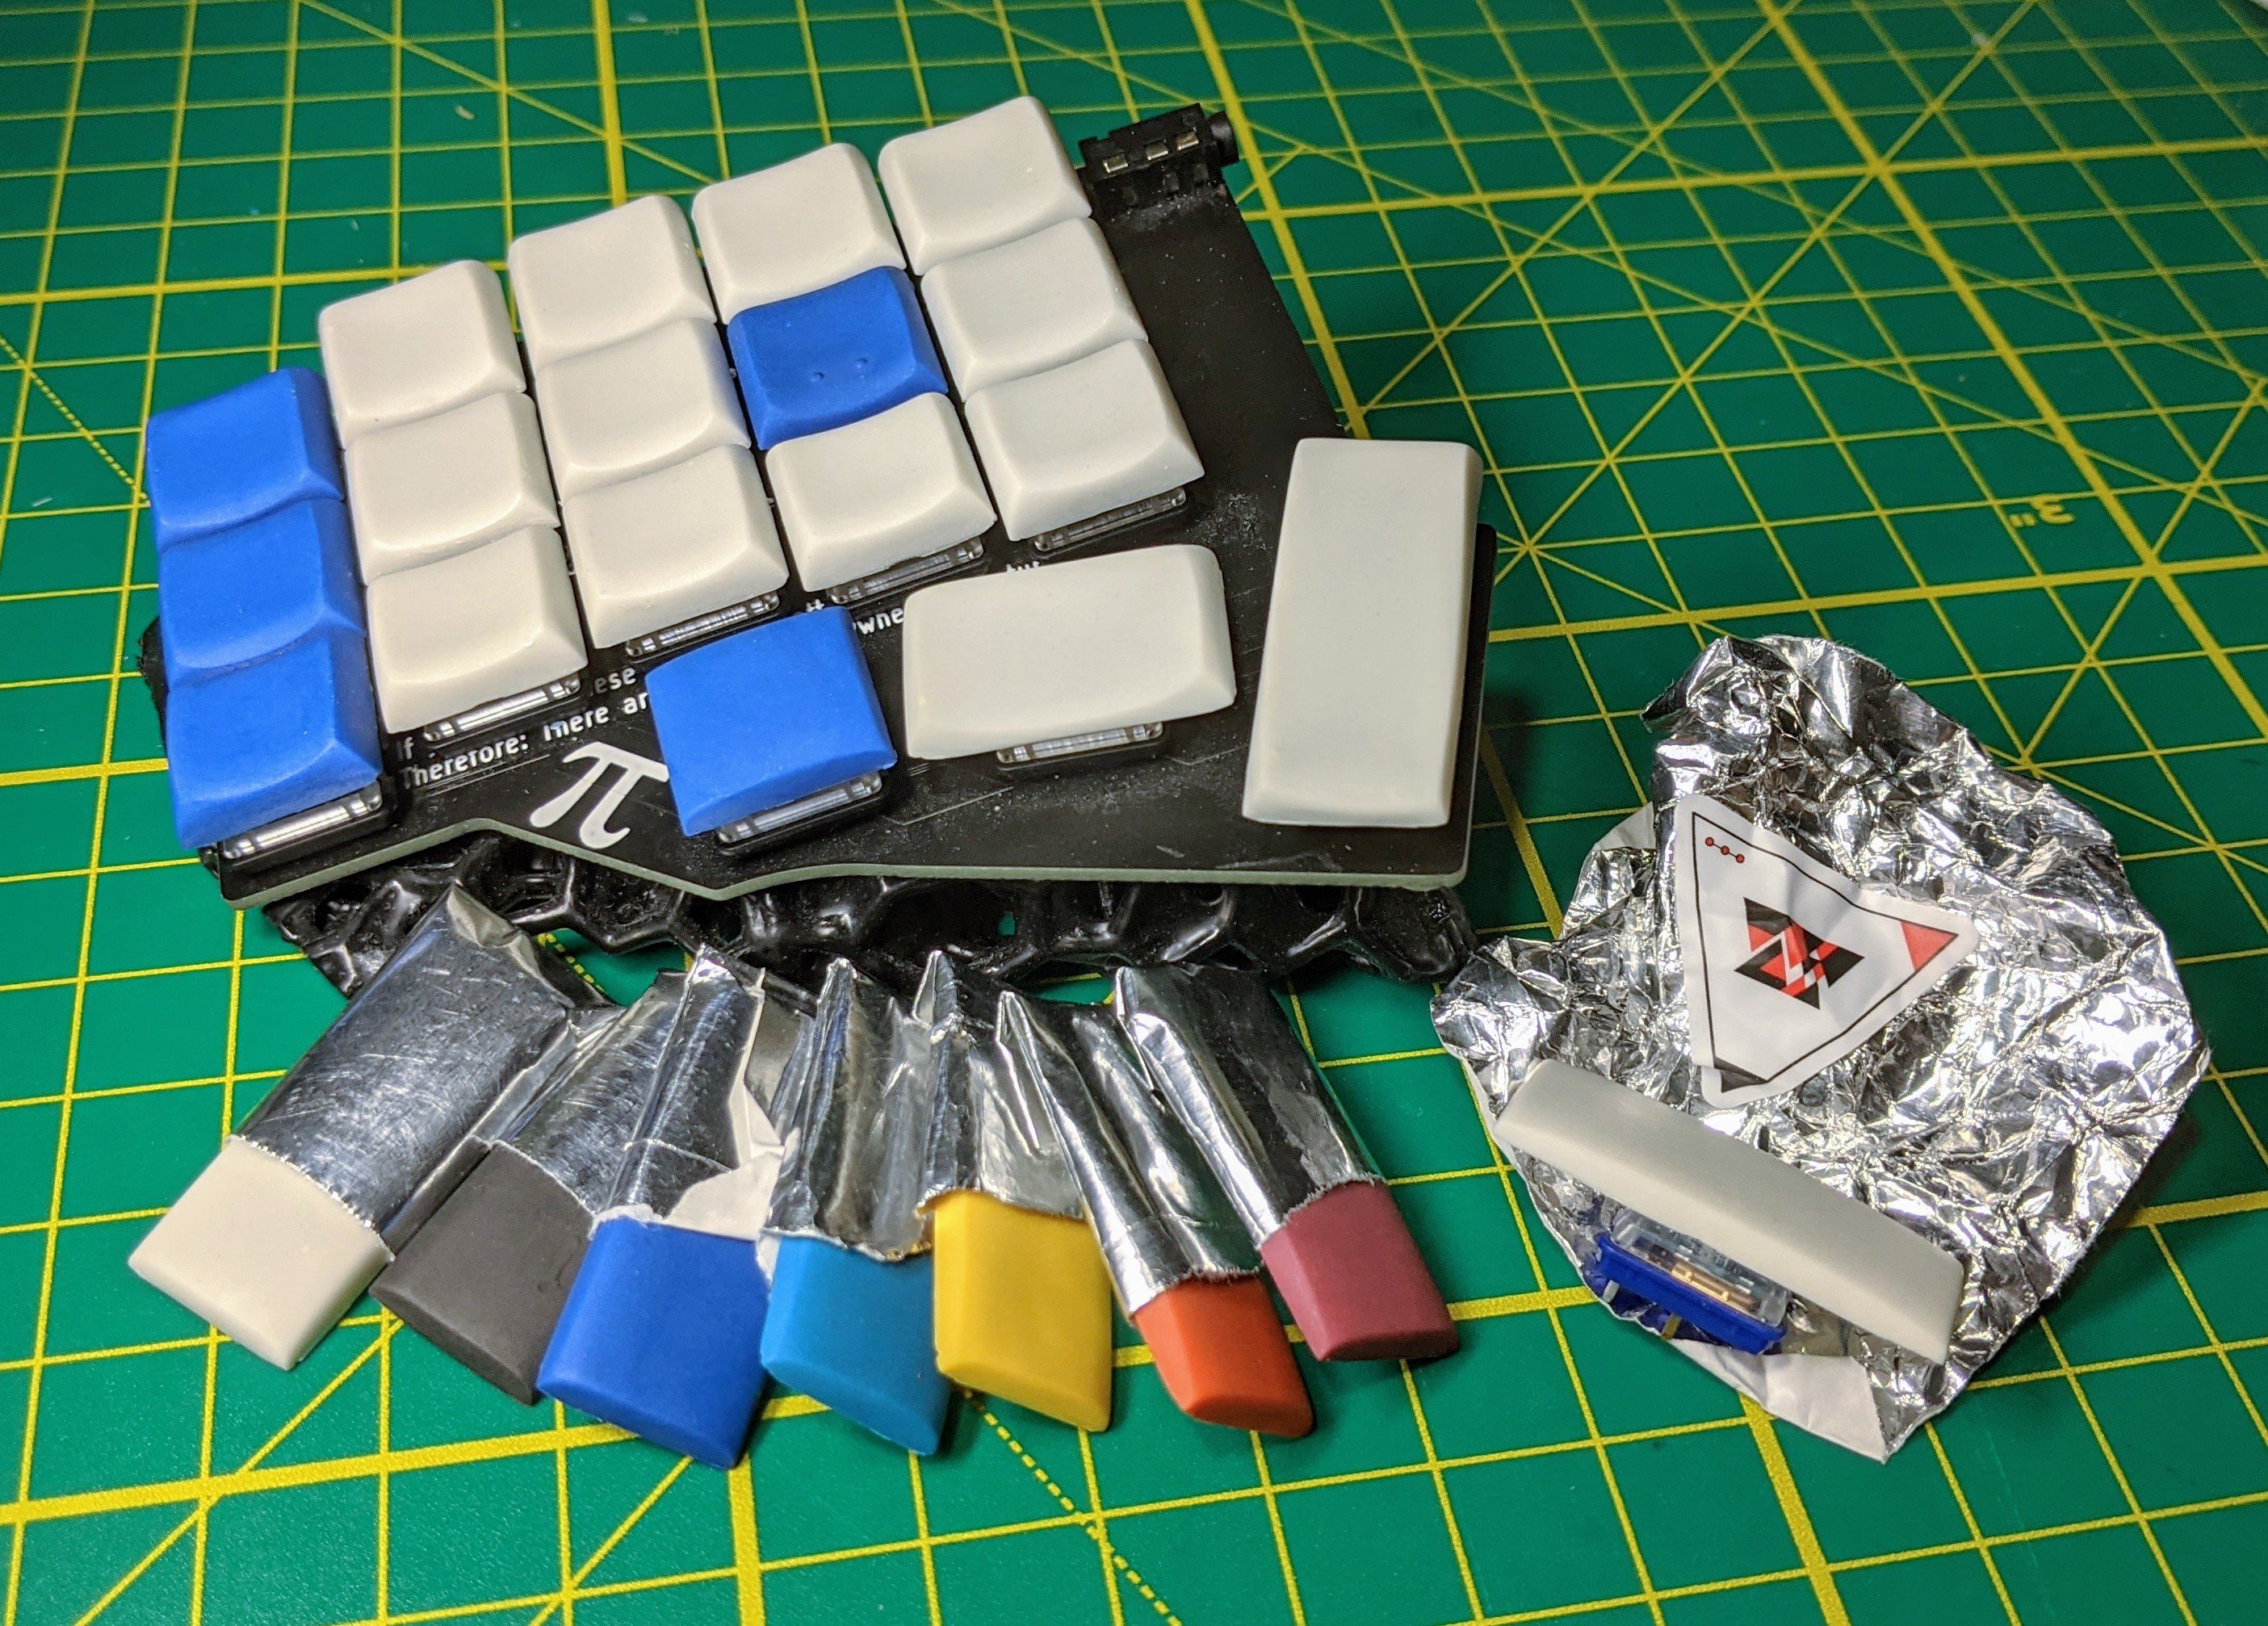
This fork resizes the Chicago Stenographer keycaps to be the same size as the quirky Chosfox CFX keycaps (16.5x16.5mm). The original CS keycaps are the standard "choc size" of 17.5x16.5mm, so the keycaps in this fork are 1mm narrower in width.
Why? Because I designed my Tern keyboard spaced for CFX keycaps, mostly because I had them lying around and why not. Now I love that keyboard and wanted some Chicago Steno caps for it.
This is forked from infused-kim/kb_keycaps_chicago_stenographer, which combines multiple chicago stenographer keycaps with sprues into one file to get around the $1 minimum charge of JLCPCB.
If you like these keycaps after trying the 3D printed version, consider buying original versions from the creator at asymplex.xyz.
I have successfully printed multiple batches of these keycaps at JLC using the MJF process described below and they came out good. One batch, the stems were a little bit oversized, but a few scrapes with an X-Acto knife and they fit in the switches perfectly. The other batches fit great right out of the box. I'm typing on them right now.
- Photos
- About this fork
- Documentation
Subtly sculpted choc spaced low profile

This photo is from the creator's repo. It's not a JLCPCB print.
This is a fork of sporkus/PseudoMakeMeKeyCapProfiles, which is a fork of pseudoku's original chicago stenographer keycaps.
Sporkus is the one who came up with the idea and the code to add spuers to the keycaps.
I expanded on those efforts in the following ways...
- Added support to generate rows of varying keycaps
- Fixed the 1.5u inner thumb key that is used in many corne-like boards
- Added the homing bar option to the lateral keys
- Added documentation on how to print the keycaps
- Fixed openscad warnings
When I first started looking into these keycaps, I was incredibly confused by all the available keycap variations and files.
This repo is my attempt to simplify and document what I learned.
In the MX keycap world Rx is used to refer to rows and keycap heights. As someone who was only using Choc keycaps in the ergo keyboard world that was not intuitive for me at all.
But this graphic from melgeek explains it well:

You use these keycaps for the top row, but for the CS keycap set, both R2 and R4 are the same. You simply flip them around.
I also included pre-rotated keycaps as R4, but you can also just print R2 twice.
If your keyboard has a num row, you would use them for the num row and the bottom alpha row.
If you have a corne-style keyboard with just three rows, you would use it for the top and bottom alpha rows.
You use these keycaps for the columns between the top and bottom rows.
If you have a num row, you would use it for the top alpha row and the homerow.
If you have a corne-style keyboard with just three rows, you would use it just for the home row.
As explained in the R2 section, these are exactly the same as the R2 files, but pre-rotated.
You can order 2x R2 or 1x R2 + 1x R4.
The thumb keycaps are designed to create a "dish" with ridges on the outer thumb keys.
The same model is used for the left and right keys, but it is mirrored. In this repo you will find a model that already has all the versions you will need.
If you have a corne-style thumb cluster with 3 keys, you can use a convex key for the middle one. It will act like a homing key.
And there is an alternative convex key included, which is slightly lower so that you can see which one you like better.
Additionally, there are also 1.5u variations of the outer thumb keys.
You have to be very careful if you get the files from other repos, because by default the stem is rotated by 90 degrees unlike regular 1.5u keys.
The files here have the stem in the correct orientation for keyboards like the corne where the switch is already rotated by 90 degrees.
The convex keys are used on the middle thumb keys, but can also optionally be used on the inner and outer columns.
You can see an example of how that looks here.
Steno keycaps have vertical ridges that keep your finger aligned in the row. This is great, but some people prefer to not have these ridges for the inner and outer columns so that they don't have to lift the finger to reach the side-key or to perform horizontal combos with one finger.
Keep in mind, that the lateral keycaps are used as a pair on two columns next to each other.
The file contains only one set of the two. If you want it on both sides of the keyboard, you have to print it twice.
I suggest printing one version with the homing dots and another with the homing bars to get all possible variations.
You can find all files in the stl directory. You can also look at the export_cs_*.scad files to see what key models were used and further comments on how to use the sets.
- 1x
cs_row_r2_top.stl - 1x
cs_row_r3_homerow_bar.stlorcs_row_r3_homerow_dots.stl(different homing keys)- Or the
cs_row_r3_regular.stlandcs_row_r3_homing_only.stlto get both homing key variations
- Or the
- 1x
cs_row_r4_bottom.stl - 1x
cs_row_thumbs.stl
All of the above, PLUS...
- 1x
cs_column_regular.stlorcs_column_convex.stlfor the outer pinky column
You can also print the cs_column_regular_with_homing_bars.stl variation which contains two more homing key.
Combine it with the cs_row_r3_homerow_dots.scad to get both homing key variations without needing to print them separately.
Alternatively, you can also consider the lateral variation, but this one needs to be printed twice as it should be used on both the outer and pinky keys.
The leeve rows can also be used for the index and inner column as the stl includes homing key variations.
To be able to use lateral keys on both sides and get both types of homing keys you should print...
- 1x
cs_column_lateral_homing_bar.stl - 1x
cs_column_lateral_homing_dot.stl
All of the above, PLUS...
- 1x
cs_row_r3_regular.stlfor the top alpha row (the r2 keycaps will be used for the num row)
- Upload the stl model
- Select 3D Technology:
MJF (Nylon) - Select Material:
PA12-HP Nylon - Optionally select Surface Finish:
Add - Dyeing - Dyed Blackto get black keycaps.- Without this they will be a "textured gray"
- Make sure to select the correct Quantity
The total for a 6x4 board with all the optional stuff will cost $23.88 + shipping.
Warning You will likely get warnings that some areas on the 1.5u thumb keys are too thin.
The original code for the 1.5u thumb keys produced keycaps with the wrong stem orientation. I have attempted to fix this problem, but JLCPCB still complains about areas that are too thin and will ask you if you want to take the risk of them not getting printed correctly when you order.
All other keycaps should not have problems though.
I have accepted the risk and will update this message once I receive the keycaps.
- Install OpenSCAD
- The snaphot version is recommended for performance reasons
- If it crashes, try an older version of the snapshot
- Set up the dev environment
- Adjust the Makefile with the path to your OpenSCAD installation
- Unzip the
libraries.zipinto your OpenSCAD library path
- Create your keycap set
- Copy one of the files starting with
export_ - Adjust the keycaps you want to use. Available options are in
gen_sprued_keycaps.scad - Keep in mind that jlcpcb only allows a maximum of 10 keycaps per file
- Copy one of the files starting with
- Generate STLs
- Run
makeand it will generate all missing STLs - Alternatively you can also select which file to generate by running something like
make stl/cs_row_thumbs.stl, but keep in mind that you have to use the file name of the final stl file and not of the source.scadfile
- Run
Alternatively you can also run the GUI version, but it's a bit slow.
You can speed it up by enabling the manifold options in Preferences -> Features (Snapshot version only).


