Security: Configure Keycloak for use with the API Server
Steps to configure a keycloak realm to issue suitable tokens for the API Server.
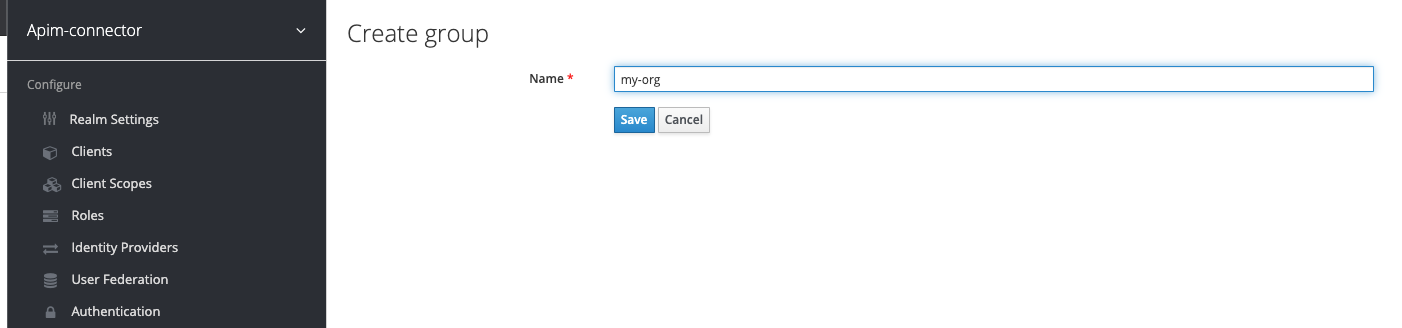
Currently organizations are not propagated to the IdP. You need to add organizations manually. In Keycloak we use the groups concept to represent an organization.
The example below adds a my-org organization:

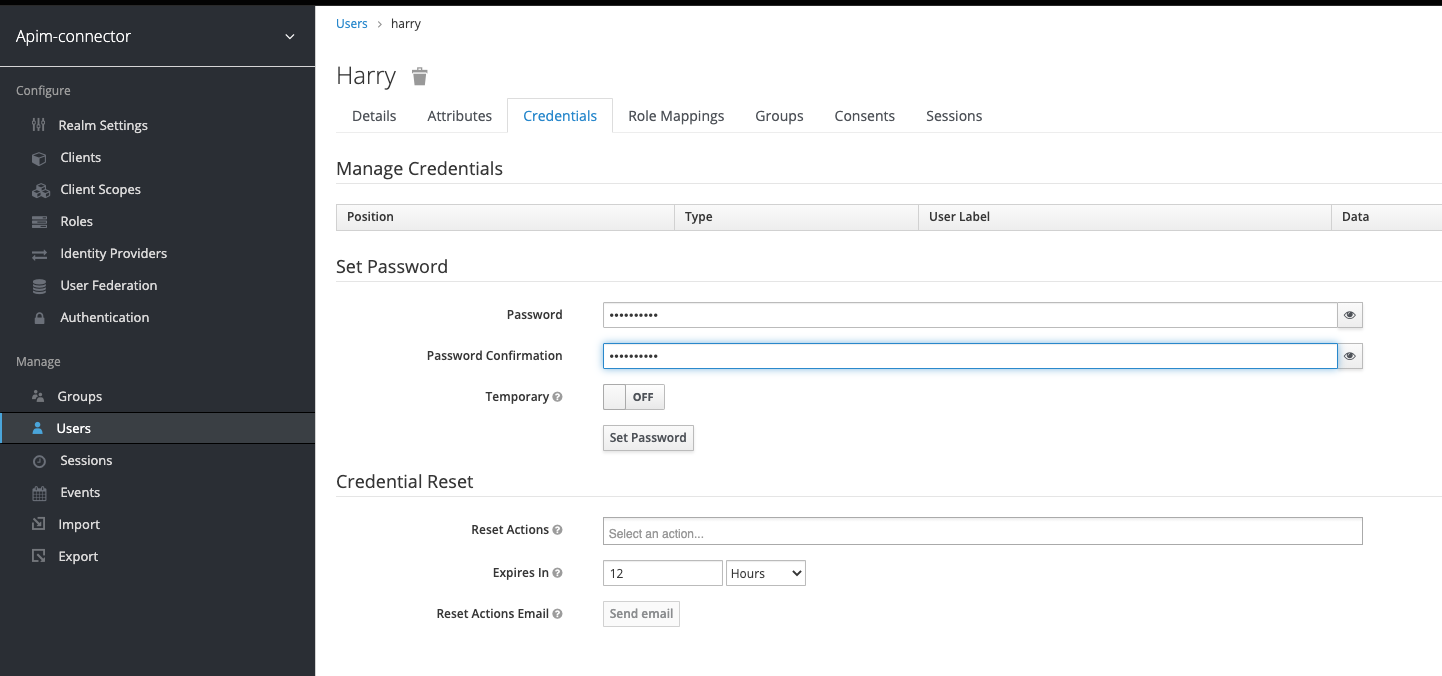
First add a user, then on the newly created user set the password -

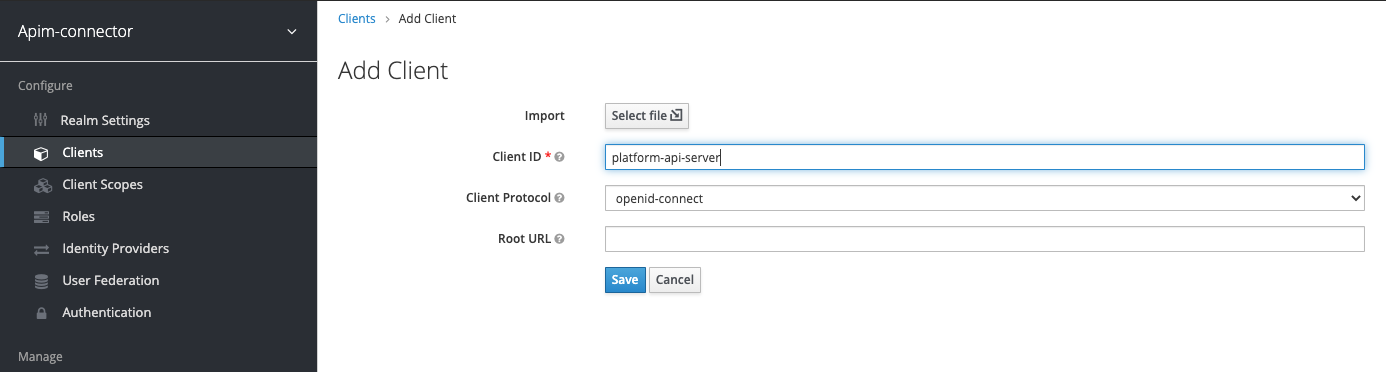
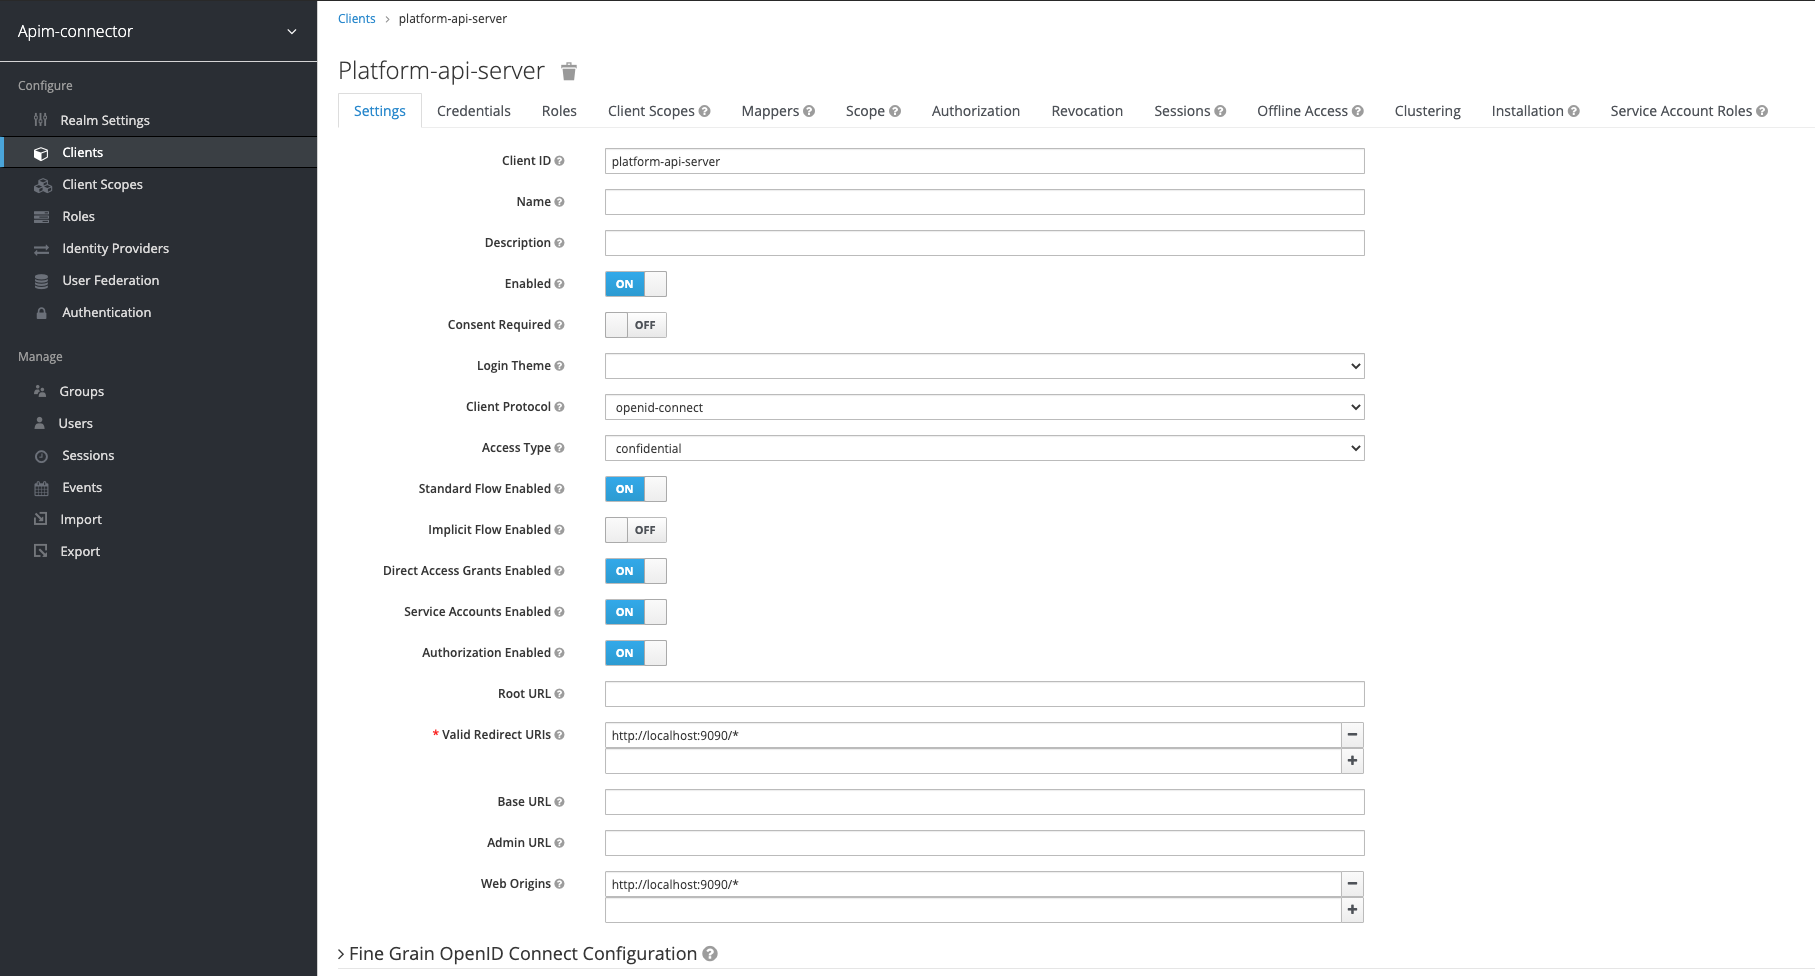
Add a new client and set the callback url and web-origin (for CORS). Use the correct host name and port according to your deployment.
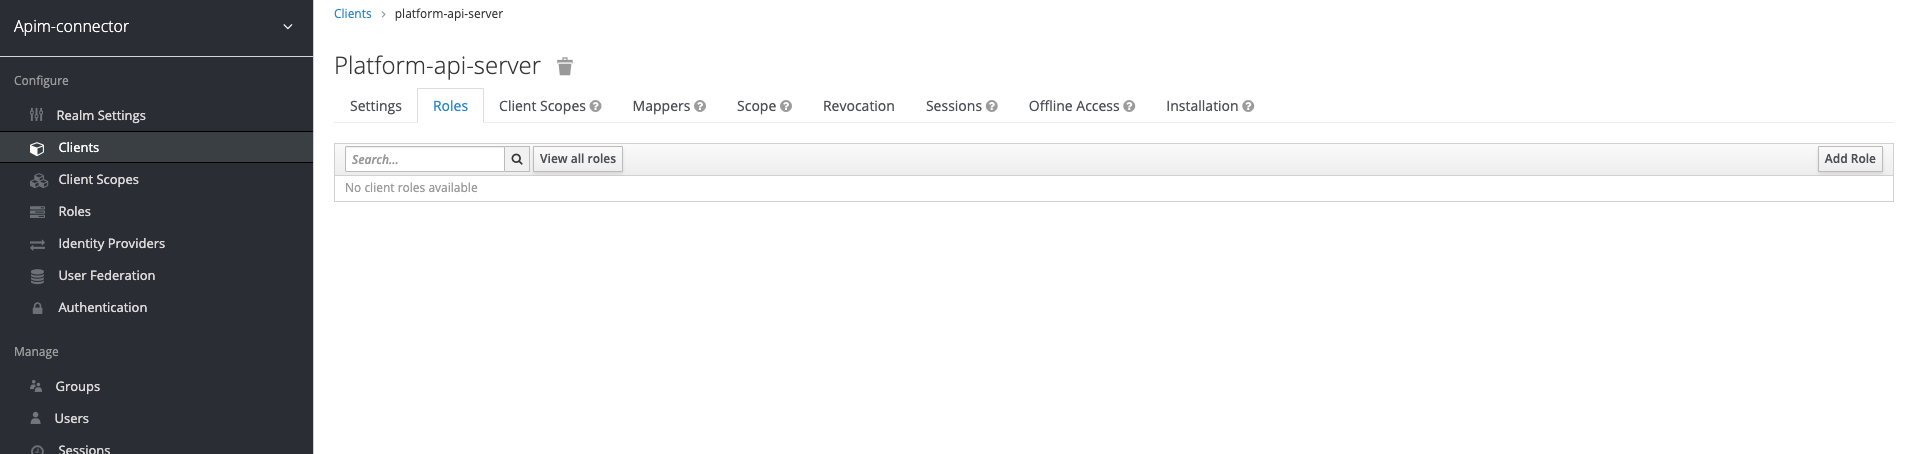
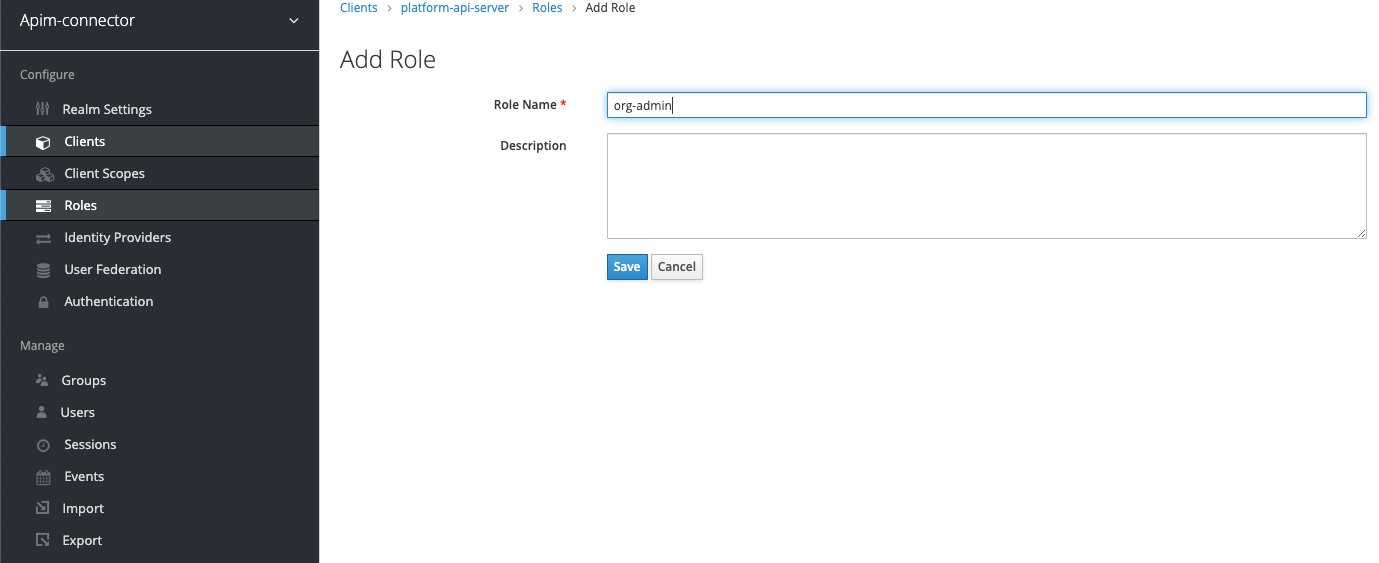
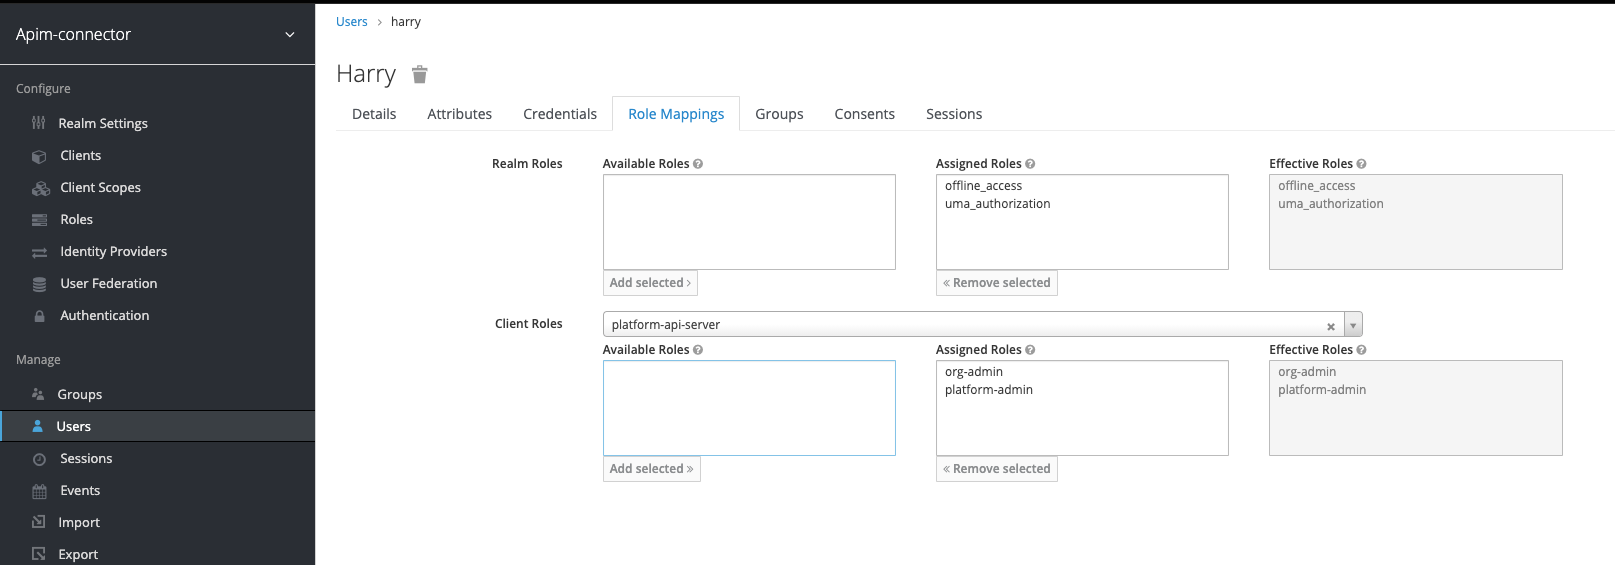
Now we need to add the roles (org-admin, platform-admin) to the client

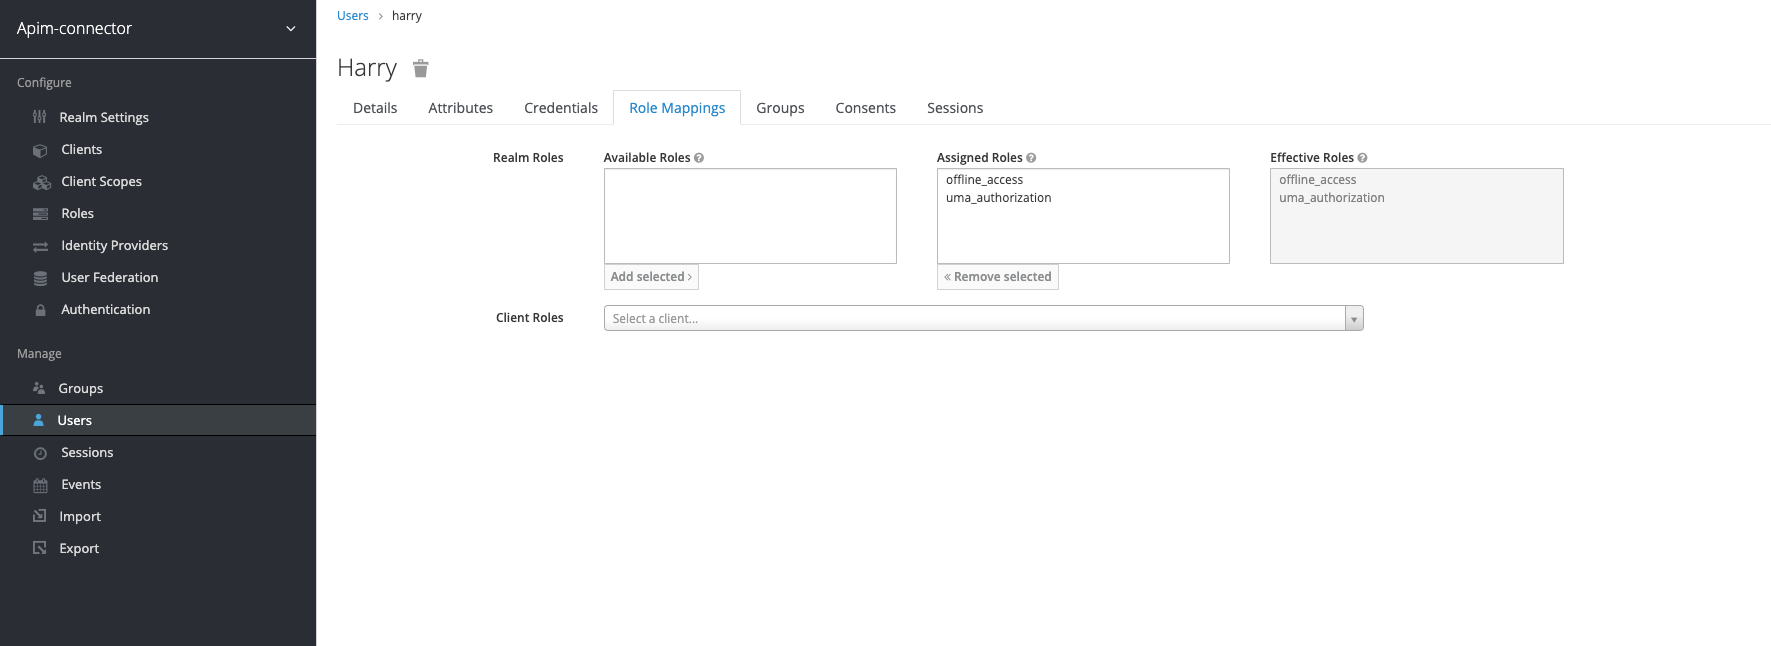
Navigate to the user you created and switch to the role mappings tab - then in the "client roles" field select the name of the client you created (in the example platform-api-server).
This will load the roles and you can assign both of the roles created previously to the user
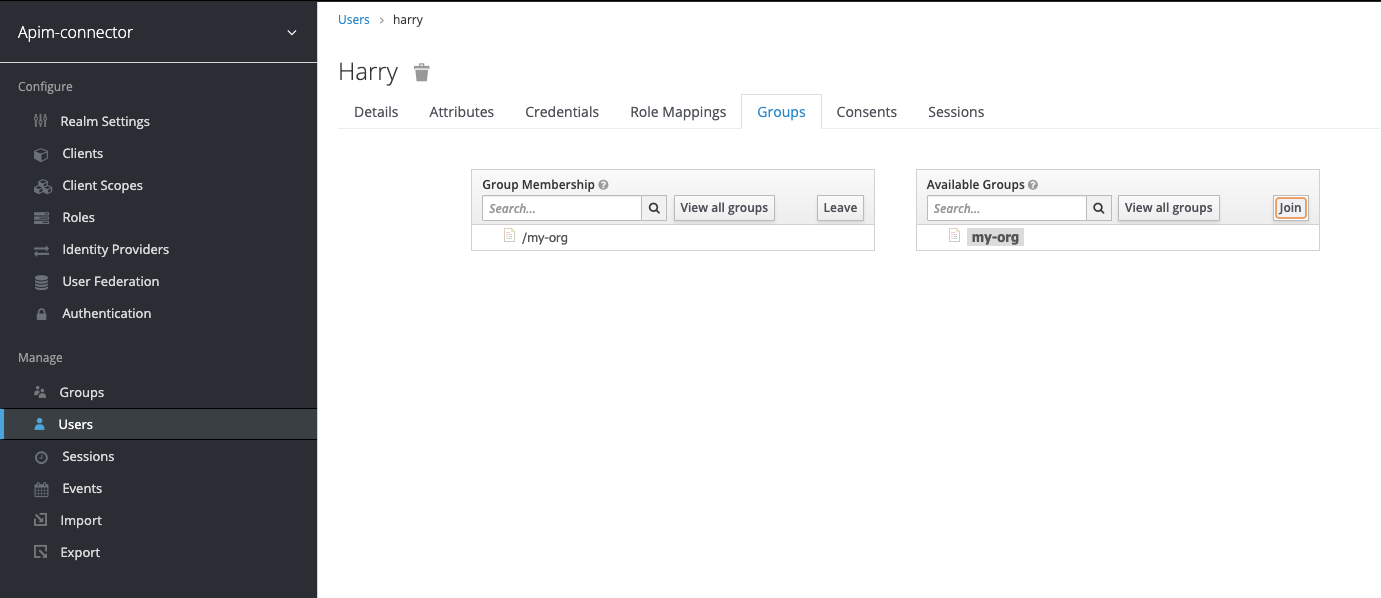
Navigate to the user you created and switch to the groups tab.
Add the my-org group to the user:
The issued JWT token must include the roles and groups as well as the audience (aud) claim.
We need to set up mappers for these attributes.

Click "Create" to add a new mapper. Set the new mapper up as follows:
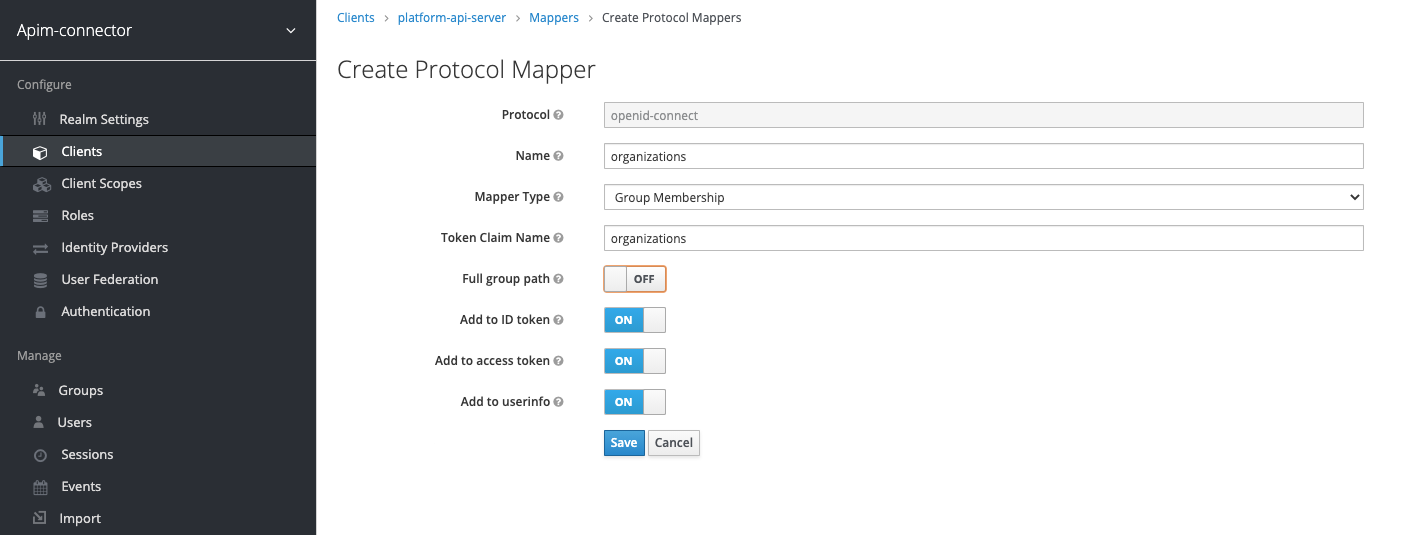
Click "Create" to add a new mapper. Set the new mapper up as follows:

Disable "Full Scope Allowed":

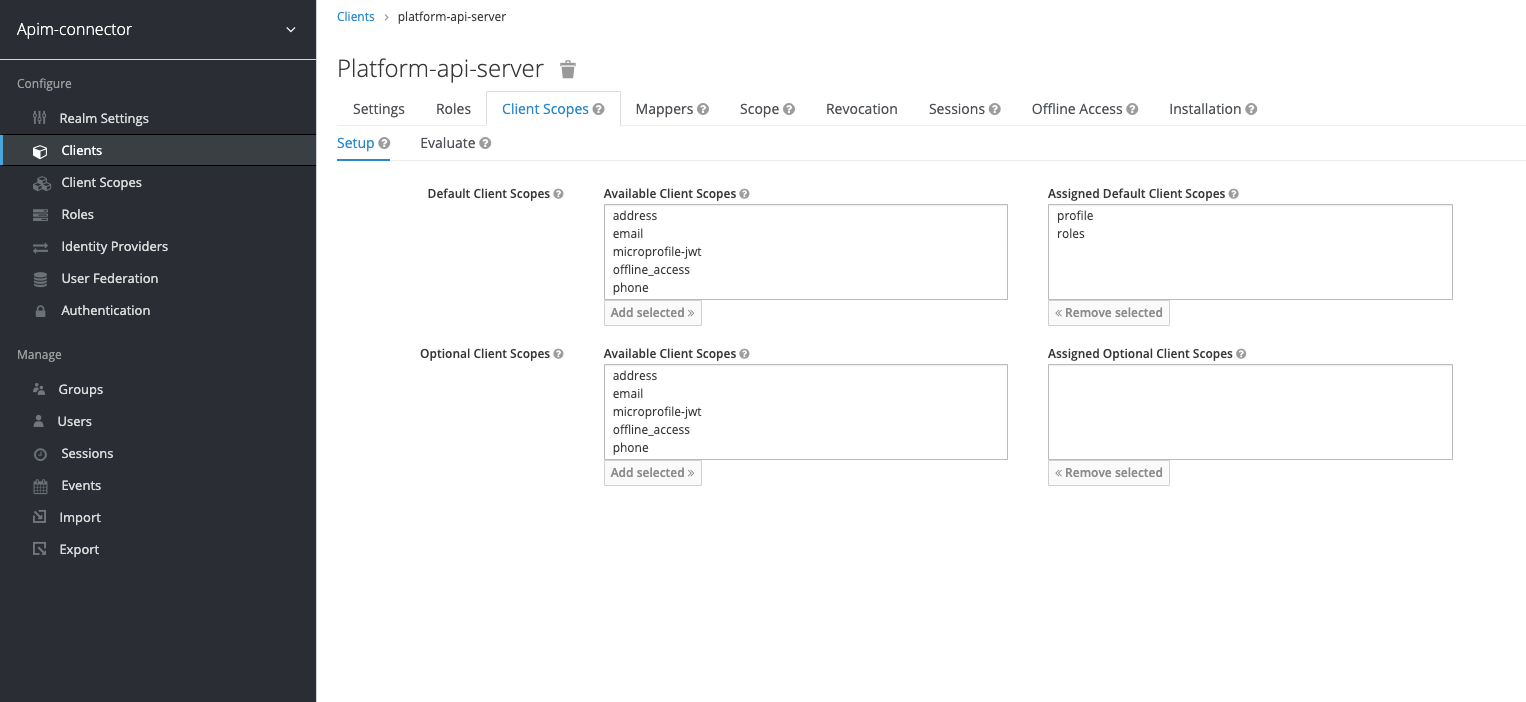
Go to the "Client Scopes" tab of your client and the sub-tab "Setup". Set the default and optional client scopes as shown below:
Go to the "Client Scopes" tab of your client and the sub-tab "Evaluate". Select the user you created previously:

Then you can preview the token, check that it contains the right aud, resource_access / roles and organizations attributes:
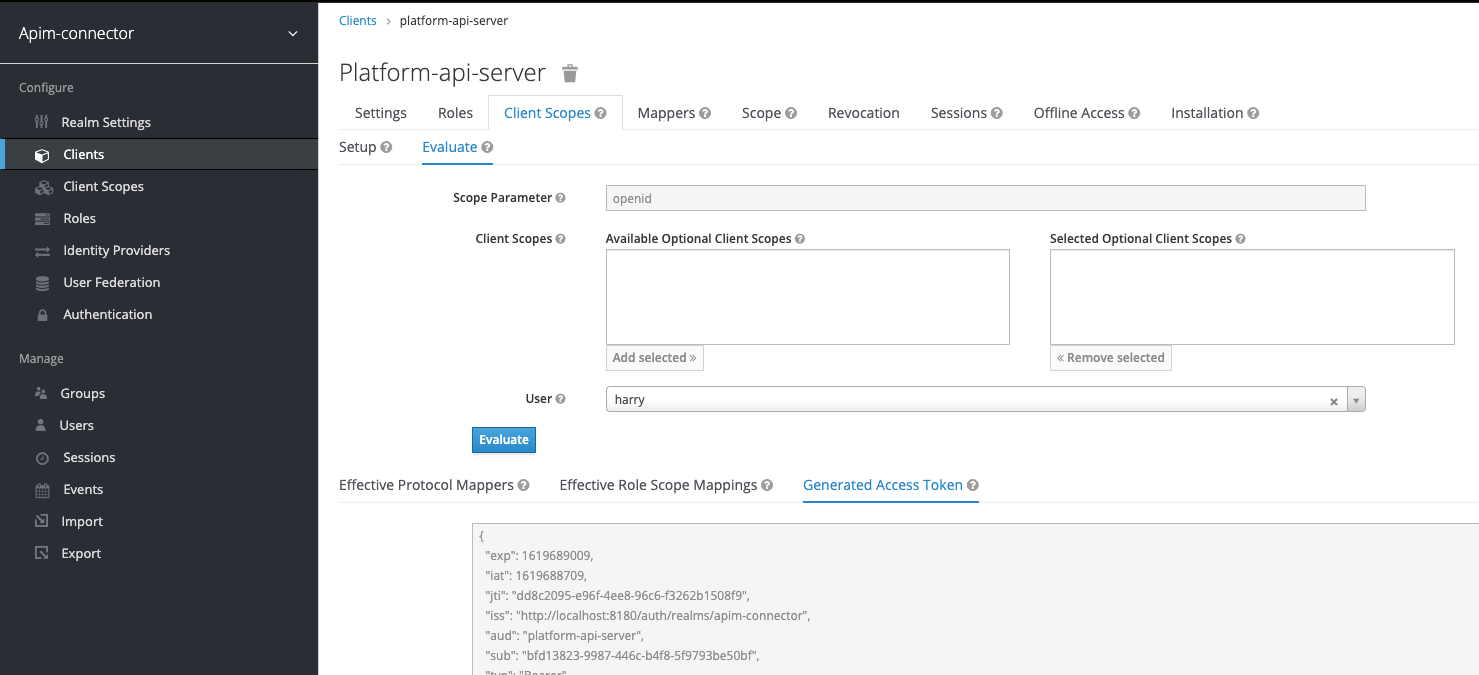
Here is an example:
{
  "exp": 1619689009,
  "iat": 1619688709,
  "jti": "dd8c2095-e96f-4ee8-96c6-f3262b1508f9",
  "iss": "http://localhost:8180/auth/realms/apim-connector",
  "aud": "platform-api-server",
  "sub": "bfd13823-9987-446c-b4f8-5f9793be50bf",
  "typ": "Bearer",
  "azp": "platform-api-server",
  "session_state": "297121ef-77d0-4d3d-85ef-64ab2c9ef208",
  "acr": "1",
  "resource_access": {
    "platform-api-server": {
      "roles": [
        "org-admin",
        "platform-admin"
      ]
    }
  },
  "scope": "openid profile",
  "organizations": [
    "my-org"
  ],
  "name": "Harry H",
  "preferred_username": "harry",
  "given_name": "Harry",
  "family_name": "H"
}
AUTH_EXTRACTION_USER_PRINCIPAL=$.preferred_username
Will evaluate to "harry" given the JWT example above.
AUTH_EXTRACTION_ORGS=$.organizations
Will evaluate to
[
    "my-org"
  ]
AUTH_EXTRACTION_ROLES=$.resource_access['platform-api-server'].roles
Will evaluate to
[
        "org-admin",
        "platform-admin"
      ]
AUTH_VERIFICATION_AUD=platform-api-server
Must match the aud property in the JWT token - see example above
AUTH_VERIFICATION_ISSUER=http://localhost:8180/auth/realms/apim-connector
The URL of your keycloak realm, apim-connector is the realm name. Replace if you use another realm.
AUTH_VERIFICATION_KEY=/Users/swenhelge/platform-api-tmp/keycloak_local_key.pem
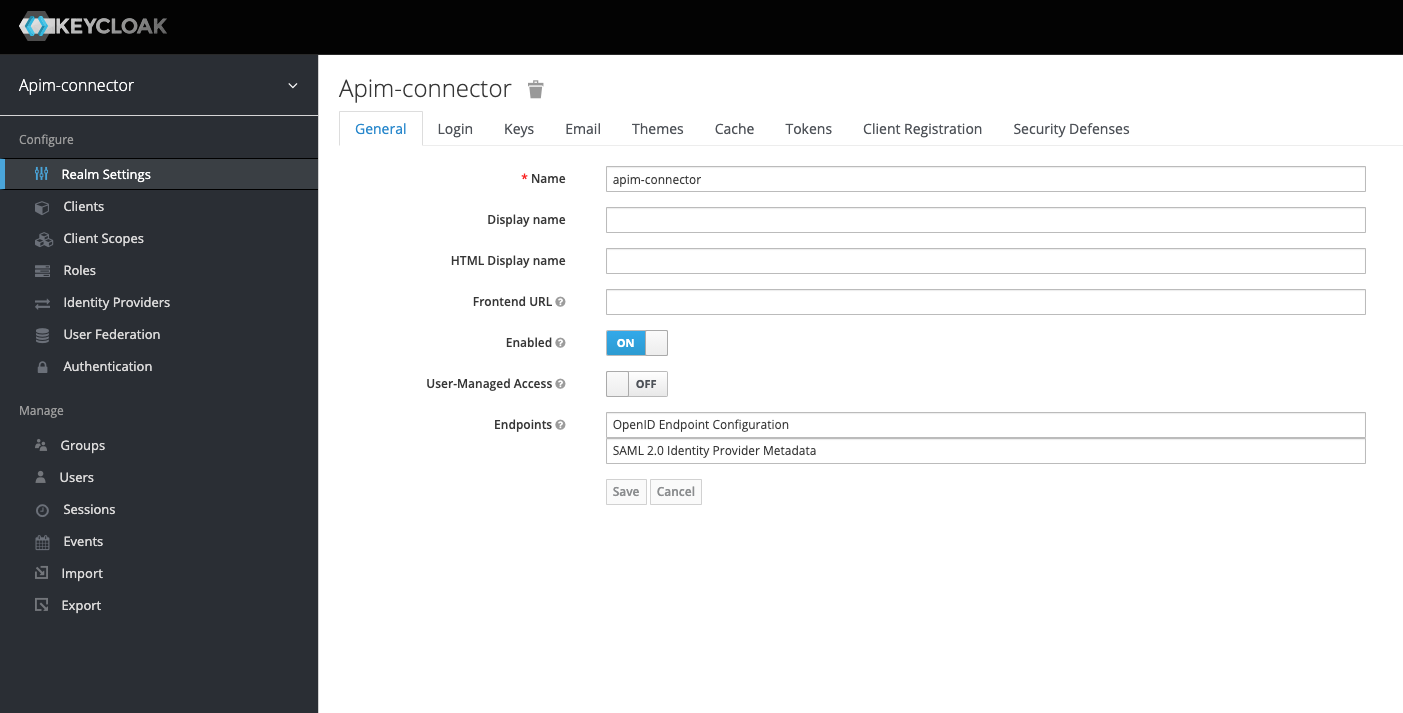
The location of public key used by keycloak - you need to download it from the "Realm Settings" in keycloak:

Will be in the format below. Replace host, port and realm (apim-connector in the example below) with the correct values for your deployment:
AUTH_DISCOVERY_OIDC_URL=http://localhost:8180/auth/realms/apim-connector/.well-known/openid-configuration