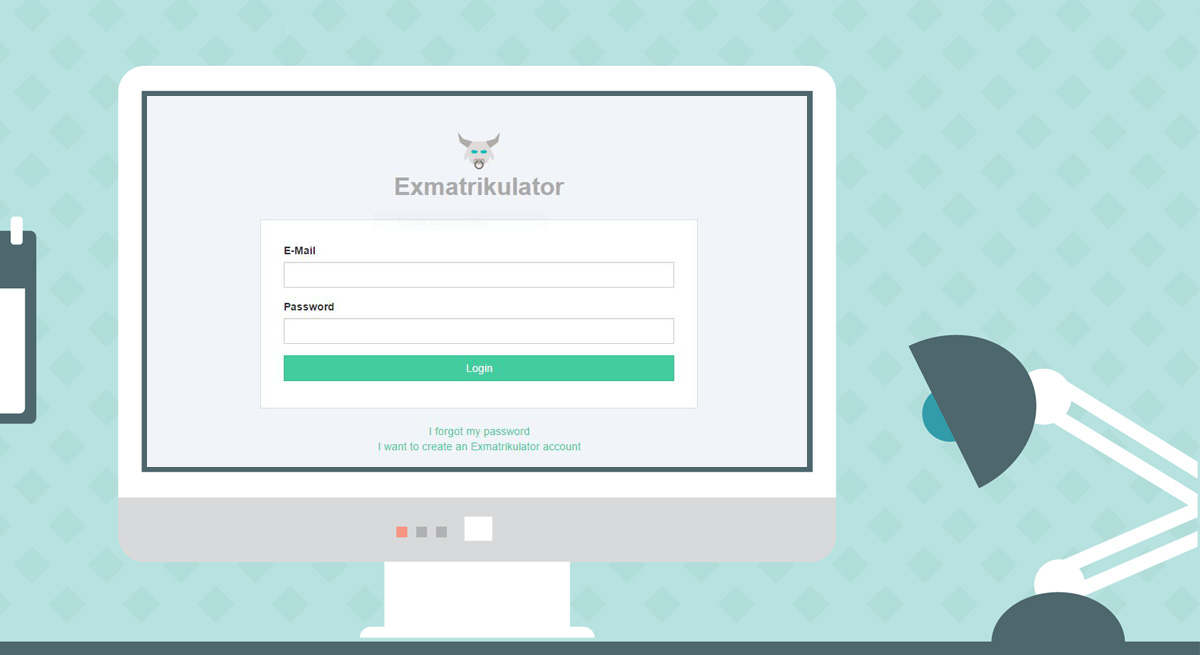
Making it 20% easier to get rid of your students.
The Exmatrikulator software is setup in production mode as it is shipped by OpenSores on the 4th March 2016. You can run the Exmatrikulator in production mode by following the detailed instructions in the manual which are included in the release.
If you have changed the environment to development mode by following the
steps described in Usage in development mode, you can restore the
production environment by copying the files of the directory prod-environment
to their respective directories in src/. You can read more detailed instructions
for copying these files in the README file of the prod-environment directory.
By default the mode of the source code is setup for production mode. If you want to further develop this software, you can set up the development environment by copying the persistence.xml, pom.xml and the file ApplicationController.java from the directory 'prod-environment' to their respective places in the 'src/' directory and rebuilding the .war. More detailed instructions for copying these files are in the 'README' file of the directory 'prod-environment'.
The Maven plugin embedded glassfish is used as development server instead of a normal glassfish server. After you've replaced the files you can build the .war and start the embedded glassfish server with this command.
$ mvn package embedded-glassfish:run
This creates a .war archive for the Exmatrikulator application and starts the embedded glassfish server. If you didn't see any errors the webapp should be running on: http://0.0.0.0:8080/exmatrikulator/ or: http://localhost:8080/exmatrikulator/
In development mode, an embedded database supplied by glassfish itself is used for the database connection. This database gets dropped and recreated and filled with dummy data after every deployment. The method 'initDummyData()' of the class 'ApplicationController' in path /src/main/java/de/unibremen/opensores/controller/common/ApplicationController.java is used to insert the dummy data into the database after every deployment. By default, there are three users and one course inserted as dummy data. The users and their credentials are:
- A normal User which is a student: login: user@uni-bremen.de, pw: 'user'
- A lecturer in a course: lecturer@uni-bremen.de, pw: 'lecturer'
- An admin: admin@uni-bremen.de, pw: 'admin'
The Javascript and CSS files are compiled from the CoffeeScript and SASS files
located in the directory src/main/gui. If you want to edit the CSS or
Javascript files, edit and recompile the respective CoffeeScript and SASS files.
Take a look at the README in the src/main/gui directory for more information
about compiling these files.
Basically we have three kinds of tests:
- JUnit backend tests
- Formal code verification
- Capybara frontend tests
The first two kinds of tests are invoked by our gitlab CI runner on every commit.
They also can be run manually by invoking the mvn:verify step of our Maven build.
The lastly mentioned tests can only be invoked manually.
Instructions for running the capybara test suite are available
in src/test/capybara.
This program is free software: you can redistribute it and/or modify it under the terms of the GNU Affero General Public License as published by the Free Software Foundation, either version 3 of the License, or (at your option) any later version.
This program is distributed in the hope that it will be useful, but WITHOUT ANY WARRANTY; without even the implied warranty of MERCHANTABILITY or FITNESS FOR A PARTICULAR PURPOSE. See the GNU Affero General Public License for more details.
You should have received a copy of the GNU Affero General Public License along with this program. If not, see http://www.gnu.org/licenses/.
