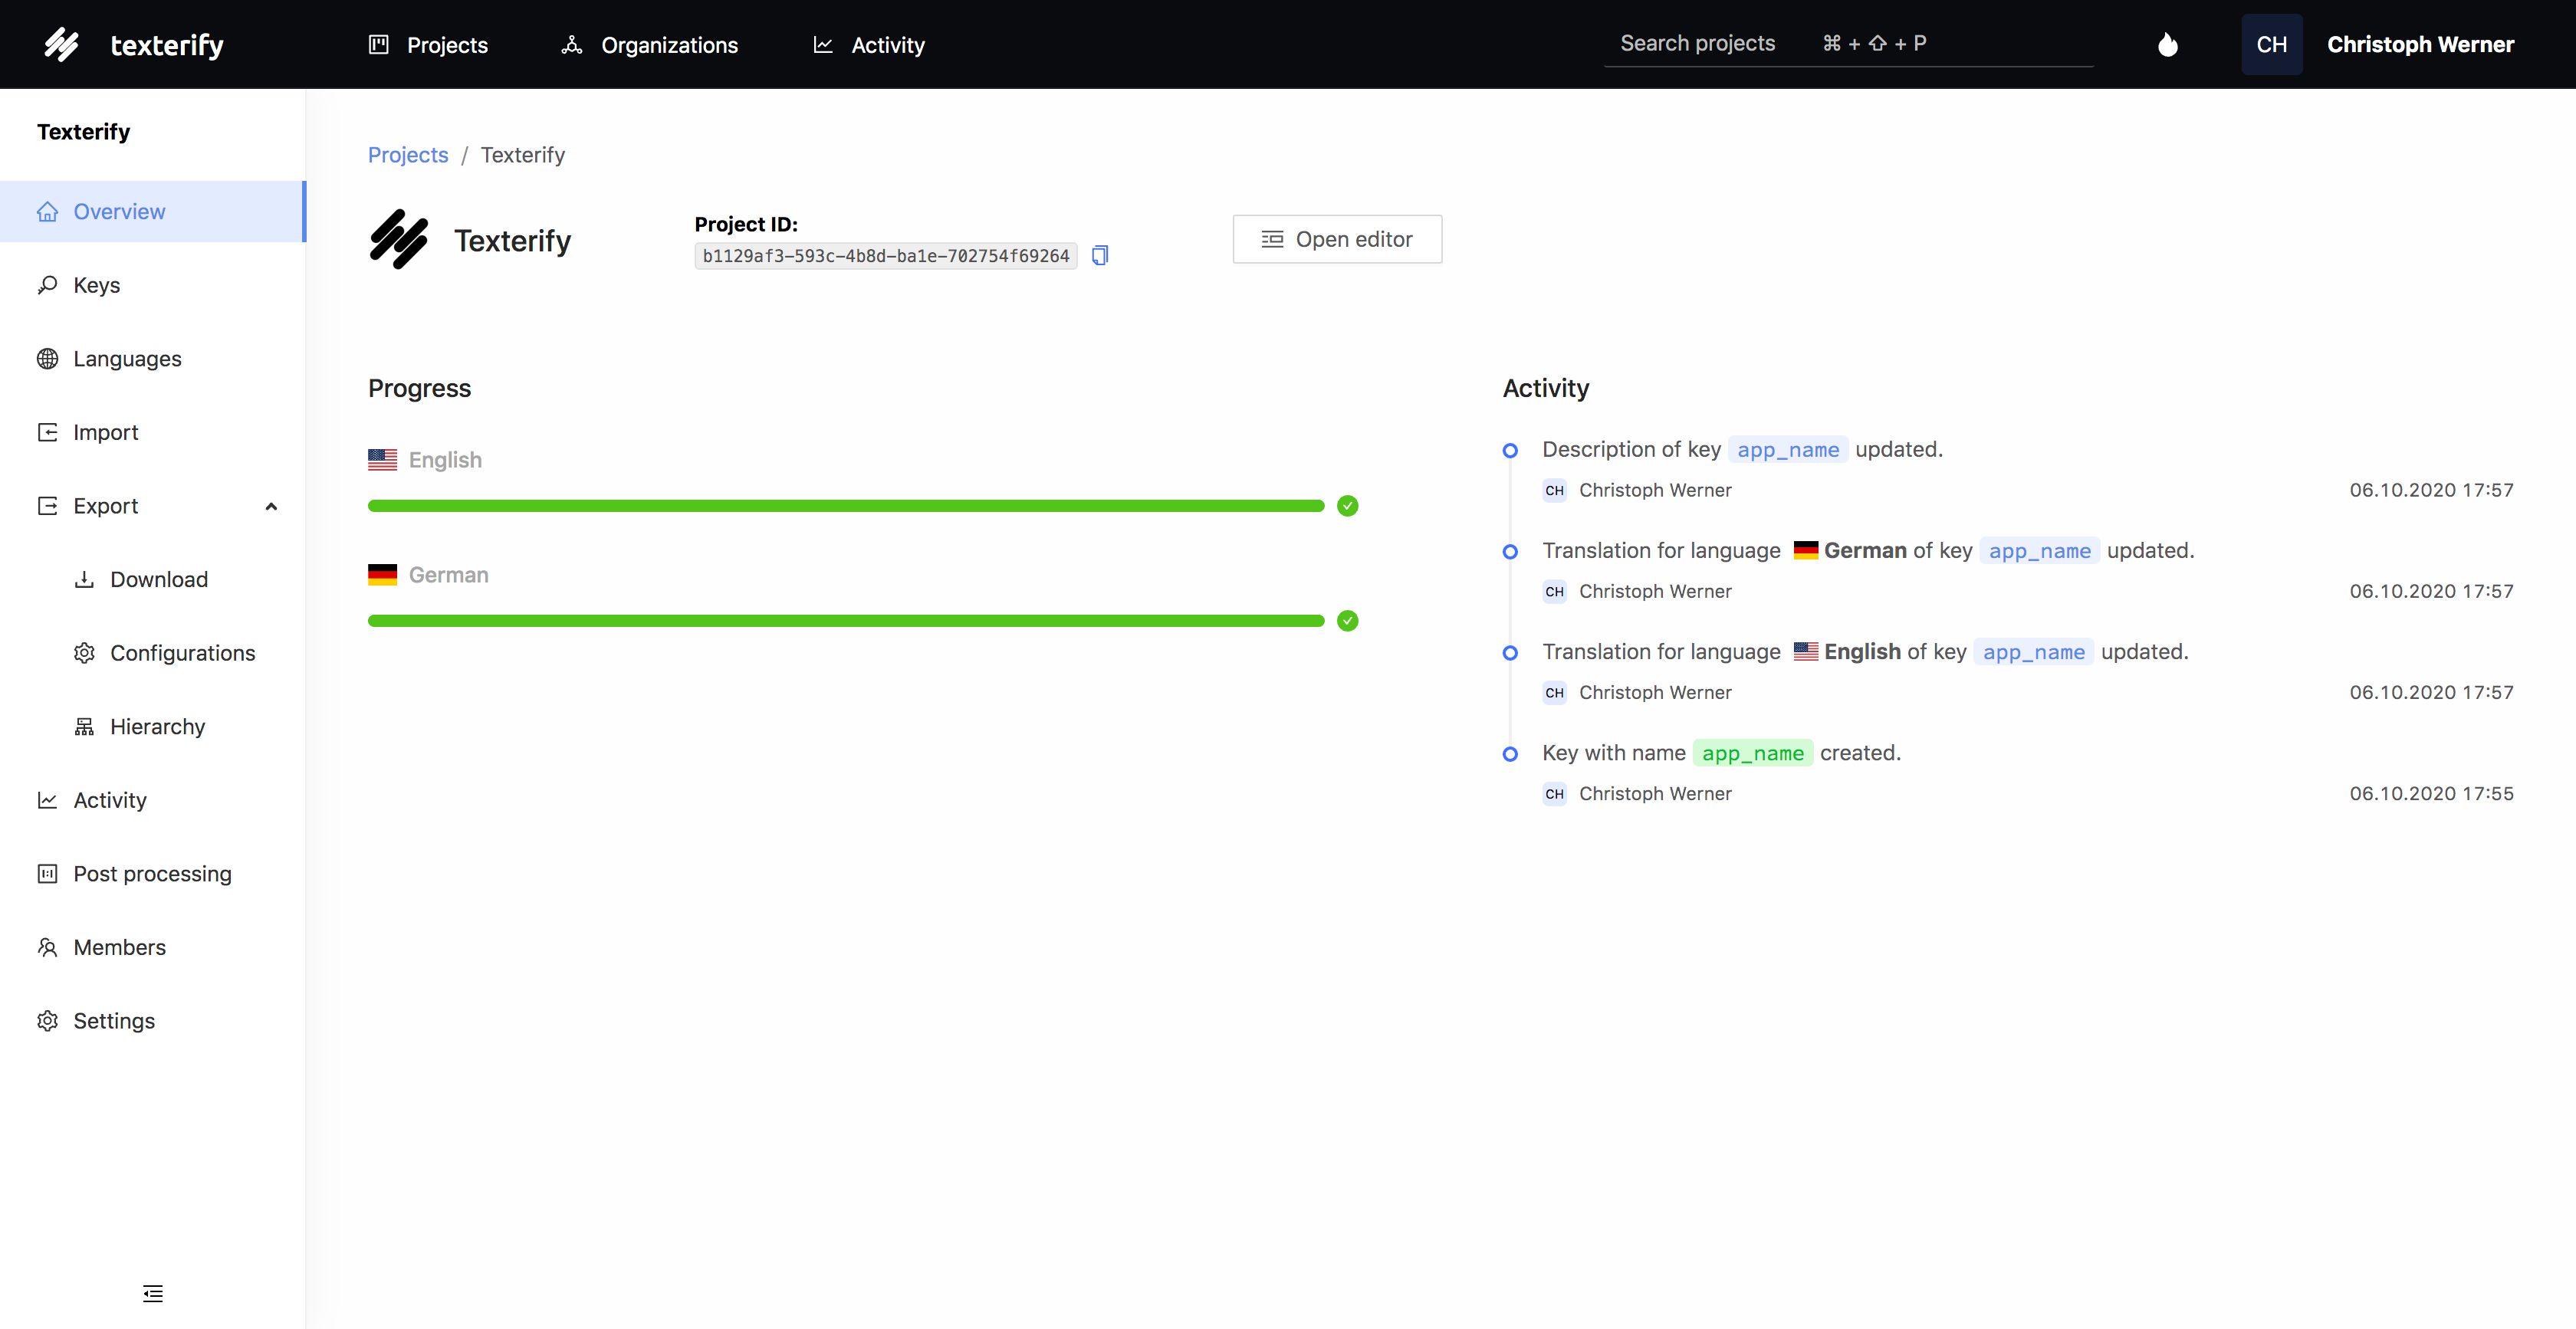
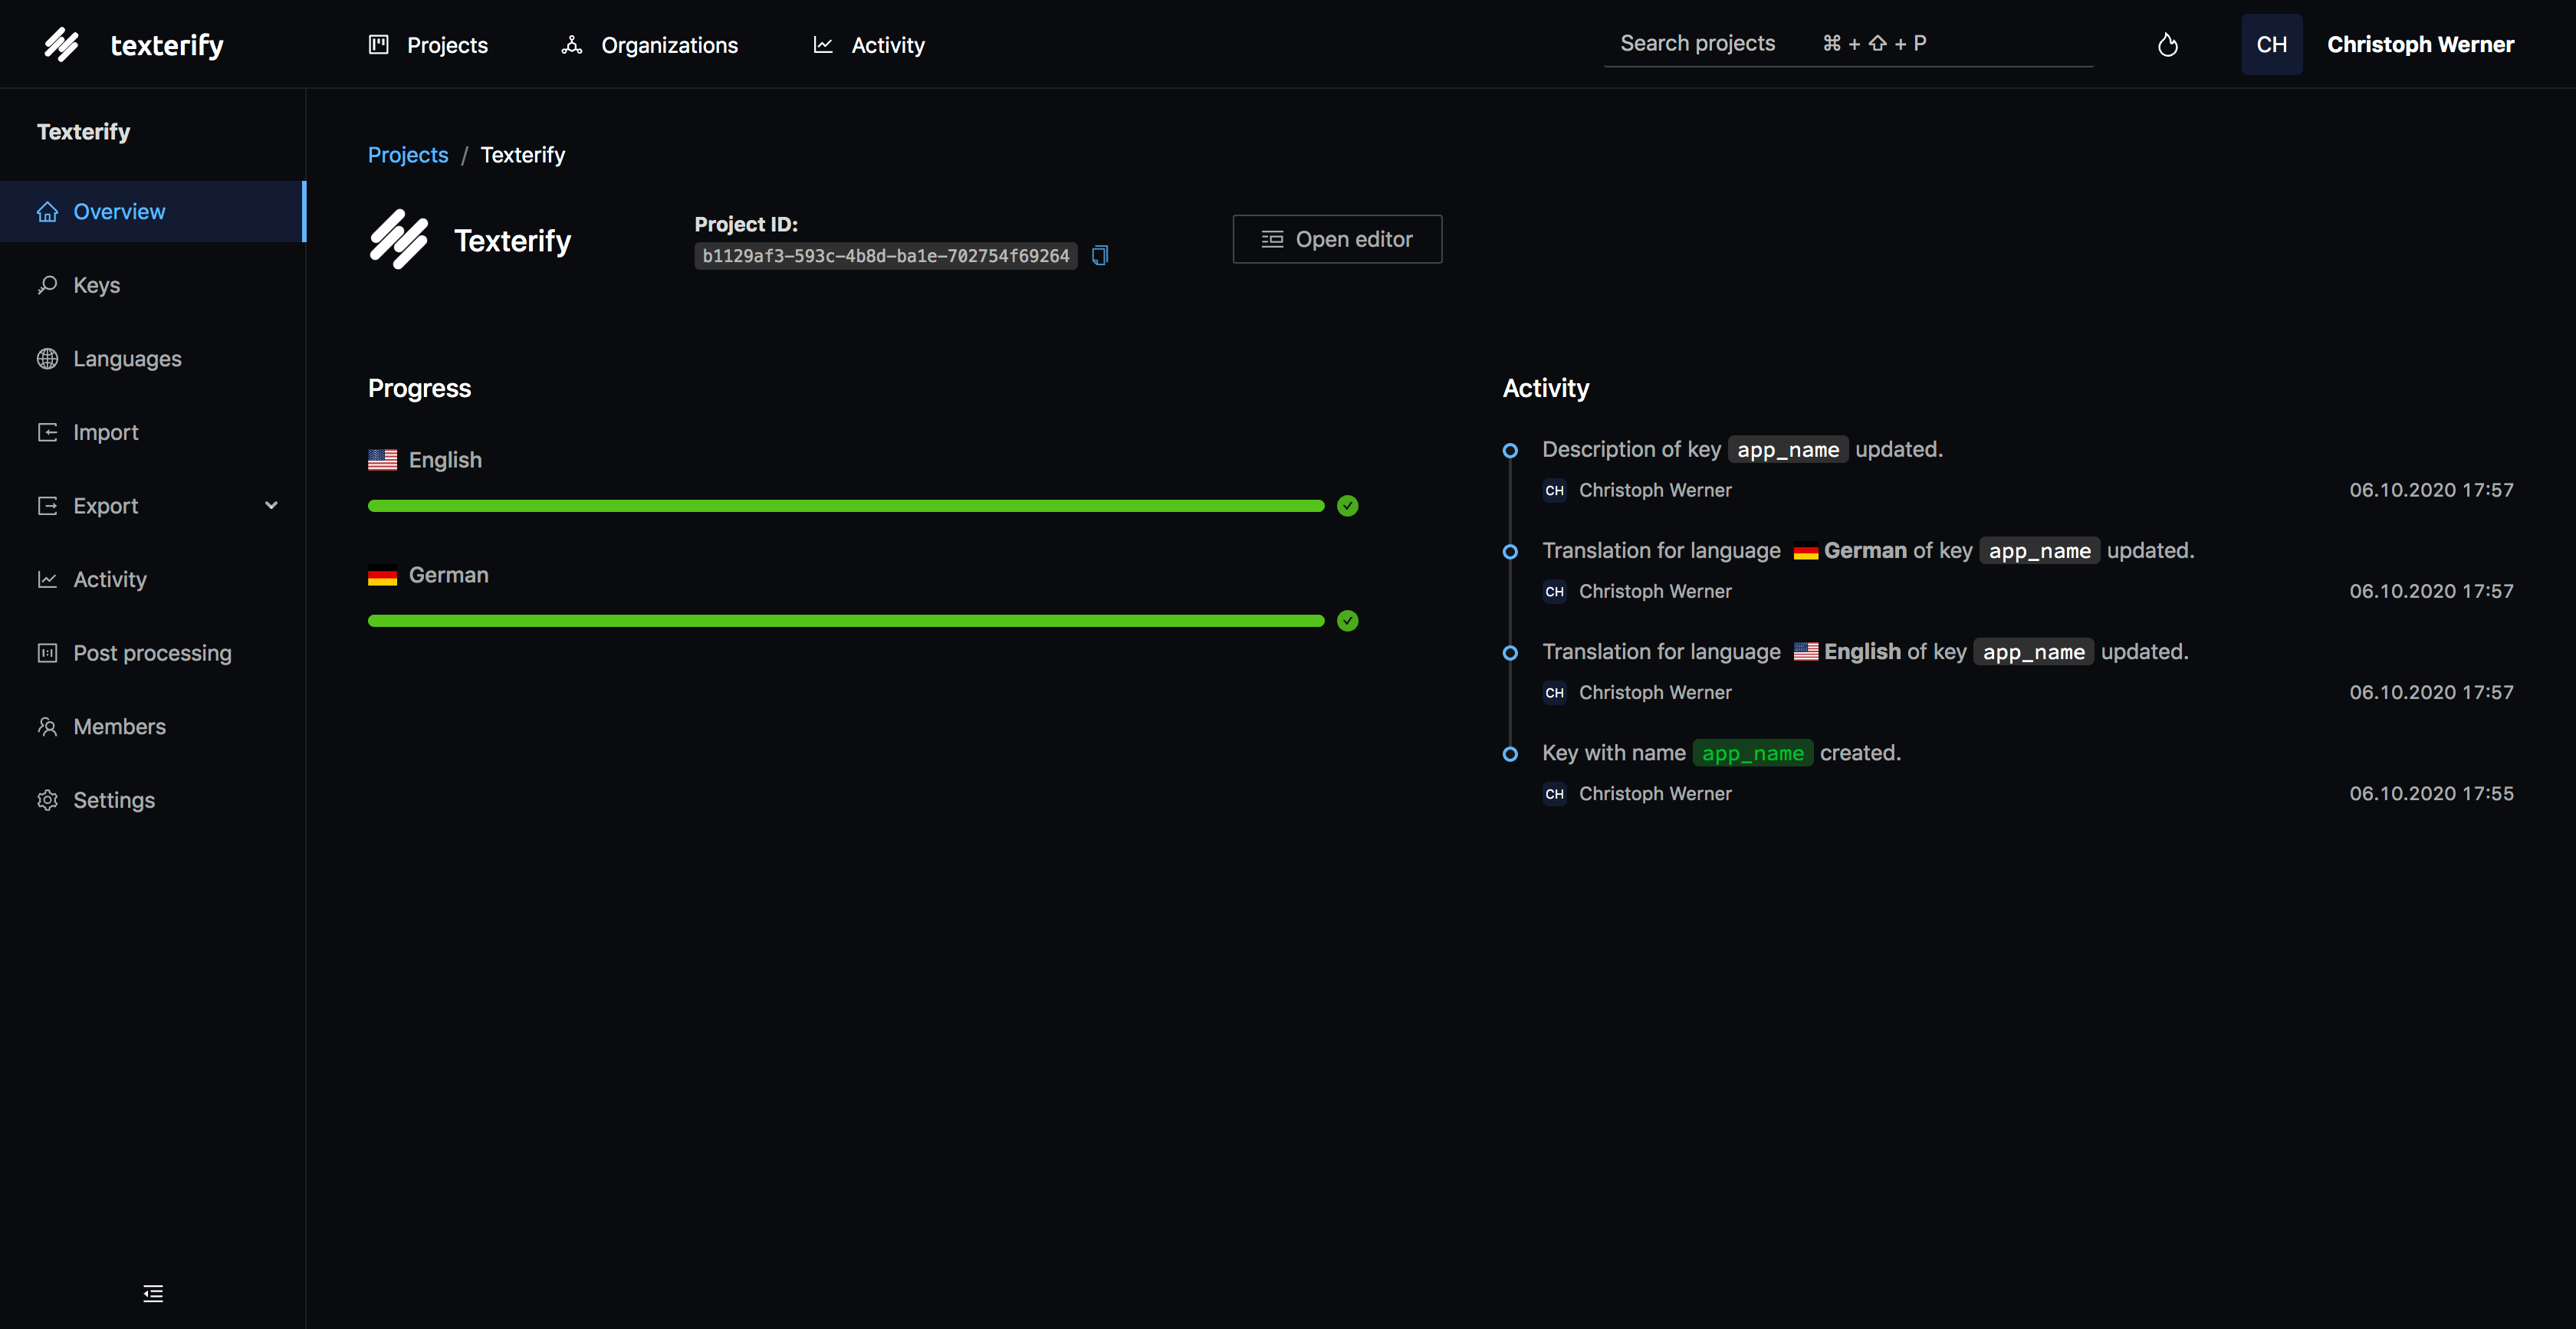
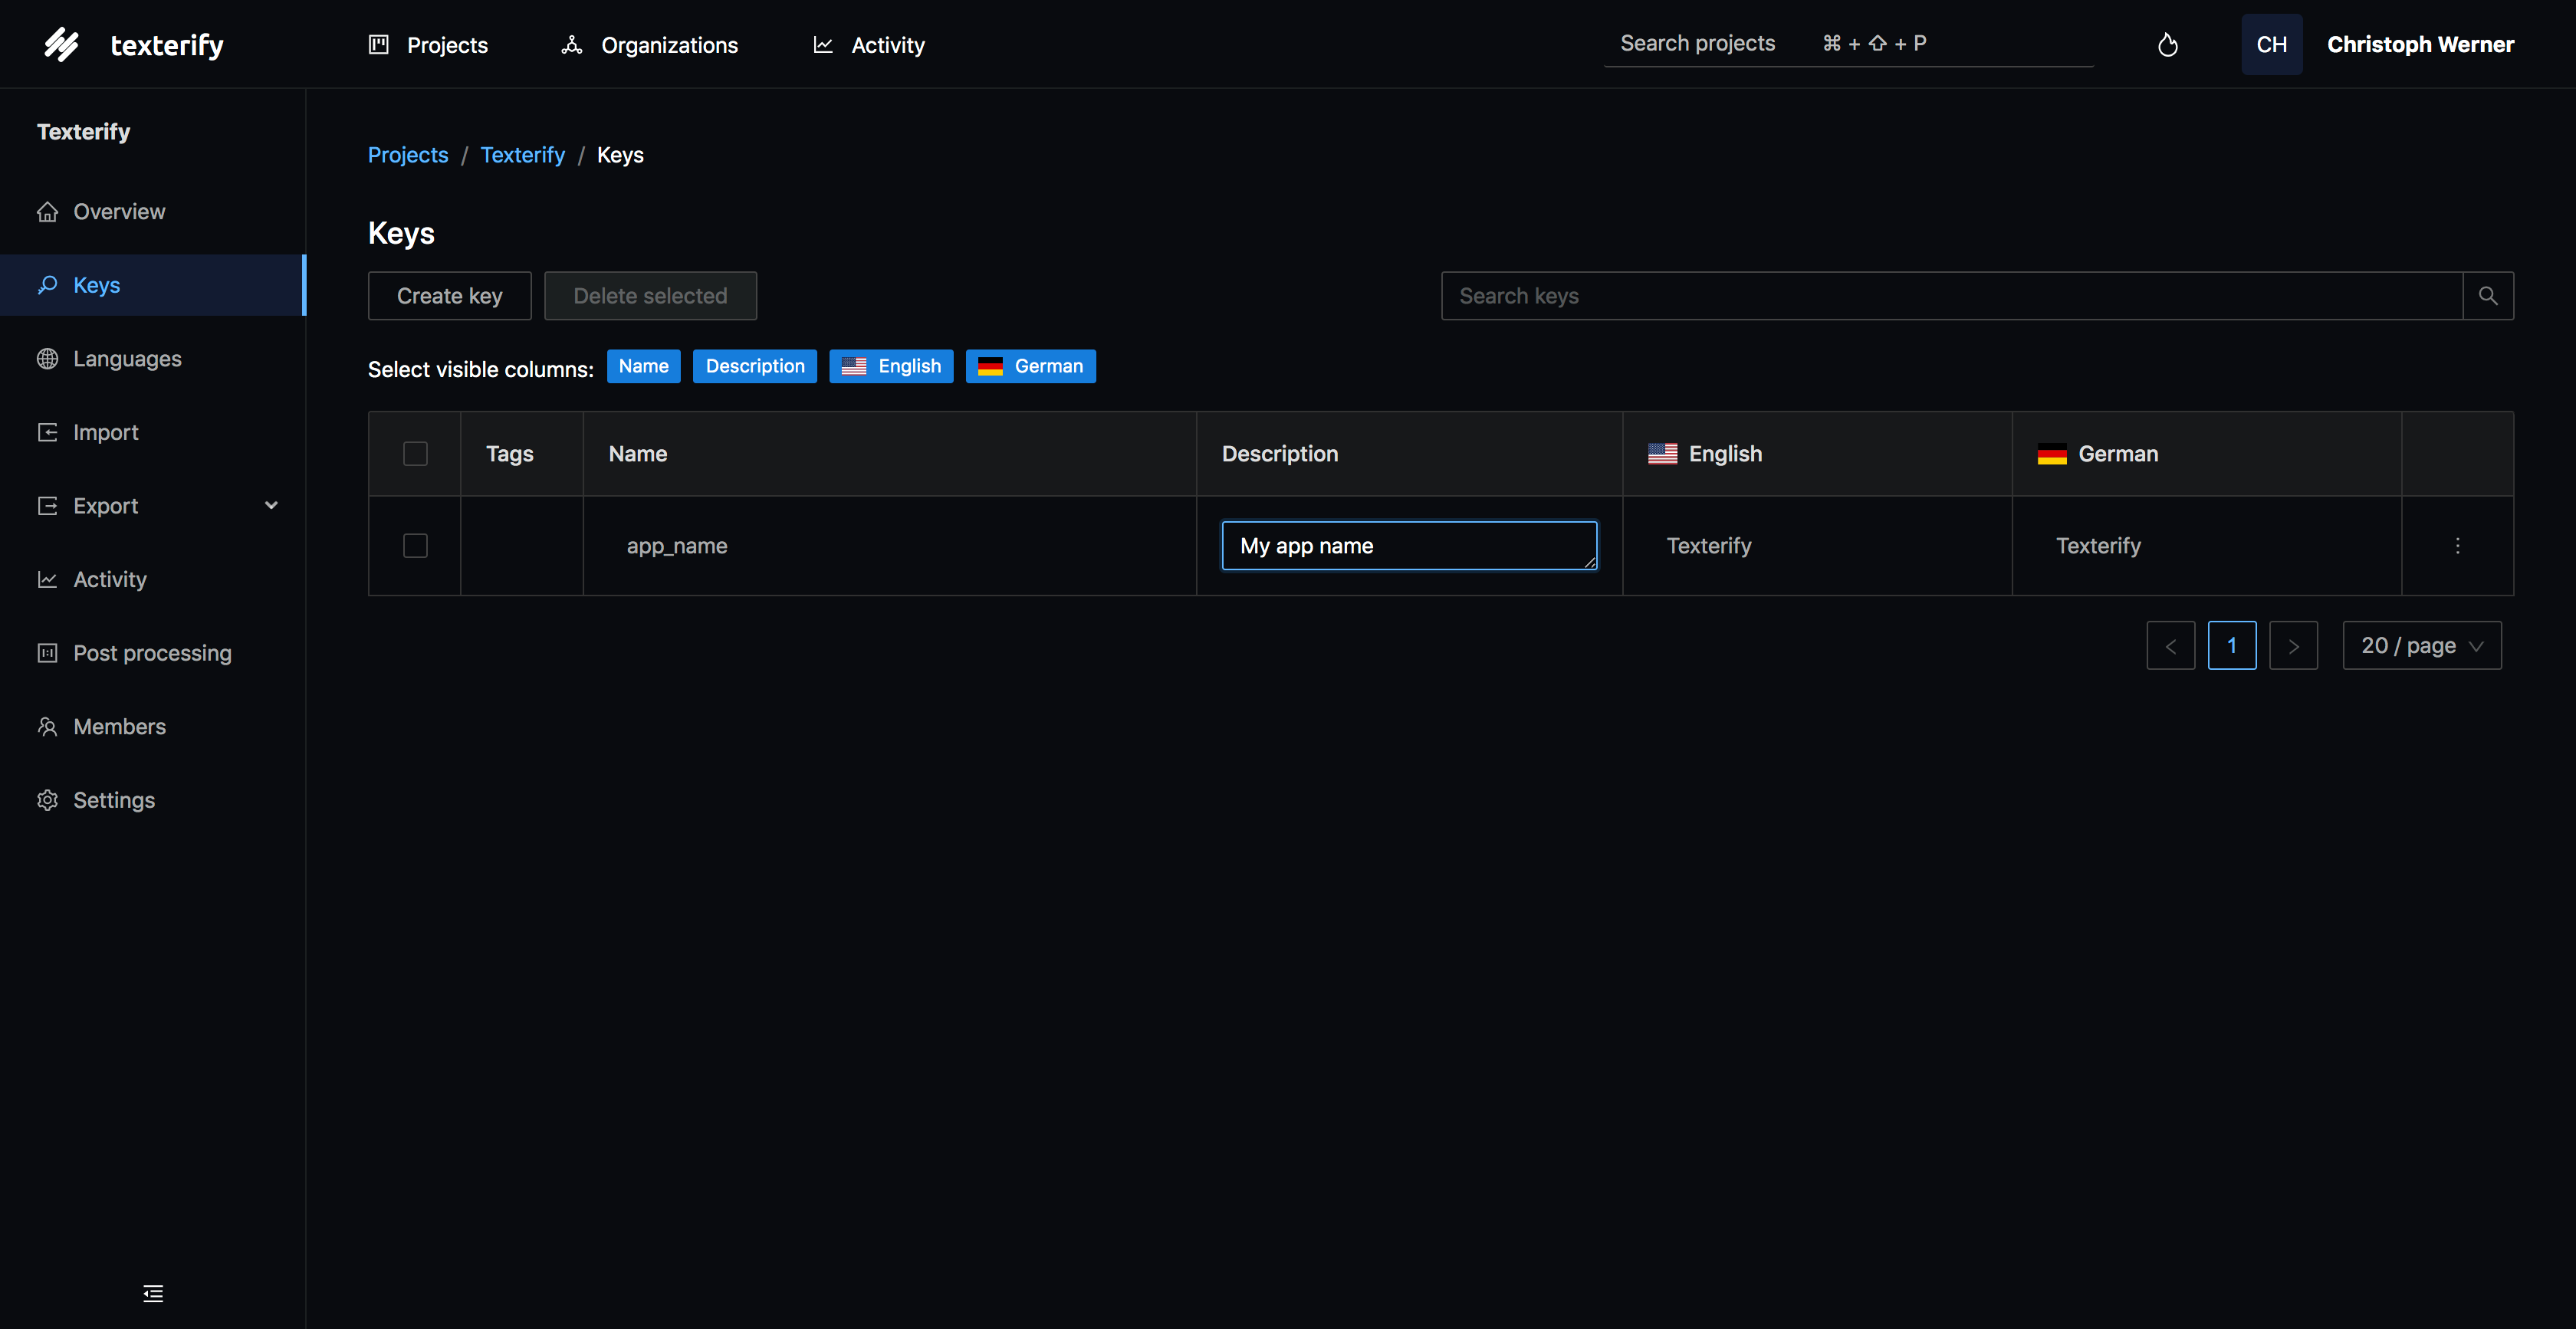
Texterify is a localization management platform which aims to make software localization as easy as possible. A very clean, fast and user friendly interface makes it super easy to use while providing full flexibility and powerful tools to perfectly integrate it into your workflow.
- Beautiful light and dark mode for every situation
- Built-in WYSIWYG HTML editor for easy rich content editing
- Language inheritance and post processing
- Flexible ways to export your translations
- Translation and activity history
- Collaboration features for teams
- Over the air translations for fast app translation updates
- A big selection of integrations
- Cloud and on-premise options
For future features see our public roadmap.
Find out more at texterify.com or sign up here.
- Getting started
- Tools & Integrations
- Contributing
- Troubleshooting
- Security
- Changelog
- Support
- License
If you want to try out Texterify you can sign up at texterify.com and use the cloud version of Texterify without having to setup anything yourself.
If you want to set it up yourself the easiest way to get the software up and running is by using the official Docker image. We provide a docker-compose configuration for starting Texterify locally or on your server within seconds.
You only need to have docker and docker-compose installed.
The process of starting the application is the following:
# Clone the docker-compose configuration.
git clone https://github.com/texterify/texterify-docker-compose-setup.git
cd texterify-docker-compose-setup

# Generate a secret key for the app.
# Make sure to keep this private.
echo SECRET_KEY_BASE=`openssl rand -hex 64` > secrets.env

# Start the service.
docker volume create --name=texterify-database
docker volume create --name=texterify-assets
docker-compose up

# After everything has started create the database in another terminal.
docker-compose exec app bin/rails db:create db:migrate db:seed

# Service is now available at http://localhost. 🎉
This will install the latest version of the service available at the time of setting up.
You can update to a newer version by following our upgrade guide here.
We provide several different tools and integrations to make localization as easy as possible. If you are missing anything you would love to have create a ticket here and let us know or tell us what you created and we will include it here.
- Texterify VSC Extension (https://github.com/texterify/texterify-vsc)
- Texterify CLI (https://github.com/texterify/texterify-cli)
- Texterify Android SDK (https://github.com/texterify/texterify-android)
- Texterify iOS SDK (https://github.com/texterify/texterify-ios)
- Texterify API Node (https://github.com/texterify/texterify-api-node)
Want to help build Texterify?
We are happy about every help. For major changes, please open an issue first to discuss what you would like to change.
The easiest way to get started working on Texterify is by using Visual Studio Code Remote Containers. Follow the guide and open the dev container. After the container has started open a terminal inside of VSC and run the following commands:
yarn
bundle install
bundle exec rails db:create db:migrate db:seed
This will install dependencies, create the database and add some test data like users for you. After that execute the following commands in two different terminals:
# terminal 1
yarn start

# terminal 2
yarn start:watcher
Having done that you can open http://localhost:3000 and see your local development instance of Texterify.
Make sure to also check out our development docs page at https://docs.texterify.com/development.
If you receive the error below try to increase the memory (e.g. 8 GB) that docker can use. Webpacker unfortunately requires a lot of memory to compile all the assets.
> yarn start:watcher
...
Killed
error Command failed with exit code 137.This usually happens when you start the development server for the first time and webpack has not yet compiled the required frontend assets and therefore some files can not be found. Run yarn start in a terminal and yarn start:watcher in another one and wait for the yarn start:watcher command to finish initial compilation (the terminal outputs Compiled successfully). Then reload the site. This can take some minutes initially.
I get the error "common.rb:156:in `parse': 783: unexpected token at '' (JSON::ParserError)" when starting the server during development?
Try to run the following command:
rails webpacker:compileFound a security issue? Please don't create an issue on GitHub. Instead send an email with your findings to security@texterify.com so a bugfix can be developed before the security flaw is publicly disclosed. We take security very seriously.
See SECURITY for details.
See CHANGELOG for changelog.
Our goal is to make software accessible to as many people as possible by making it super easy for teams to localize their software. Language should never be a barrier. This is the reason why we are offering a free plan and on-premise hosting so everybody can easily translate their software into multiple languages. If you want to help you can do the following:
- Leave a 🌟 and recommend Texterify to your colleagues
- Create a pull request and fix bugs or add new features
- Propose new features here
- Sponsor the project
- Get a license or select a premium plan and get access to advanced features
- Send us some kind words where and how you are using Texterify
If you have any questions or just want to say hello you can always reach us at support@texterify.com.
See the LICENSE file for details.
You can find more information at texterify.com/pricing.


