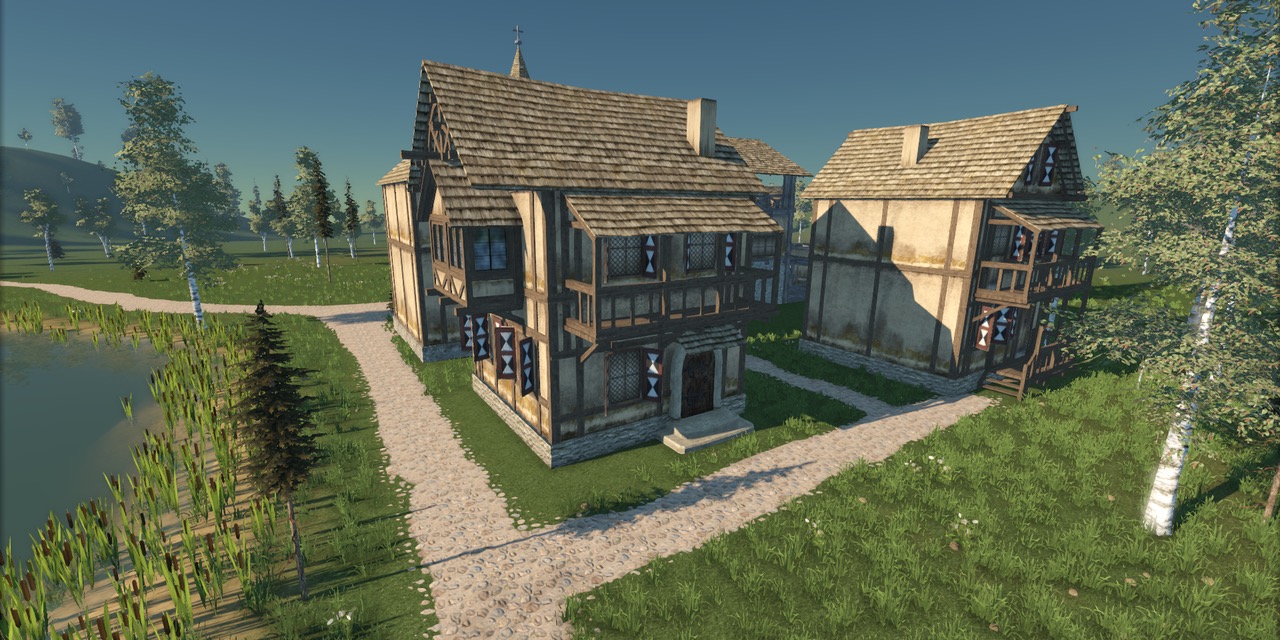
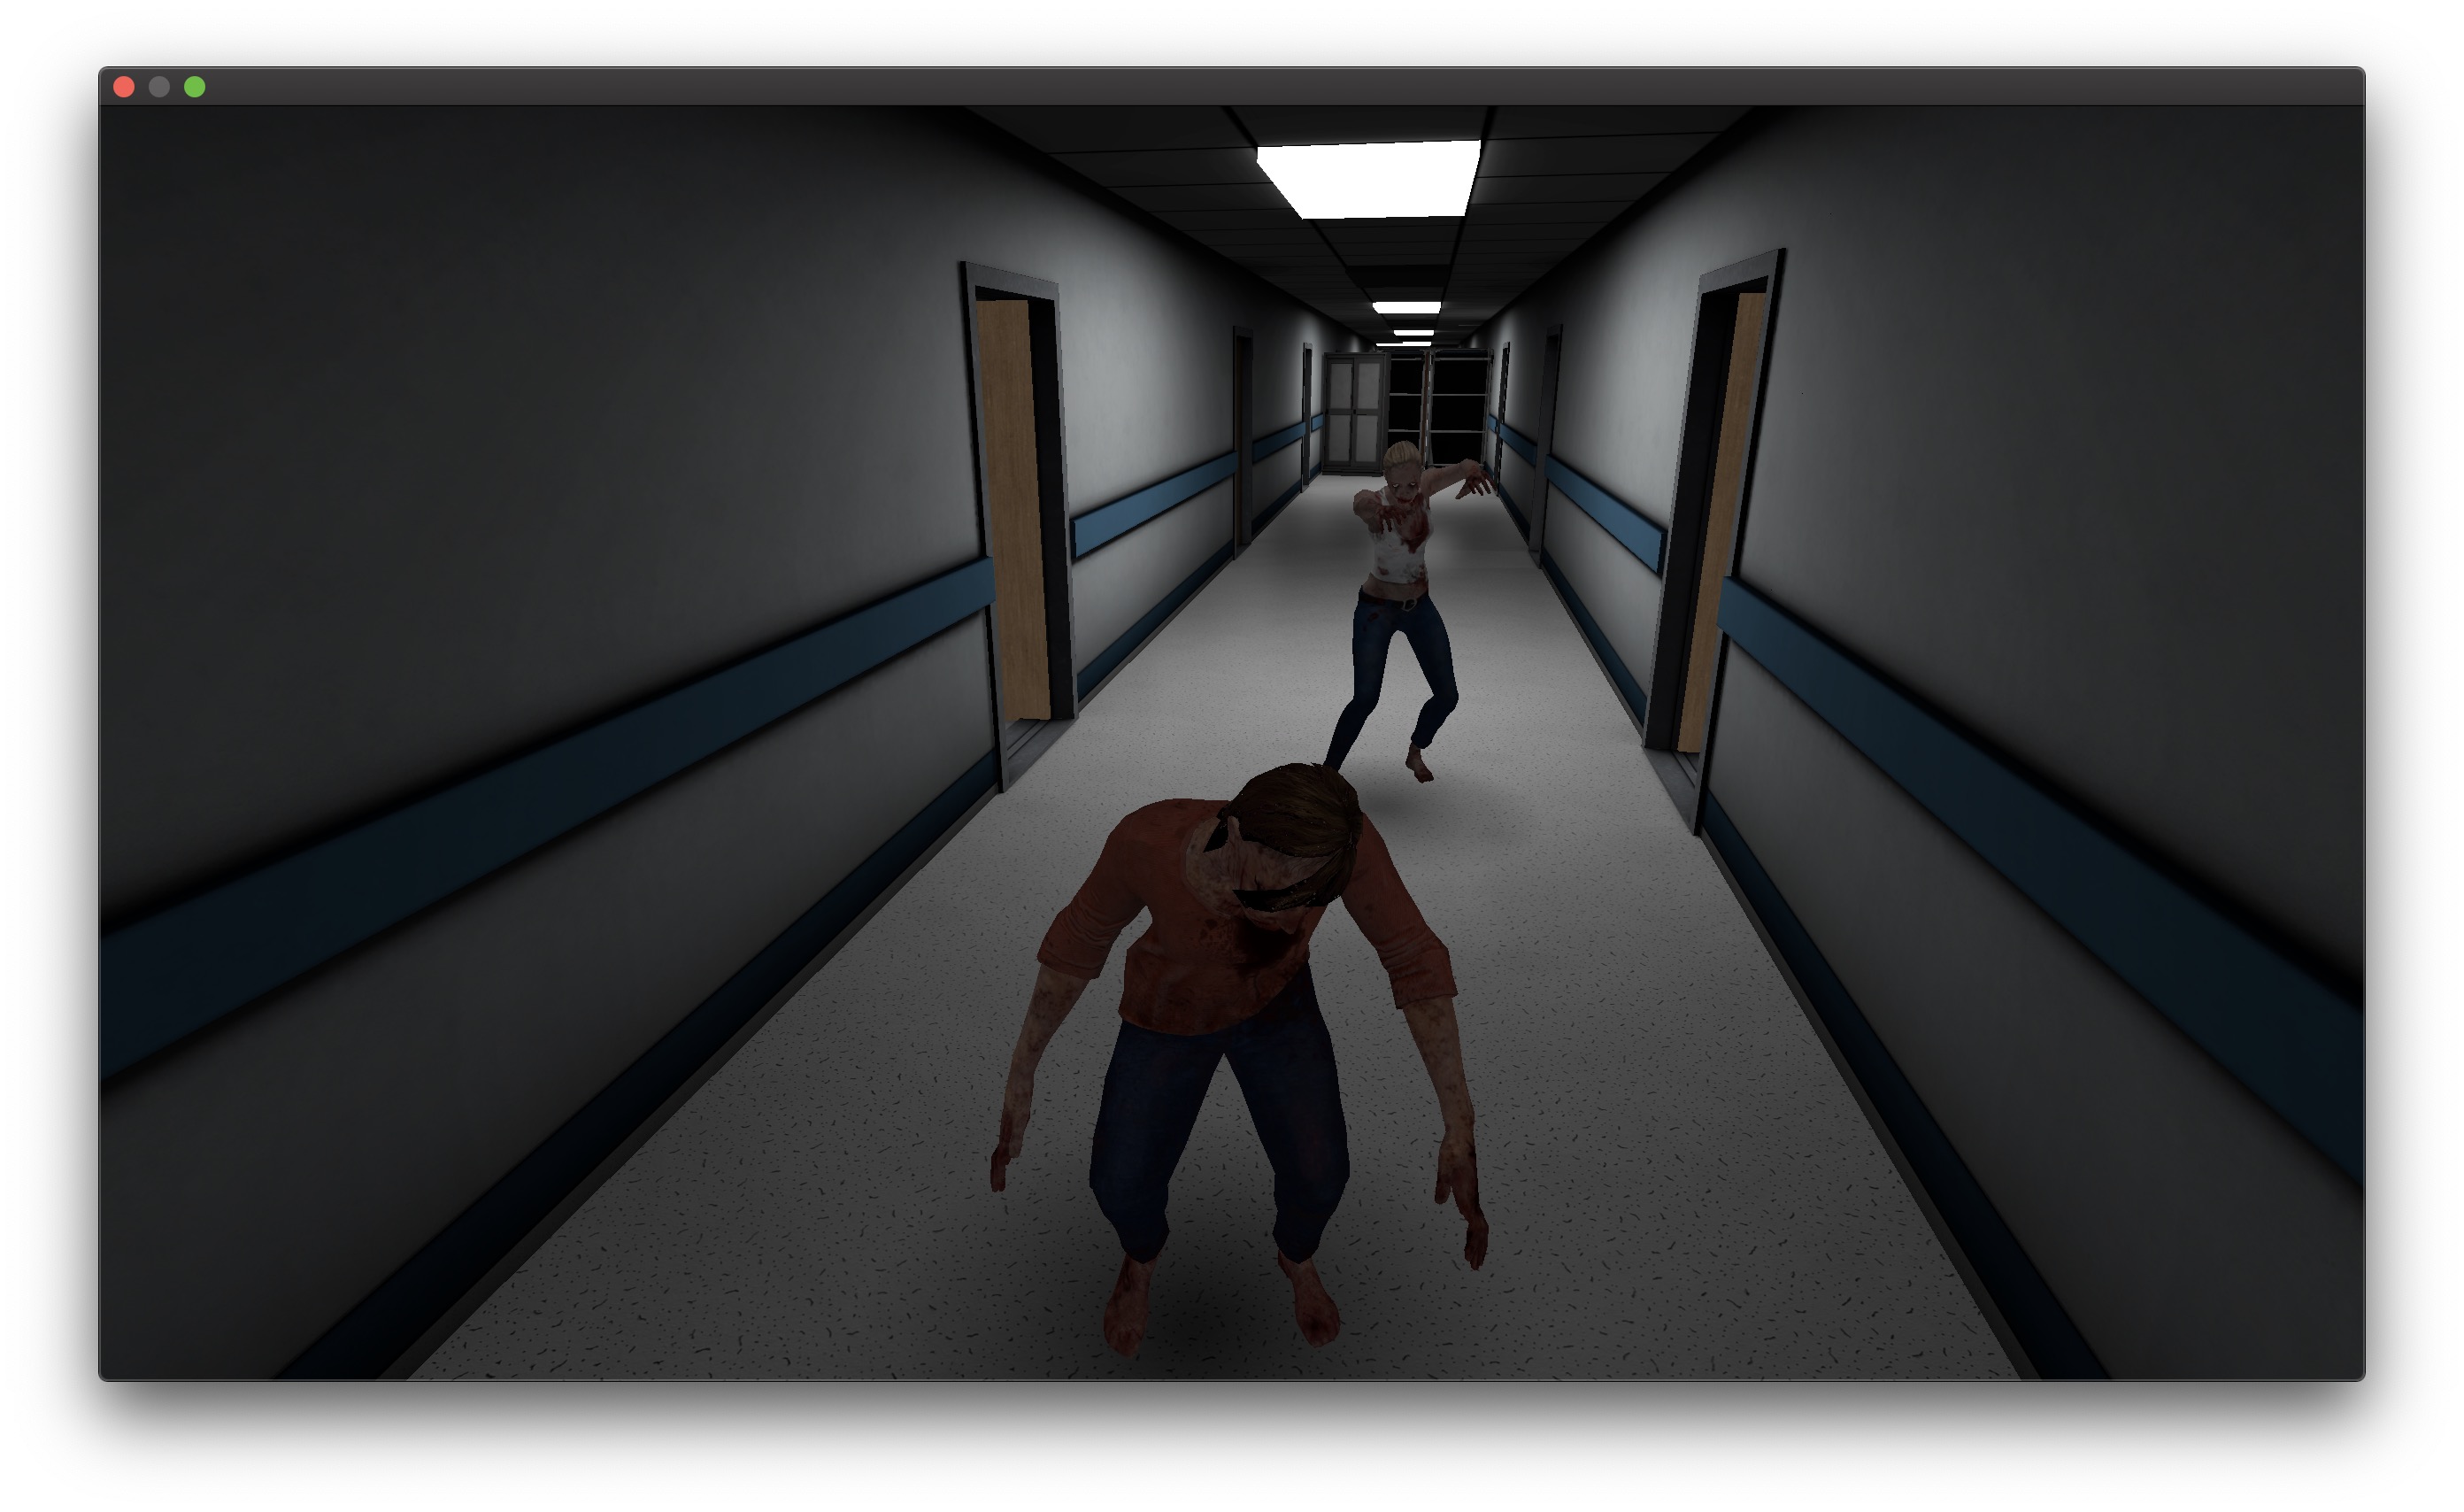
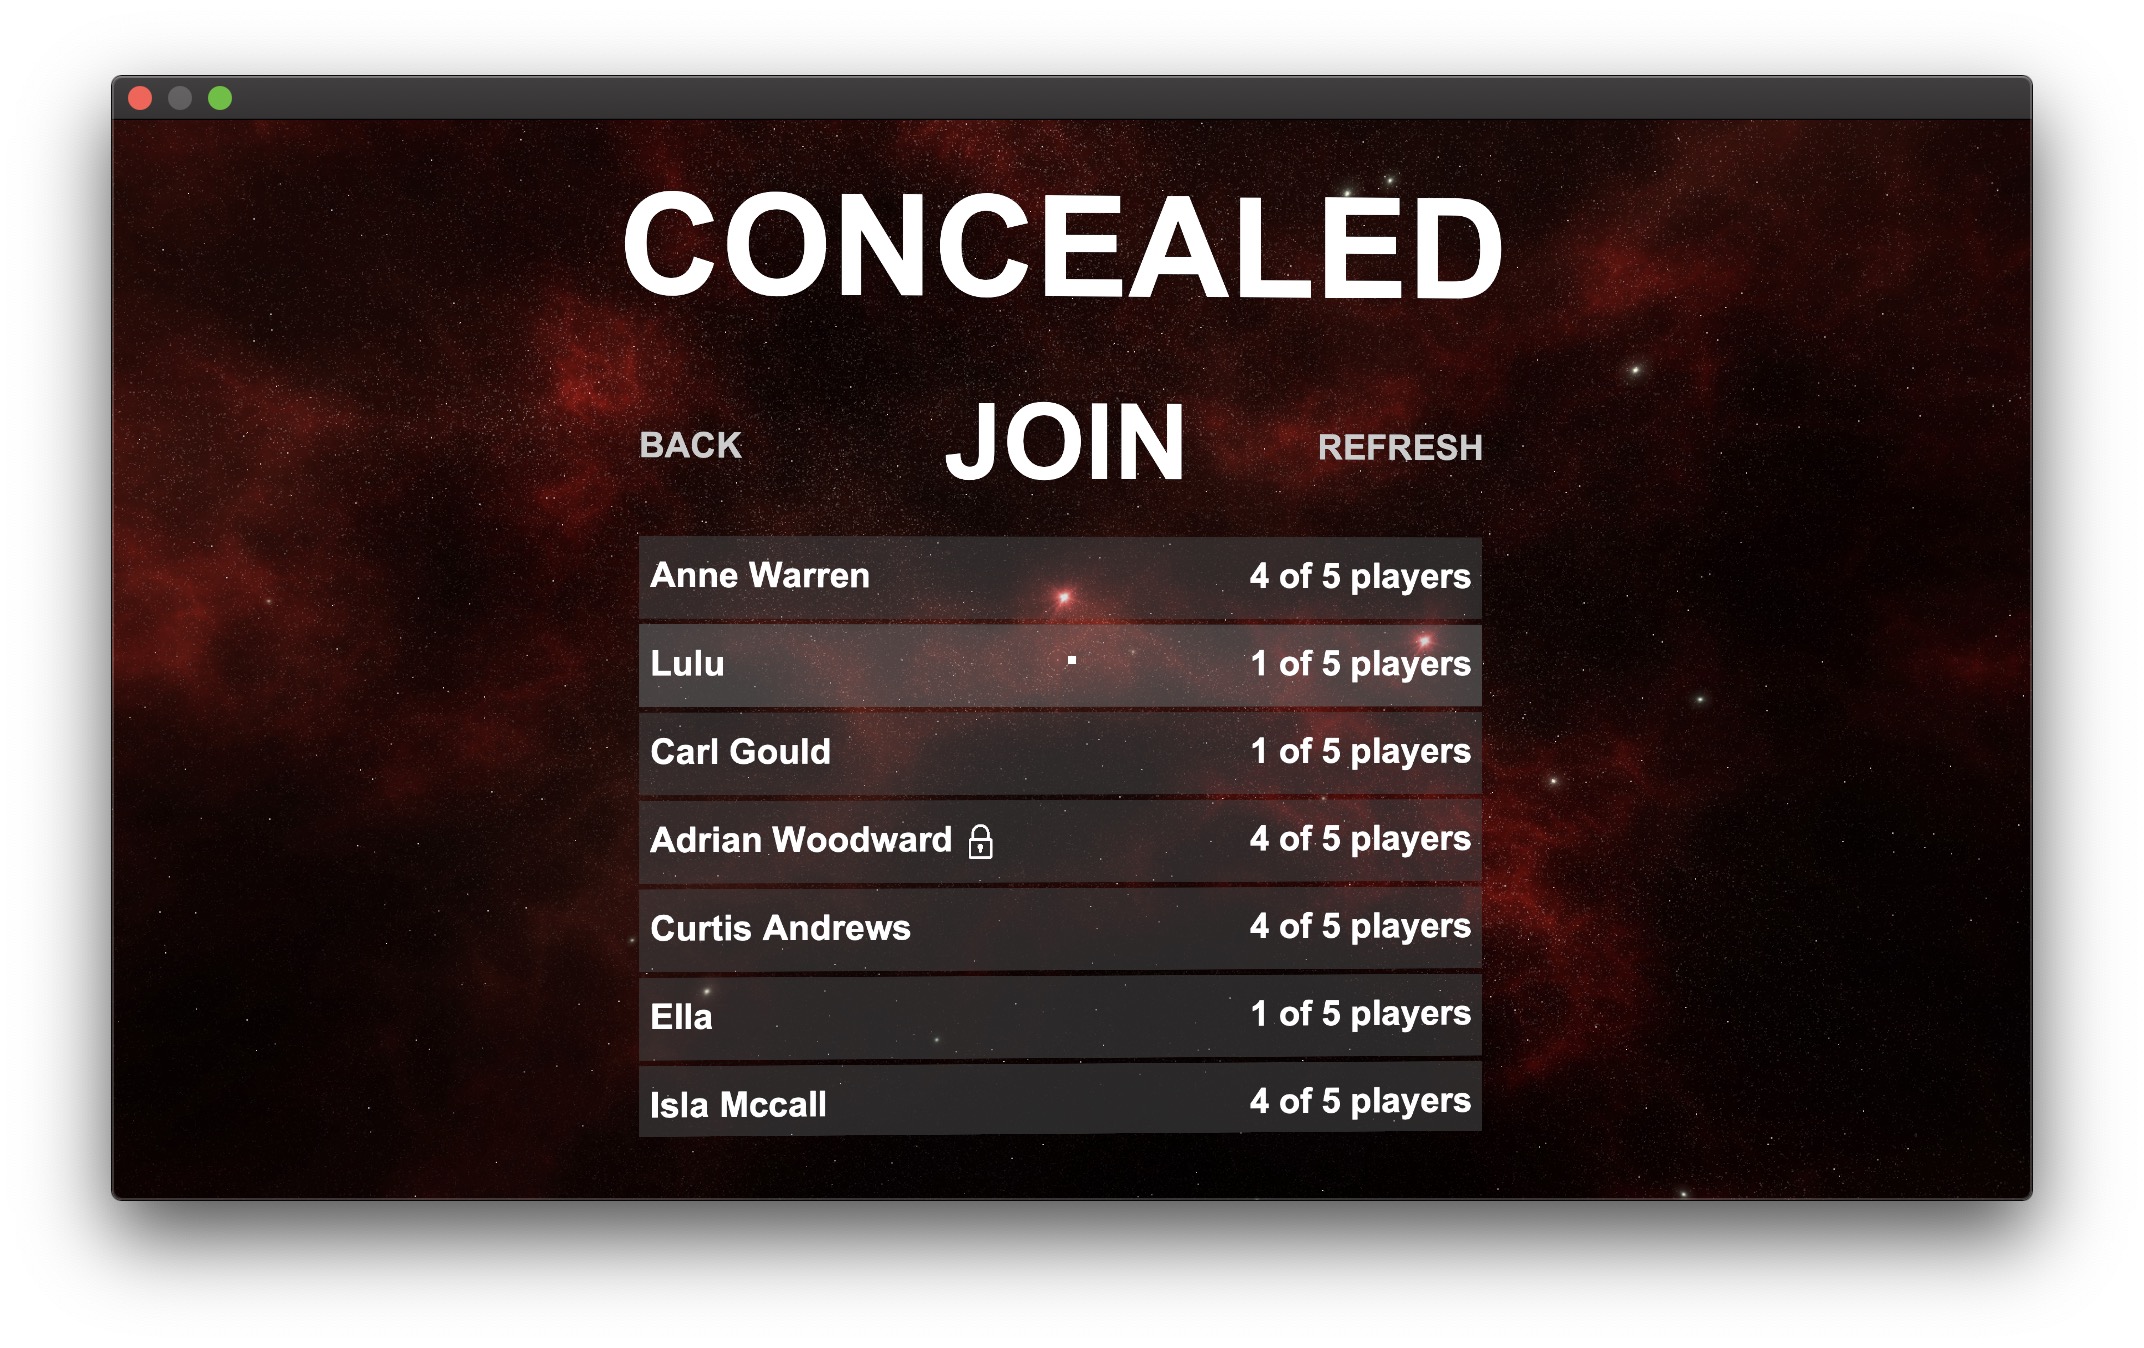
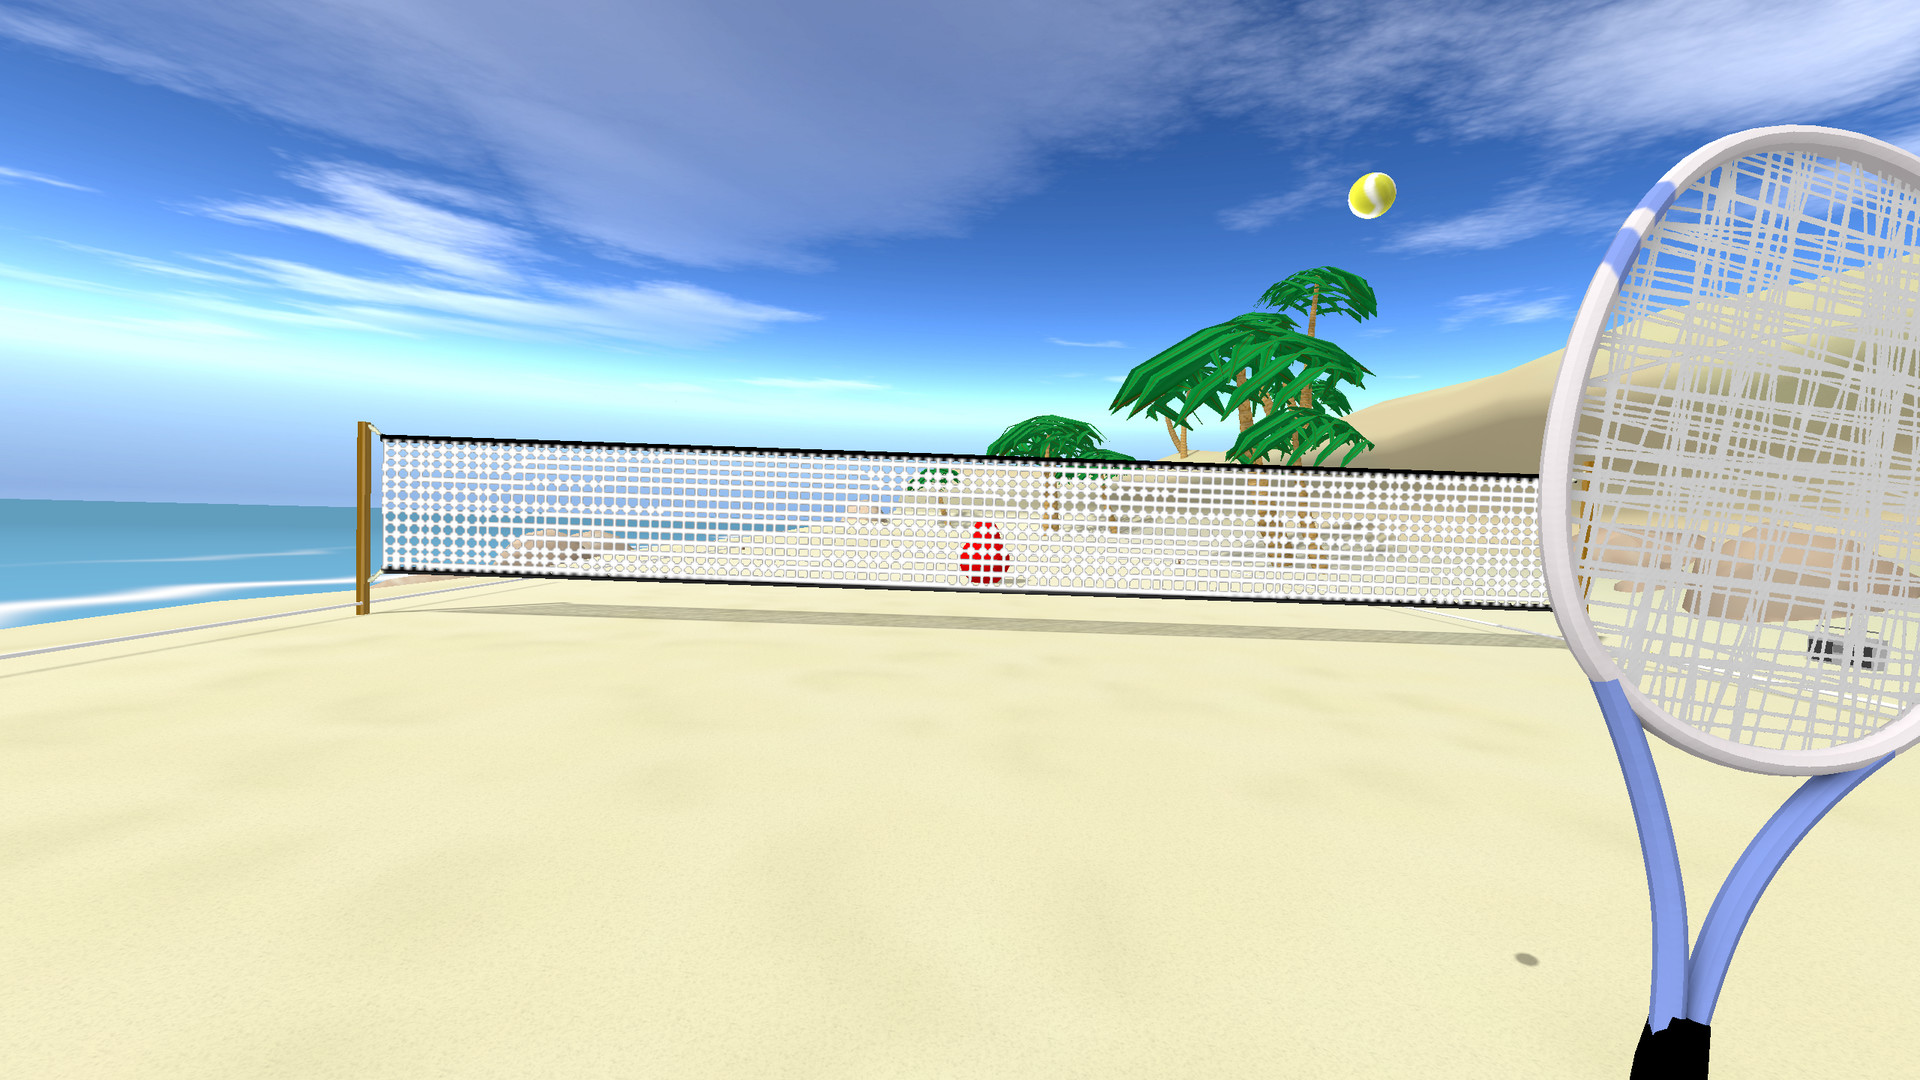
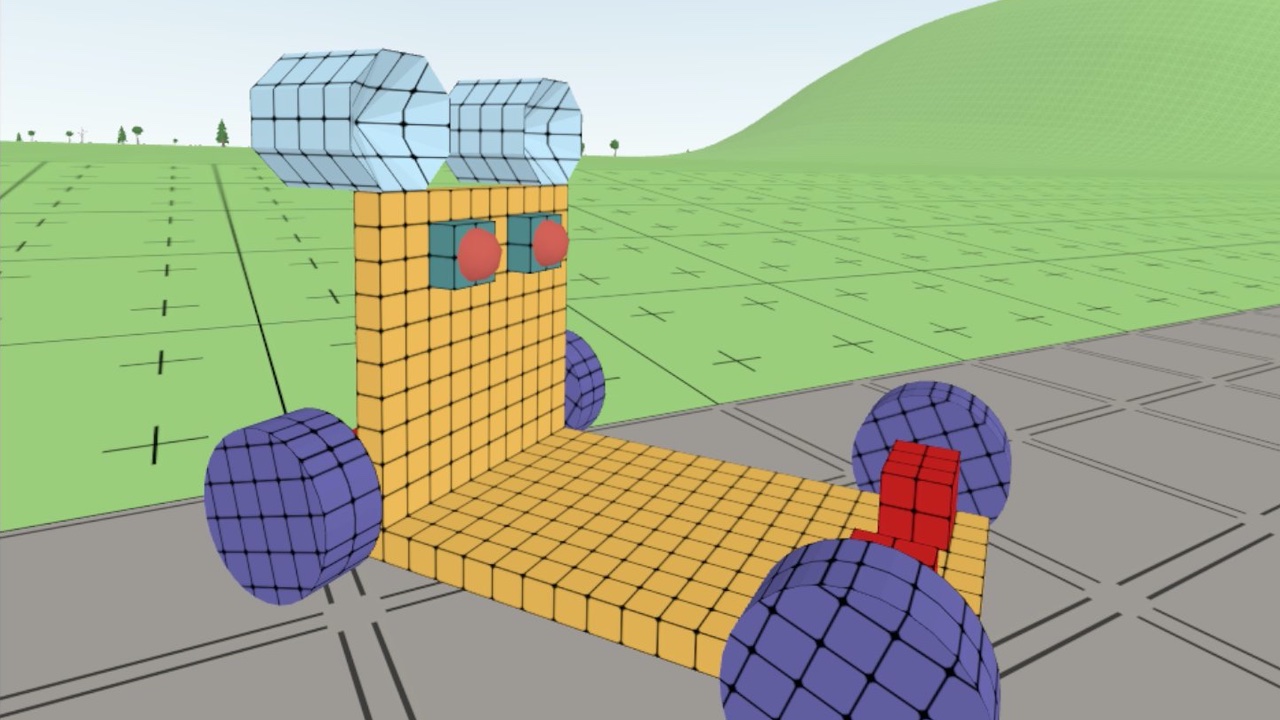
Rayne is a game engine for Windows, macOS, Linux and Android (and iOS shouldn't be missing much) written in C++. It currently has rendering implementations for D3D12, Vulkan and Metal.
Most functionality (like physics, path finding and UI) is added with optional modules. Not all included modules are fully working, some may not build at all. Modules can be found in the Modules directory. Some of the working modules are:
- D3D12 (Not maintained anymore, will eventually be removed. Use Vulkan instead.)
- Vulkan
- Metal
- UI
- OpenAL
- Ogg
- PhysX
- OpenXR
- Oculus (Requires the Oculus SDK to be downloaded and copied into the module folder!) - Only works with D3D12! - Outdated, use OpenXR instead.
- Oculus Mobile (Requires the Oculus Mobile SDK to be downloaded and copied into the module folder!) - Only works with Vulkan! - Outdated, use OpenXR instead.
- OpenVR - Outdated, use OpenXR instead.
- ENet
- Recast
- Assimp
There are a couple of useful python scripts in the Tools directory.
- Install Visual Studio (2017 or newer)
- Install CMake and have it added to the PATH environment variable
- Install Python 3.x and have them added to the PATH environment variable
- Run
git submodule update --initfrom within the Rayne directory - Go to Rayne/Tools/ShaderProcessor/Vendor/ShaderConductor and run
py -3 BuildAll.py - Contiune with Creating a new Project
There are currently some issues with the Windows setup requiring the cmake path to SetupAPI (part of the windows sdk) to be set manually.
- Install a recent Version of Xcode (11 and newer should be fine, older hasn't been tested in a while).
- Install Xcode command line tools:
xcode-select --install - Install Homebrew:
/bin/bash -c "$(curl -fsSL https://raw.githubusercontent.com/Homebrew/install/master/install.sh)" - Install Python 3.x:
brew install python - Install Ninja:
brew install ninja5.5 (Install patchelf (only needed for android builds with OpenXR!):brew install patchelf) - Run
git submodule update --initfrom within the Rayne directory - Go to Rayne/Tools/ShaderProcessor/Vendor/ShaderConductor and run
python3 BuildAll.py - Contiune with Creating a new Project
Depending on your linux distribution you may or may not want to use a different packet manager and the packets may be called differently, other packets could be missing or require an additional repository to install them from. The following has only been tested on Ubuntu 20.04 LTS.
- Install cmake:
sudo apt install cmake - Install ninja:
sudo apt install ninja-build - Install python 3.x:
sudo apt install python3 - Install python 3 distutils, will already have been included in some python 3 releases:
sudo apt install python3-distutils - Install X11 SDK:
sudo apt install xorg-dev - Install libxfixes, which extends and improves the X11 SDK:
sudo apt install libxfixes-dev - Install Vulkan SDK:
sudo apt install libvulkan-dev - Install GCC:
sudo apt install gcc - Install G++:
sudo apt install g++ - Run
git submodule update --initfrom within the Rayne directory - Go to Rayne/Tools/ShaderProcessor/Vendor/ShaderConductor and run
python3 BuildAll.py - Contiune with Creating a new Project
Create a folder structure like the following (Rayne should be the directory containing this readme and everything else from this repo)
- root
- Rayne
- Games
- GameName
- Open a terminal and change the current directory to GameName.
- Run
python3 ../../Rayne/Tools/ProjectGenerator/CreateProject.pyTemplate Name has to be base-vr at the moment (it also works without VR, but handles some additional setup needed for VR), everything else can be chosen however you want. - Run
python3 ../../Rayne/Tools/BuildHelper/CreateBuildProject.py build-config.json platform independentreplace platform with either windows (only works on windows), macos (only works on macOS), linux (only works on linux) or android (should work on any host system, only really tested on macOS though). This will create a new Builds directory with another directory for the platform inside. For windows this will contain a Visual Studio solution, for macOS it will be an XCode workspace, on linux it will be ninja makefiles and for android it will be a gradle project that can be imported into Android Studio. - Then build and run and everything should work.
