An Eos smart contract deployer from frontend
https://github.com/yashwanth2804/EOSdplyr
cleos is a command line interface which used to interact with blockchain
Being an entry level developer in EOS,it is hard for me to manage multiple terminal windows opened ,its a very time consuming process,confusing.This EOSdplyr aims to speed-up the development process by simple GUI action from web ,which intern executes the normal bash actions.
Please follow the Develpoers docs
make sure cloes command executes after you run the docker image .
Note your
CONTRACTS_DIRfolder absolute path,development keyandwallet key.[provide these to .env file in project folder]
This is targeted for the entry level developers in EOS platform,It is suggested to have development enviroment setup with CLION or alternative as you mature.
Clone the repo
git clone https://github.com/yashwanth2804/EOSdplyr.git
cd Eosdplyr
npm install
npm start
Change .env file configurations
Walletkey, your wallet imported private key.
path, absolute path for the contract folder. (should ends with forwardslash / )
Developmentkey , this is the key which used to create accounts.
make sure you don't expose keys in deployment environment
now open the browser http://localhost:3001/
Run
docker start eosioif you have't started docker service

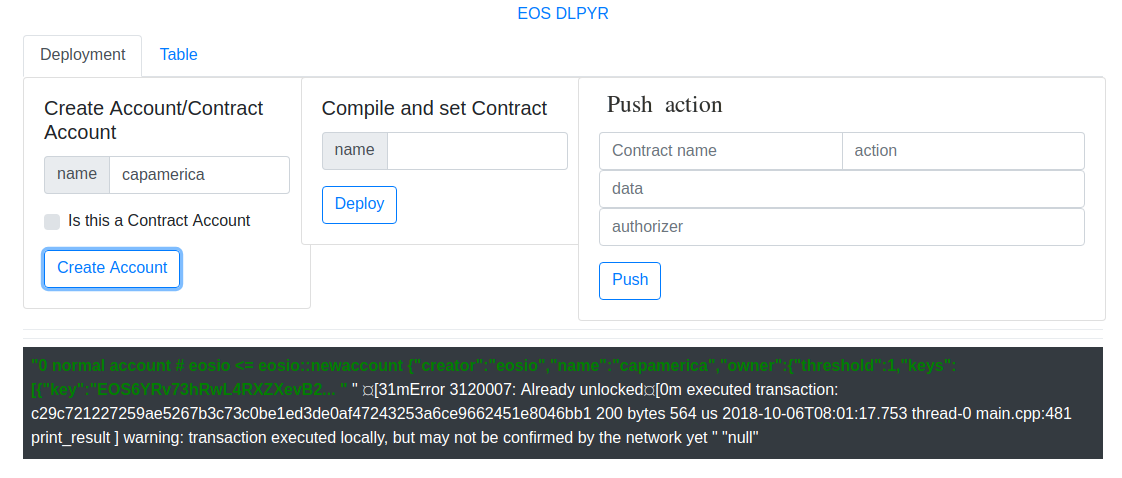
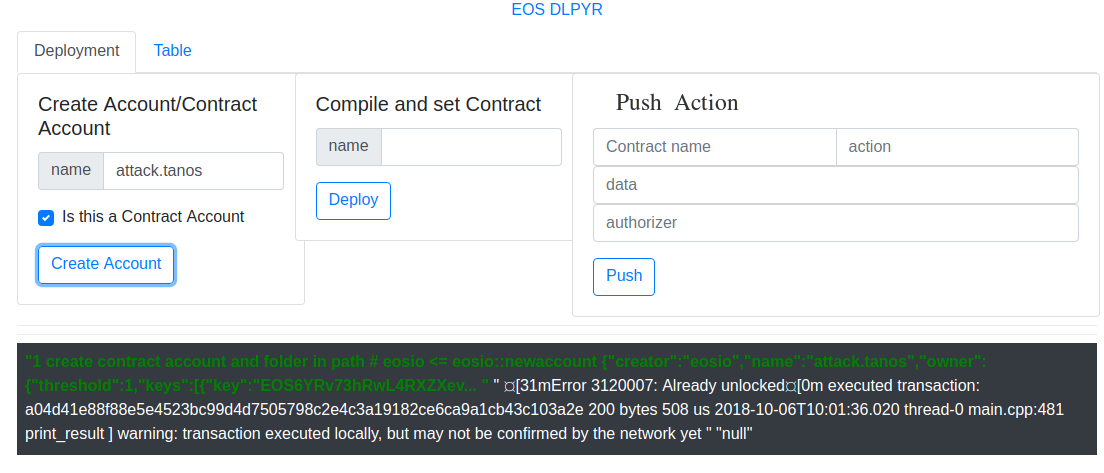
This snippet will create the contract account and generates the folder with provided contract name and cpp file with basic template of hello smartcontract.
CONTRACTS_DIR/ContractName/ContractName.cpp
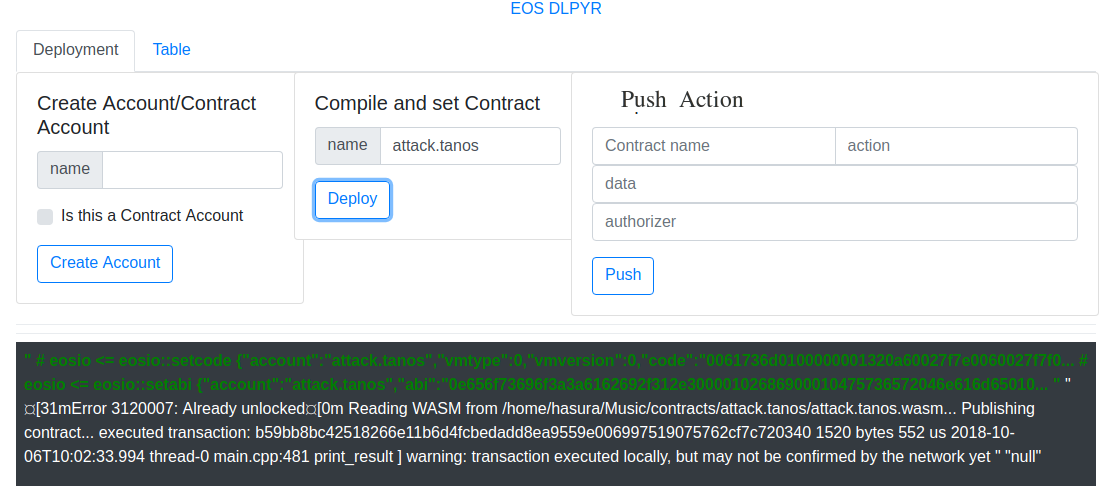
This snippet will compile the cpp file and generates the wasm and abi files,
after the compilation this will be pushed to blockchain using set contract


Node,express,Html,Css,Bash script
-
Clone it
[https://github.com/<your_github_name>/EOSdplyr.git or git@github.com:<your_github_name>/EOSdplyr.git]
- git clone https://github.com/<your_github_name>/EOSdplyr.git
-
Create a branch
-
cd first-contributions
-
git checkout -b
-
-
Add features
-
git add
-
git commit -m "what your features"
-
-
push it
-
git push origin
-
Submit a pull request
-

