SDK UI Usage Tutorial
The simplest way of using the SDK is to make use of the pre-created payment method input UI. This allows you to utilize the greatest possible set of features of the SDK. You don't need to worry about fetching all the data in the correct formats and fetching different kinds of data depending on which PSP you are using. The SDK takes care of all that.
The following steps need to be taken to let your users add payment methods from your application:
- Add the SDK and necessary dependencies to your project
- Configure the SDK
- Present the SDK payment method UI from your code and handle the returned alias
- (Optional) Customize the UI experience
First, include the Stash! SDK core library into your project. The easiest way of doing this is by using Gradle dependency.
implementation ("com.mobilabsolutions.stash:core:0.9.5")Then depending on the Payment Service Providers, you are planning on using, you should add their specific integrations as well
implementation ("com.mobilabsolutions.stash:adyen:0.9.5")
implementation ("com.mobilabsolutions.stash:braintree:0.9.5")
See the installation section in the README for more information.
Now that you have included the SDK into your project, you can start writing some code to configure it.
To configure the SDK, you will need a running backend (and its endpoint URL handy) as well as the public key for the merchant that you want to use. To let the SDK know which PSPs we have access to and want to use, we need to create matching PSP module instances and register them with the SDK. Here, you have fine grained control over which payment methods should the user be able to register for each of the PSPs (omitting these payment methods leads to all available payment methods for that PSP being used). Beware that not every PSP allows every payment method type to be used with the SDK. Braintree, for instance, is only available for PayPal payment methods. The public key, endpoint and PSP information are used to create an initial configuration of the SDK.
Note: The SDK can only be initialized once in the application's lifecycle.
val  configuration = StashConfiguration(
        publicKey = "Your-Public-Key",
        endpoint = "https://Your-Backend-Endpoint-Url",
        integrationList = listOf(
        AdyenIntegration to PaymentMethodType.CC,
        AdyenIntegration to PaymentMethodType.SEPA,
        BraintreeIntegration to PaymentMethodType.PAYPAL
        )
        // If we want to use test mode for our requests
        // (e.g. only register PayPal methods in the Braintree sandbox for testing),
        // we should set the `testMode` property to `true`
        testMode = true
)
Stash.initalize(applicationContext, configuration)
Now you are ready to start registering payment methods using the SDK.
From the appropriate point in your application, you can launch the request to show pre-build UI.
val registrationManager = Stash.getRegistrationManager()
registrationManager.registerPaymentMehodUsingUi(activity)
        .subscribeBy(
            onSuccess = { paymentAlias ->
                //Send alias to your backend server for later usage
                sendAliasToBackend(paymentAlias.alias)
                when (val aliasInfo = paymentAlias.extraAliasInfo) {
                    is ExtraAliasInfo.CreditCardExtraInfo -> {
                        // Handle showing credit card payment method in UI, i.e.:
                        showCreditCardMask(aliasInfo.creditCardMask)
                    }
                    is ExtraAliasInfo.SepaExtraInfo -> {
                        //Handle showing SEPA payment method in UI i.e.:
                        showSepaMask(aliasInfo.maskedIban)

                    }
                    is ExtraAliasInfo.PaypalExtraInfo -> {
                        //Handle showing PayPal payment method in UI i.e.:
                        showPayPalEmail(aliasInfo.email)
                    }
                }
            },
            onError = {
                //Handle exceptions
                handleException(it)
            }

        )
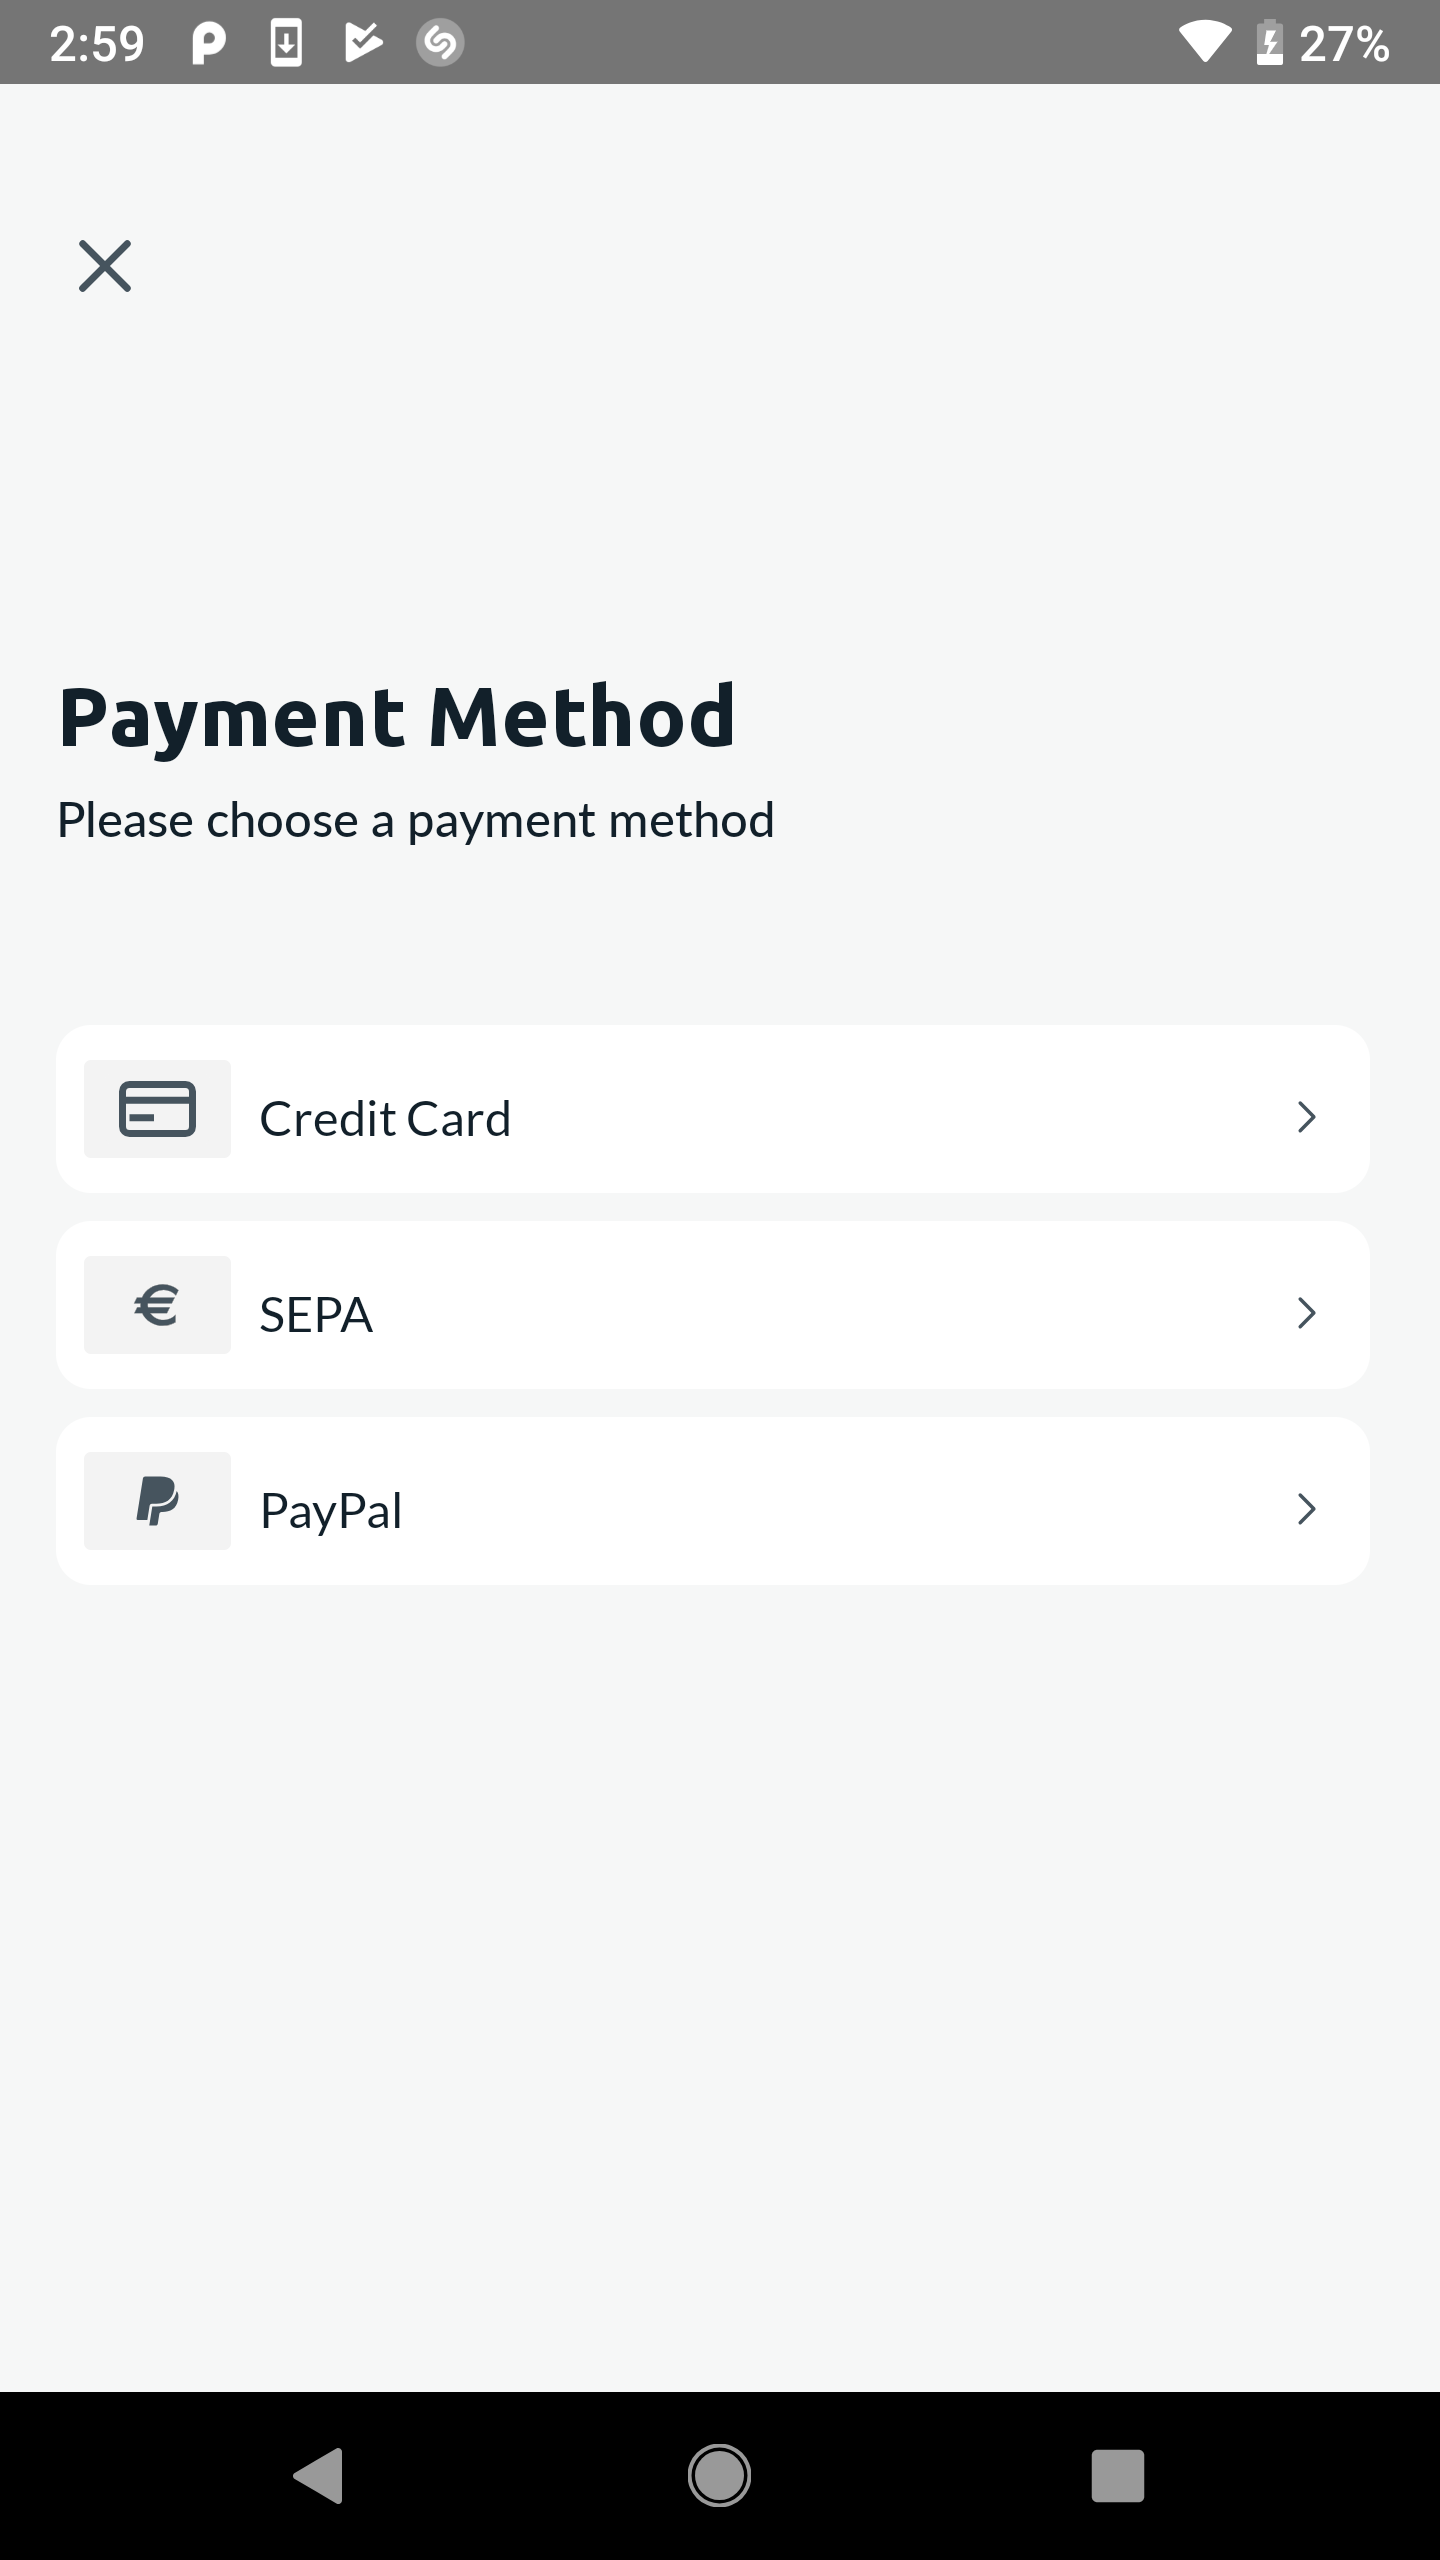
This will show a chooser screen, where the user can select which payment method he prefers. If you supply the activity, the screen will be in the same task as that activity, if you don't a new task will be launched. Here is how it looks.
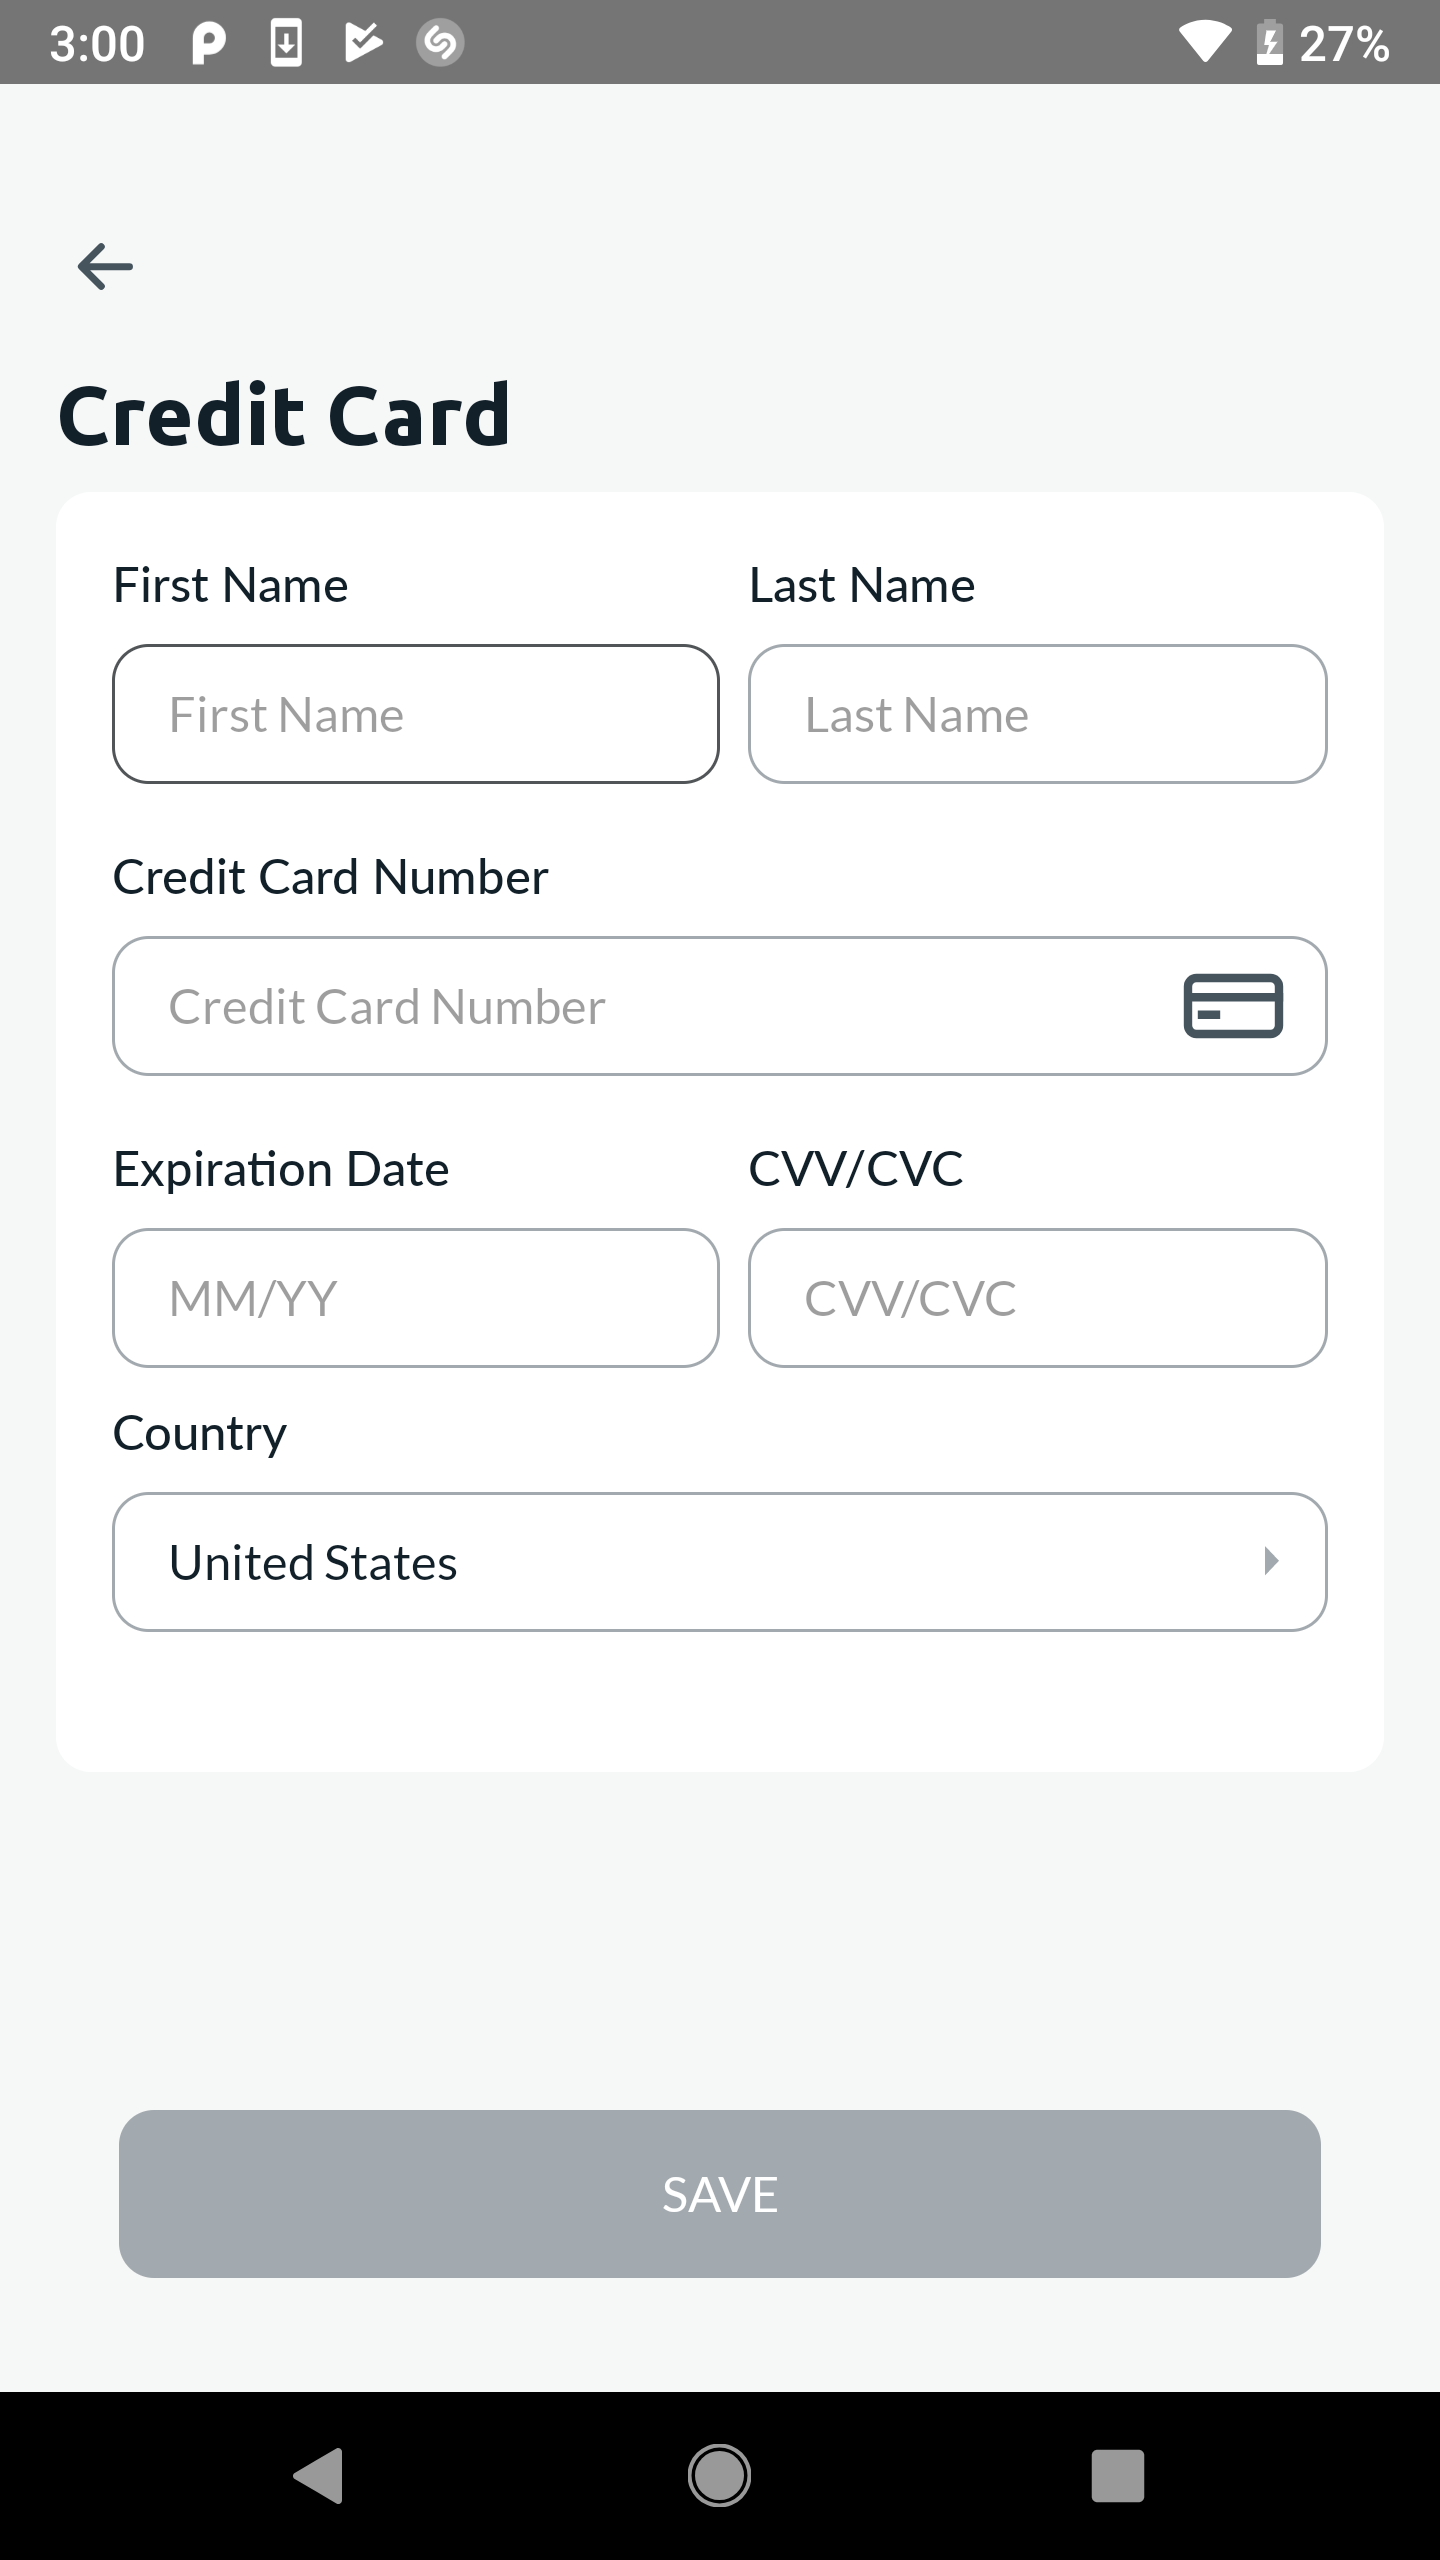
If you want you can also provide a payment method parameter to the registerPaymentMethodUsingUi call, that will skip the chooser
and offer the user to enter your specified payment method. i.e.
val registrationManager = Stash.getRegistrationManager()
registrationManager.registerPaymentMehodUsingUi(activity, PaymentMethodType.CC)
        .subscribeBy(
        ... //Handle sepa payment method
        )
Once the user has chosen and entered the required data, you will receive a PaymentMethodAlias object that contains all
the necessary data for showing the method in your applications UI, as well as sharing tthe data with your backend servers.
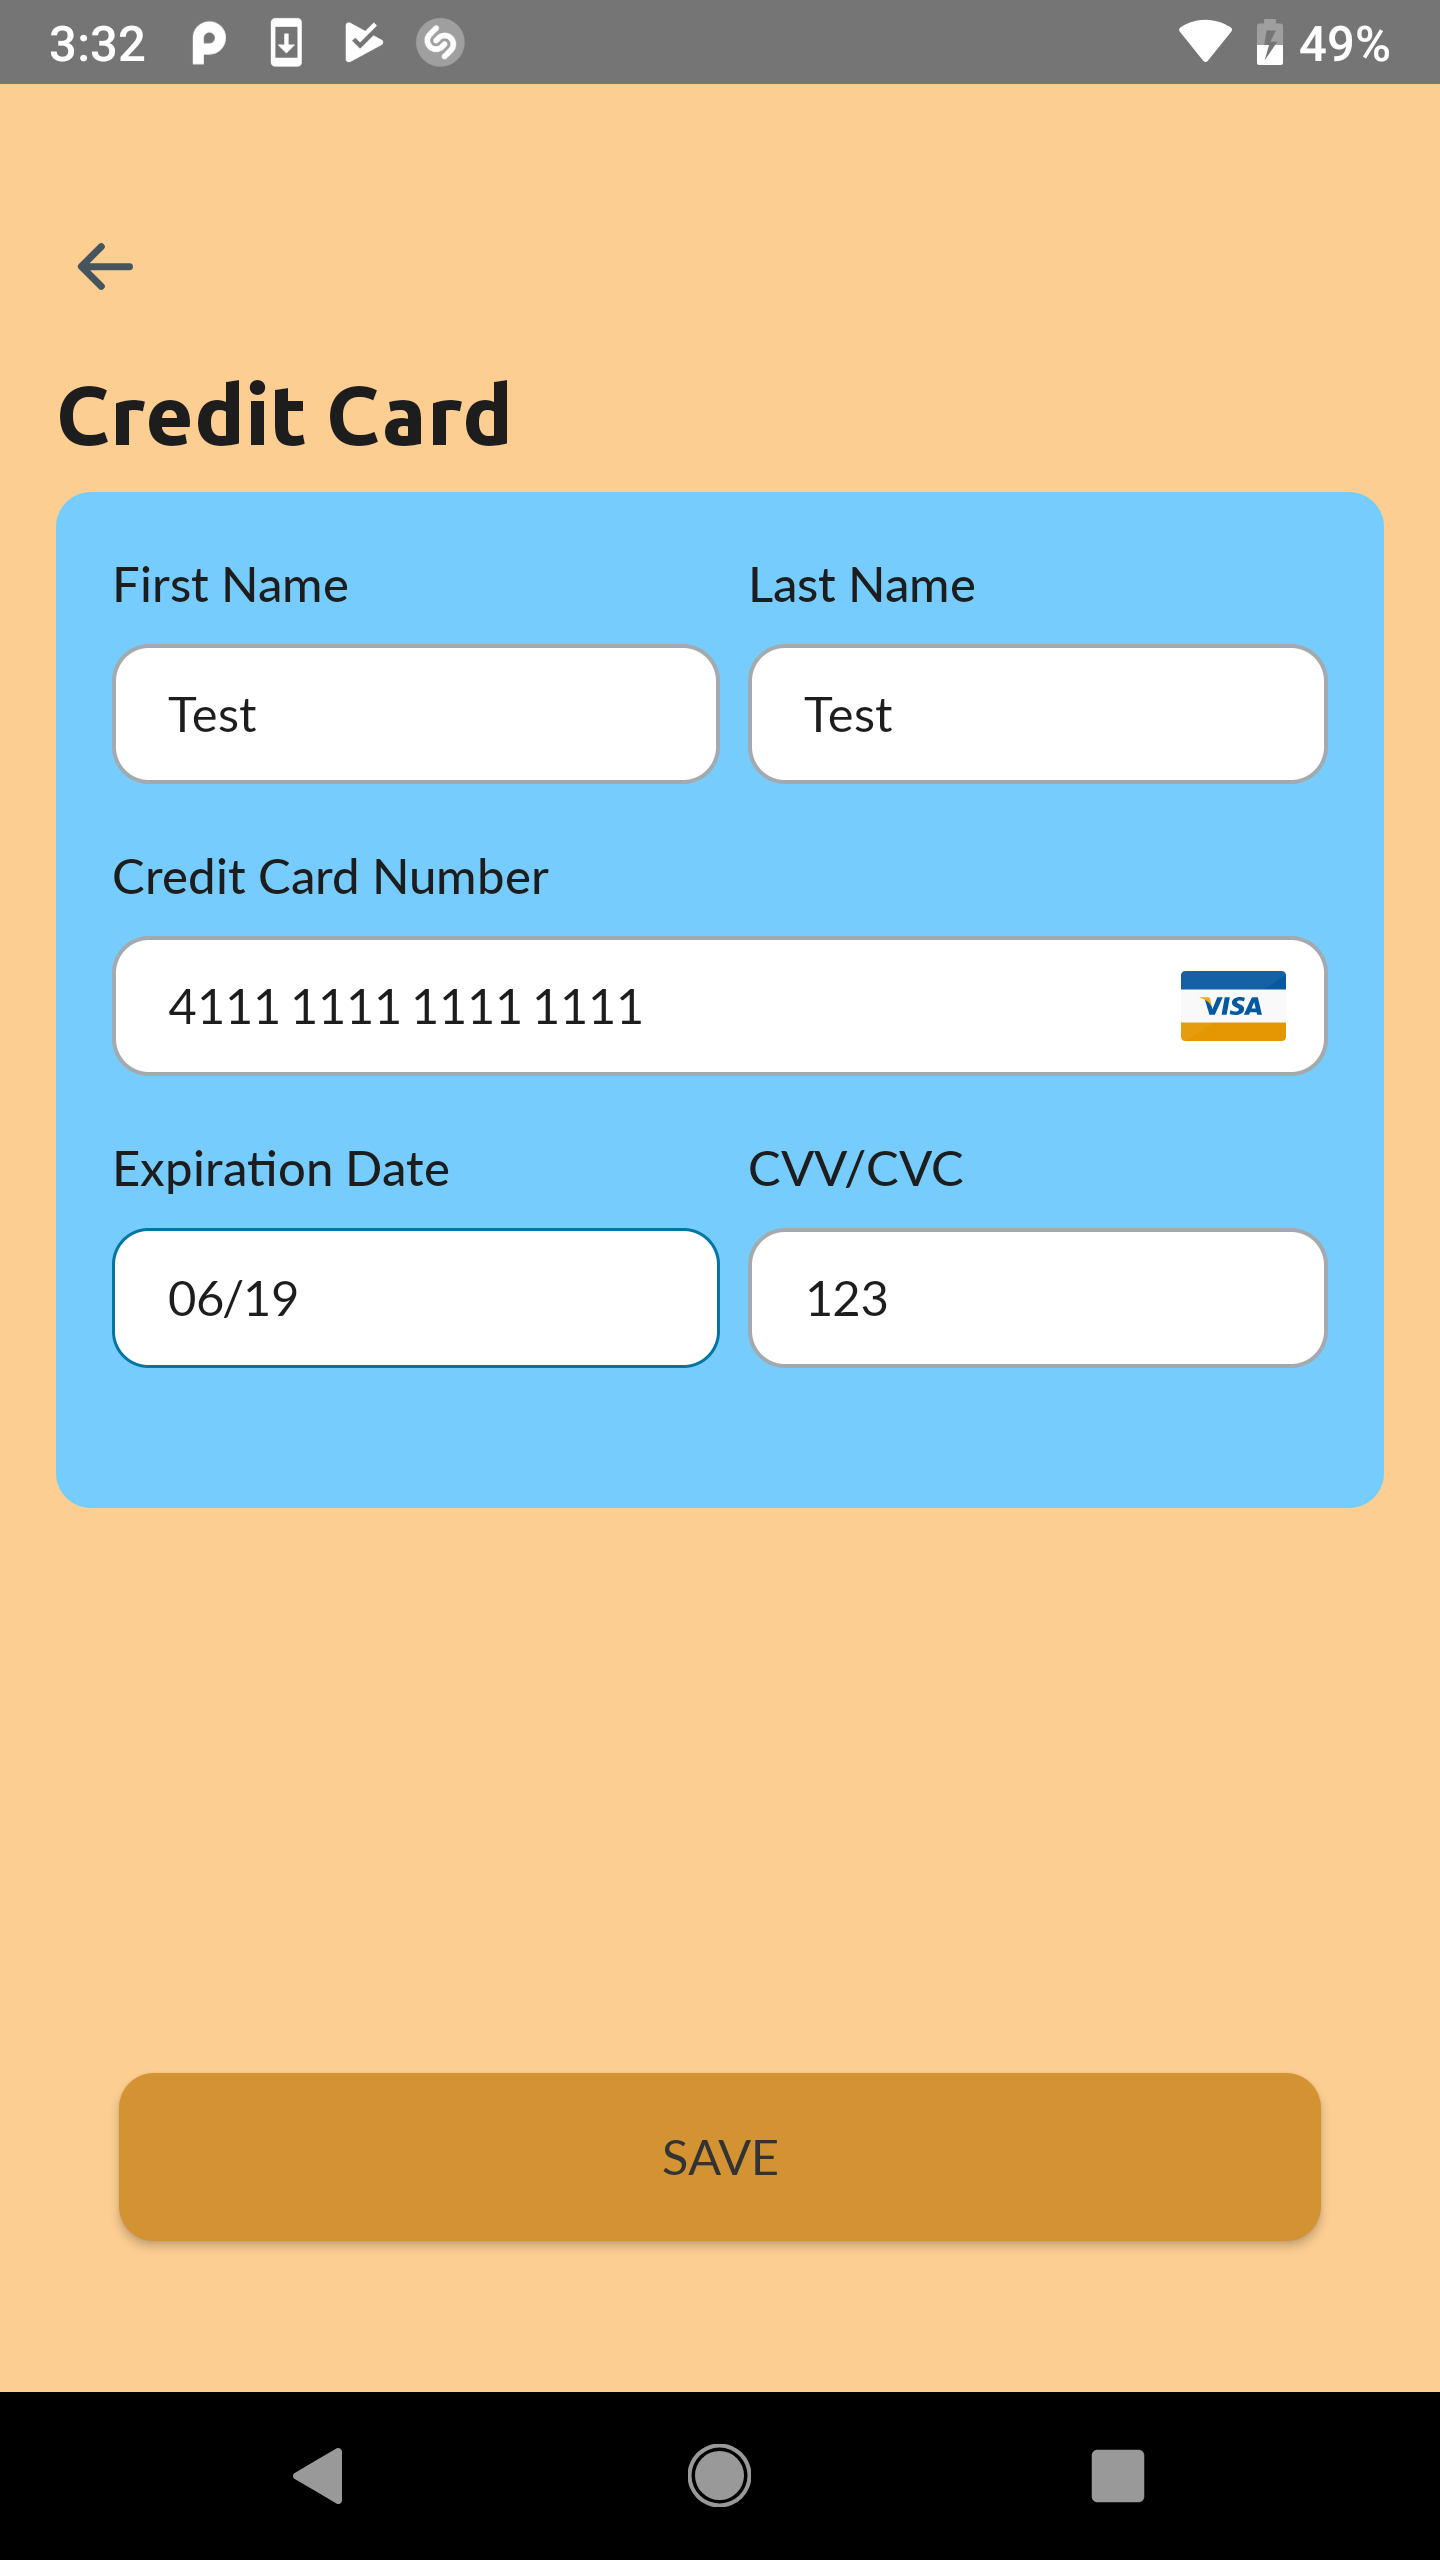
Often, you will have a custom UI experience ready for your users in the rest of your application. The default theme provided by the SDK might not fit into that precisely. Therefore, it is possible to customize the UI that is presented. The example below does just that, there is a lot more information in the wiki article on Module UI Customization.
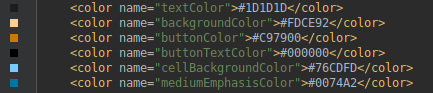
val textColor: Int = R.color.textColor
val backgroundColor: Int = R.color.backgroundColor
val buttonColor: Int = R.color.buttonColor
val buttonTextColor: Int = R.color.buttonTextColor
val cellBackgroundColor: Int = R.color.cellBackgroundColor
val mediumEmphasisColor: Int = R.color.mediumEmphasisColor

val paymentUiConfiguration = PaymentUiConfiguration(
        textColor,
        backgroundColor,
        buttonColor,
        buttonTextColor,
        cellBackgroundColor,
        mediumEmphasisColor
)
val  configuration = StashConfiguration(
        publicKey = "YourApiKey",
        endpoint = "https://payment-dev.mblb.net/api/",
        integration = AdyenIntegration,
        testMode = true,
        paymentUiConfiguration = paymentUiConfiguration
)
Stash.initalize(this, configuration)
This would result in a UI looking like so: