Step 21: Project 11 Ansible, automate project 7 to 10
Ansible was installed onto the jenkins instance:

Then I setup the repository, added the webhook and configured a job to archive all files in Jenkins. The pipeline ran successfully:

I then cloned the repo and opened it in VSCode which is my editor of choice

I created a new branch for development called dev and created the directories playbooks and inventory along with the relevant yml files

I added the SSH key to the ssh agent:

I also added the ip addresses of the servers to the dev.yml
[nfs]
172.31.45.34 ansible_ssh_user='ec2-user'

[webservers]
172.31.33.18 ansible_ssh_user='ec2-user'
172.31.44.150 ansible_ssh_user='ec2-user'

[db]
172.31.34.40 ansible_ssh_user='ec2-user'

[lb]
172.31.39.174 ansible_ssh_user='ubuntu'The playbook that is going to be used can be seen below:
---
- name: update web, nfs and db servers
  hosts: webservers, nfs, db
  remote_user: ec2-user
  become: true
  become_user: root
  tasks:
    - name: ensure wireshark is at the latest version
      yum:
        name: wireshark
        state: latest

- name: update LB server
  hosts: lb
  remote_user: ubuntu
  become: true
  become_user: root
  tasks:
    - name: Update apt repo
      apt:
        update_cache: yes

    - name: ensure wireshark is at the latest version
      apt:
        name: wireshark
        state: latest
This code is ensuring wireshark is at the latest version on both the RHEL and Ubuntu servers, but also updating apt on the Ubuntu servers too. This code was then pushed to GitHub and a pull request was opened. This then appeared on Jenkins

I ran the playbook and it ended up being successful:

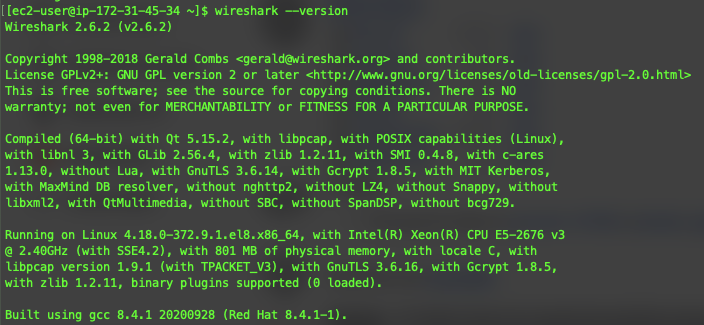
On the nfs server I ran wireshark --version: