lesson 11
Special fields are predefined field for specific purpose and their names are always started with double underscore characters __.
There are 5 special fields currently defined in Vuetable.
To use any of these special fields, you just define another field in the fields prop and use the special field as the name of the field.
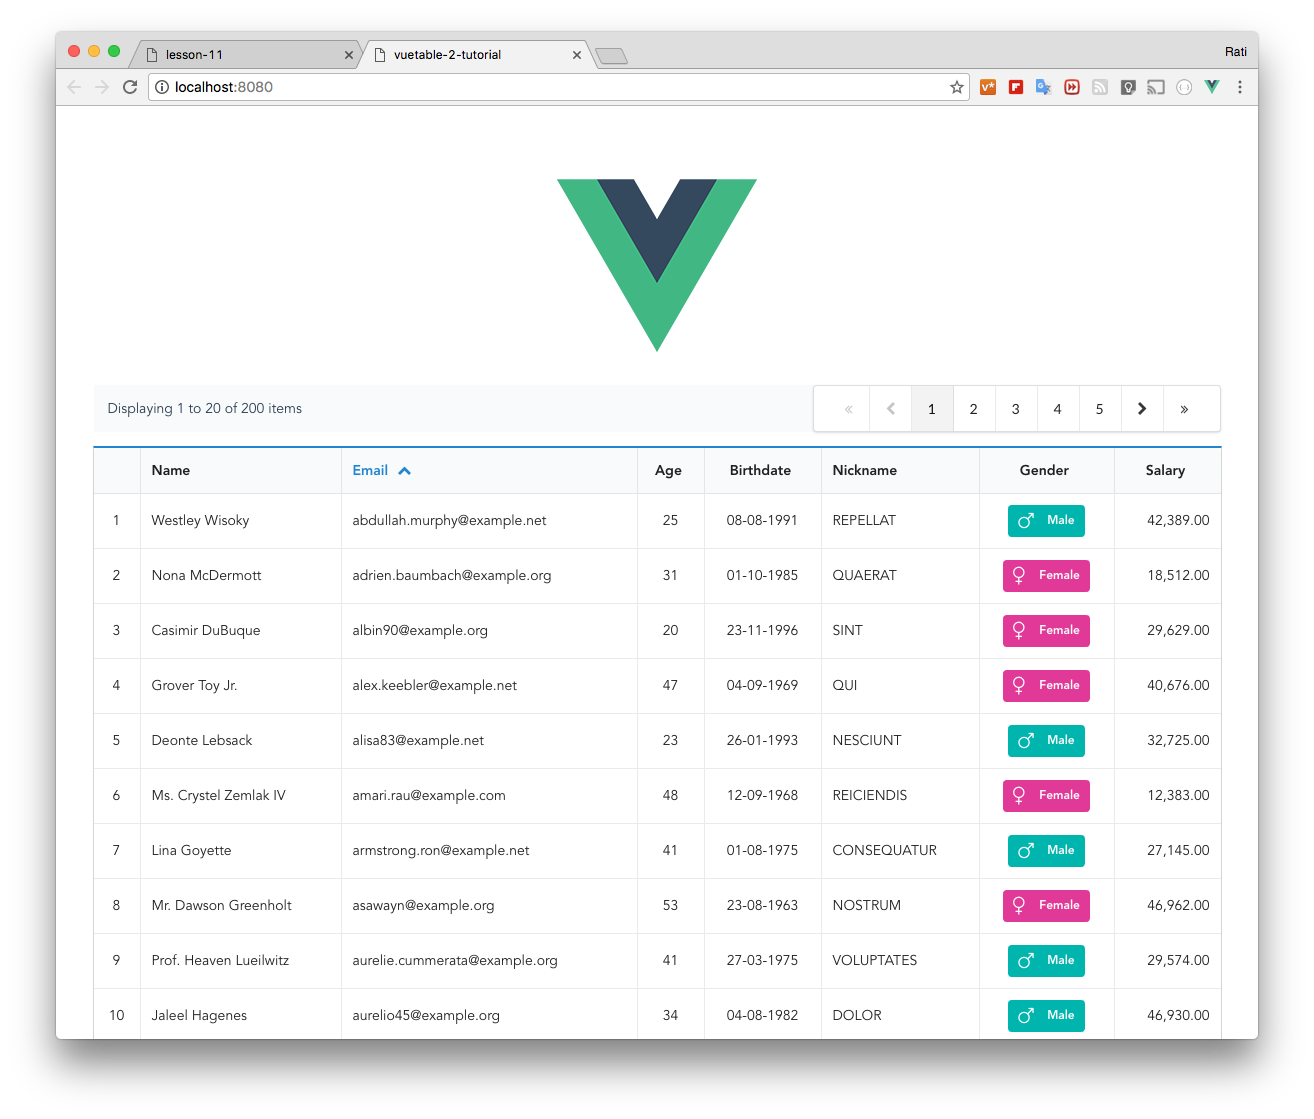
If you would like to display the sequence number of the records based on the pagination information, you can do that using __sequence special field.
Let's add the sequence number to MyVuetable.
  // MyVuetable.vue

  // ...
  data () {
    return {
      fields: [
        {
          name: '__sequence',   // <----
          title: '#',
          titleClass: 'center aligned',
          dataClass: 'right aligned'
        },
        //...
      ]
    }
  }
You should now see the sequence column appears on the left side of the table.
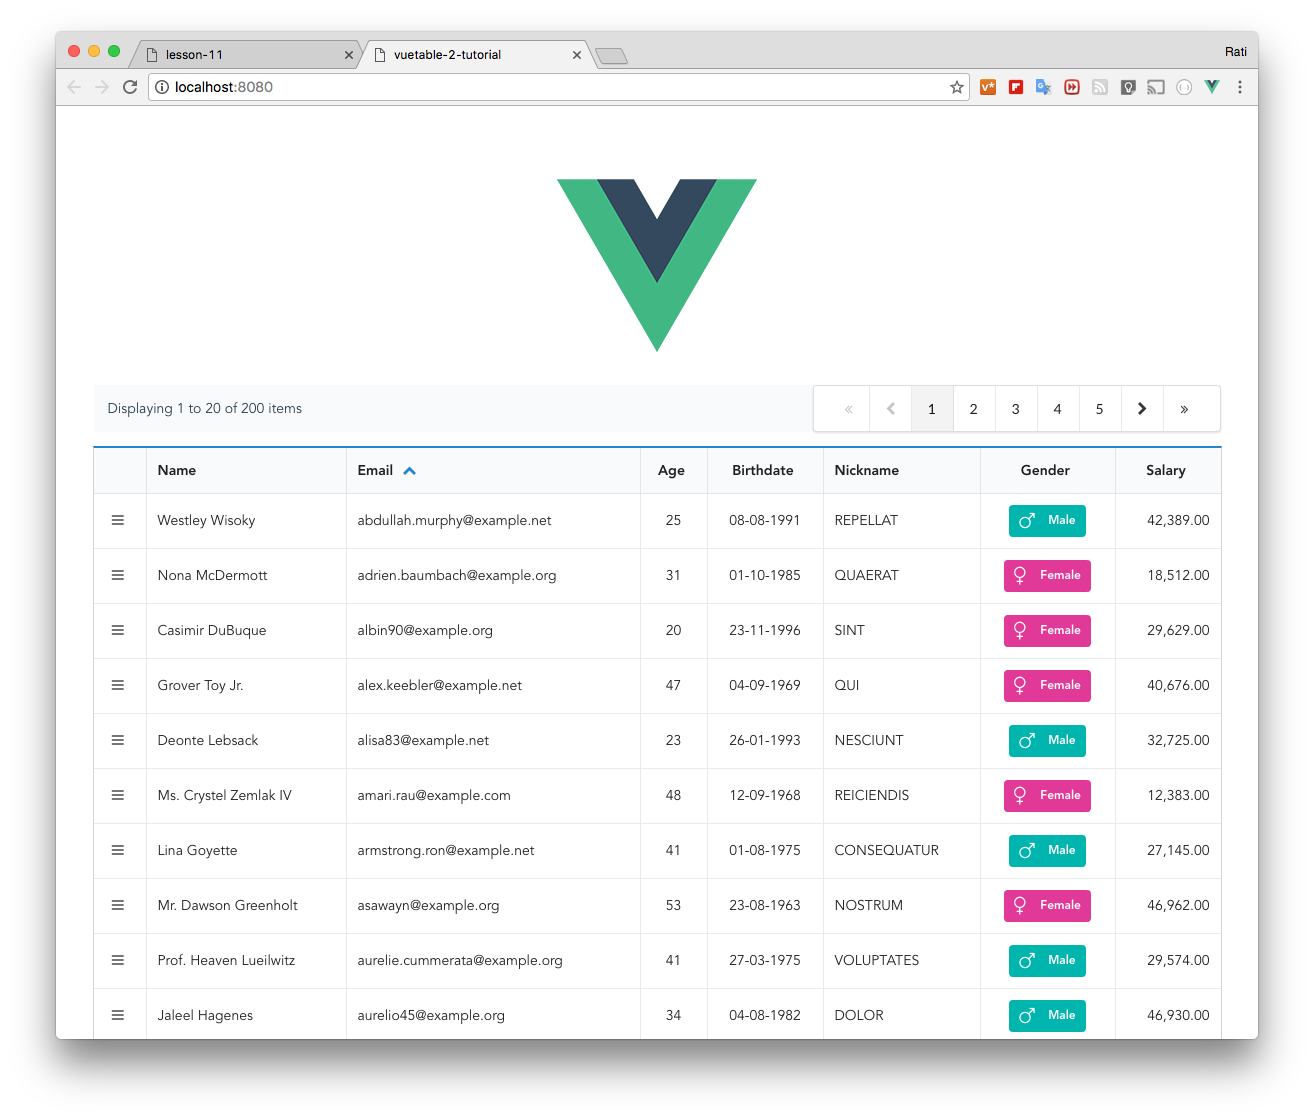
This one was created specifically because we need to make a handle icon for Sortable.js.
You can use css.sortHandleIcon to change the icon that suit your task.
  // MyVuetable.vue

  // ...
  data () {
    return {
      fields: [
        {
          name: '__handle',   // <----
          dataClass: 'center aligned'
        },
        //...
      ]
    }
  }
The __checkbox special field will display checkbox column for each row and also on the header row to allow select/unselect all functionality.
In order for Vuetable to keep track of the checkbox state of each data row.
By default, __checkbox will use id field for that purpose as it usually unique for each row. That also means your data will have to have id column.
  // MyVuetable.vue

  // ...
  data () {
    return {
      fields: [
        {
          name: '__checkbox',   // <----
          titleClass: 'center aligned',
          dataClass: 'center aligned'
        },
        //...
      ]
    }
  }
Run the project and try it out!

If you do not have id in your data structure, or want to use another field that could also uniquely identify each column, you have to specify that using track-by prop.
For example, if you want to use item_code field instead, you can do so like this.
  // MyVuetable.vue

  // ...
  <vuetable ref="vuetable"
    //...
    track-by="item_code"
    //...
  ></vuetable>
  //...
You can see what rows are selected by looking into selectedTo property of Vuetable.
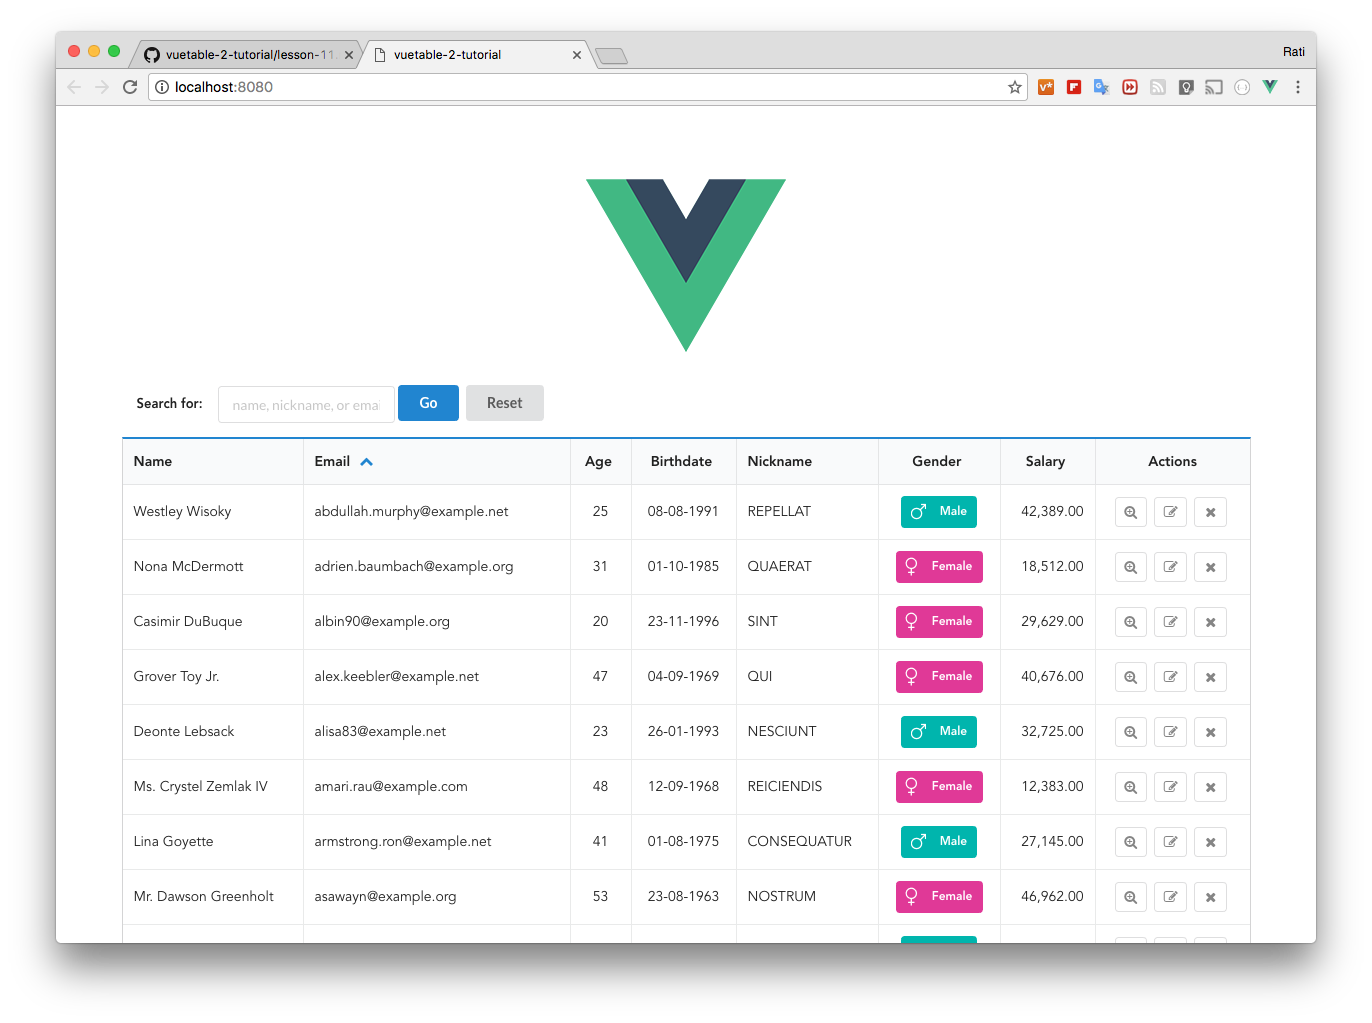
The __component special field allows you to create a component to handle the row data the way you want.
In this tutorial, we will create a custom-actions component to display buttons that will allow the user to interact with the row data.
Add a new file to your project, let's called CustomActions.vue. Here's the code.
  // CustomActions.vue

  <template>
    <div class="custom-actions">
      <button class="ui basic button" @click="itemAction('view-item', rowData, rowIndex)"><i class="zoom icon"></i></button>
      <button class="ui basic button" @click="itemAction('edit-item', rowData, rowIndex)"><i class="edit icon"></i></button>
      <button class="ui basic button" @click="itemAction('delete-item', rowData, rowIndex)"><i class="delete icon"></i></button>
    </div>
  </template>

  <script>
  export default {
    props: {
      rowData: {
        type: Object,
        required: true
      },
      rowIndex: {
        type: Number
      }
    },
    methods: {
      itemAction (action, data, index) {
        console.log('custom-actions: ' + action, data.name, index)
      }
    }
  }
  </script>

  <style>
    .custom-actions button.ui.button {
      padding: 8px 8px;
    }
    .custom-actions button.ui.button > i.icon {
      margin: auto !important;
    }
  </style>
Please note that we are also make use of
<style>section in the above vue component.
Then, add the following 3 lines to MyVuetable.vue file, like so.
  // MyVuetable.vue

  //...
  import Vue from 'vue'
  import CustomActions from './CustomActions'

  Vue.component('custom-actions', CustomActions)

  export default {
    //...
  }
The CustomActions.vue is our new component to be used inside Vuetable.
In order for Vuetable to be able to use it, we have to register it via Vue.component(). The above two line just import Vue and CustomActions, so that we can reference it during component registration.
Now, add a new field at the end of field definition array to use our new CustomActions component, like so.
  // MyVuetable.vue
  // ...
  data () {
    return {
      fields: [
        //..
        {
          name: '__component:custom-actions',   // <----
          title: 'Actions',
          titleClass: 'center aligned',
          dataClass: 'center aligned'
        }
      ]
    }
  }
Please note that you have to append the name of the component you registered with Vue, in this case custom-actions, after __component separated by colon : character.
Run the project, and you should now see the new component in the last column of the table. Clicking any button and you should see some output log to the browser's console.
The __slot special field allows you to use Vue's scoped slot inside Vuetable.
The feature uses Vue.js's Scoped Slots, which is available in Vue 2.1.0 onward. So, please check and make sure you also use at least the specified version of Vue.js.
In the previous section, we've implemented the custom-actions component to be used inside Vuetable. We will now see how we can use __slot to implement the same thing.
First, we will define the __slot special field like so,
  // MyVuetable.vue

  // ...
  data () {
    return {
      fields: [
        //...
        {
          name: '__slot:actions',   // <----
          title: 'Actions',
          titleClass: 'center aligned',
          dataClass: 'center aligned'
        }
      ]
    }
  }
Then, modify MyVuetable.vue to add our scoped slot inside the <vuetable></vuetable> tag.
  // MyVuetable.vue

  //...
  <vuetable ref="vuetable"
    api-url="https://vuetable.ratiw.net/api/users"
    :fields="fields"
    pagination-path=""
    :per-page="20"
    :sort-order="sortOrder"
    detail-row-component="my-detail-row"
    :appendParams="moreParams"
    @vuetable:pagination-data="onPaginationData"
    @vuetable:cell-clicked="onCellClicked"
  >
    <template slot="actions" scope="props">   // <----
      <div class="custom-actions">
        <button class="ui basic button"
          @click="onAction('view-item', props.rowData, props.rowIndex)">
          <i class="zoom icon"></i>
        </button>
        <button class="ui basic button"
          @click="onAction('edit-item', props.rowData, props.rowIndex)">
          <i class="edit icon"></i>
        </button>
        <button class="ui basic button"
          @click="onAction('delete-item', props.rowData, props.rowIndex)">
          <i class="delete icon"></i>
        </button>
      </div>
    </template>
  </vuetable>
  //...
Now, we have to define onAction methods inside our MyVuetable to handle those button events.
  // MyVuetable.vue

  //...
  methods: {
    //...
    onAction (action, data, index) {
      console.log('slot) action: ' + action, data.name, index)
    }
  }
And that's it. To achieve the same functionality, you can use either a component or a slot.