Outlining my Azure DevOps CI CD Process using UI based tools
Each extension has its own CI/CD process. I have outlined my historic build process on my blog, this has not fundamentally changed, but it has been enhanced. This is due to the move to a CI/CD process that involves more automated unit and functional testing. Given this older blog post, this Wiki will only cover the revised model.
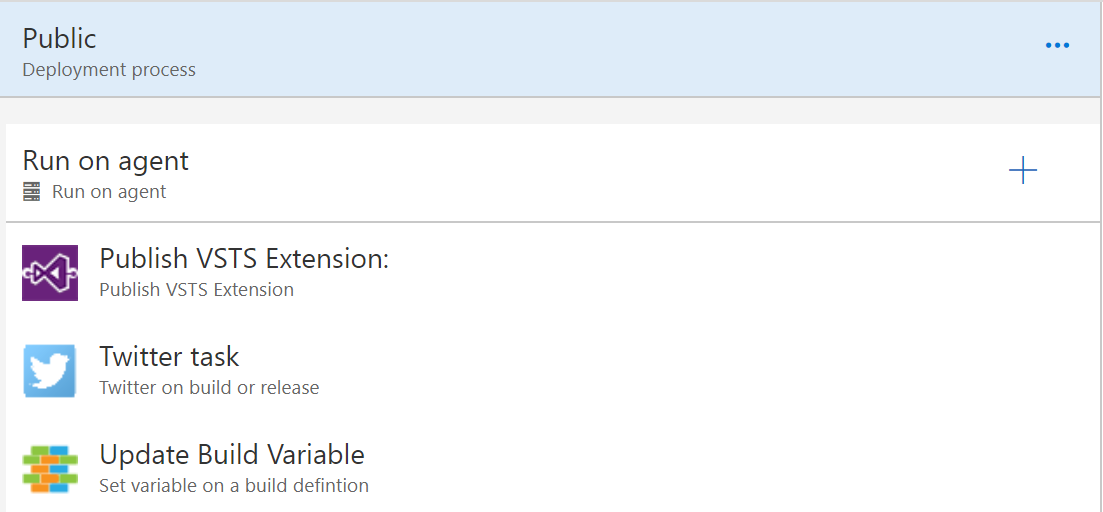
Note That the VSIX is still packaged twice to get two identical packages one flagged for the gallery as private and the other public.
The revised build process reflects the need to run NPM for more of the extensions (as detailed above). Obviously if an extension contains no Typescript tasks, all the NPM steps (and related tests etc.) can be removed.
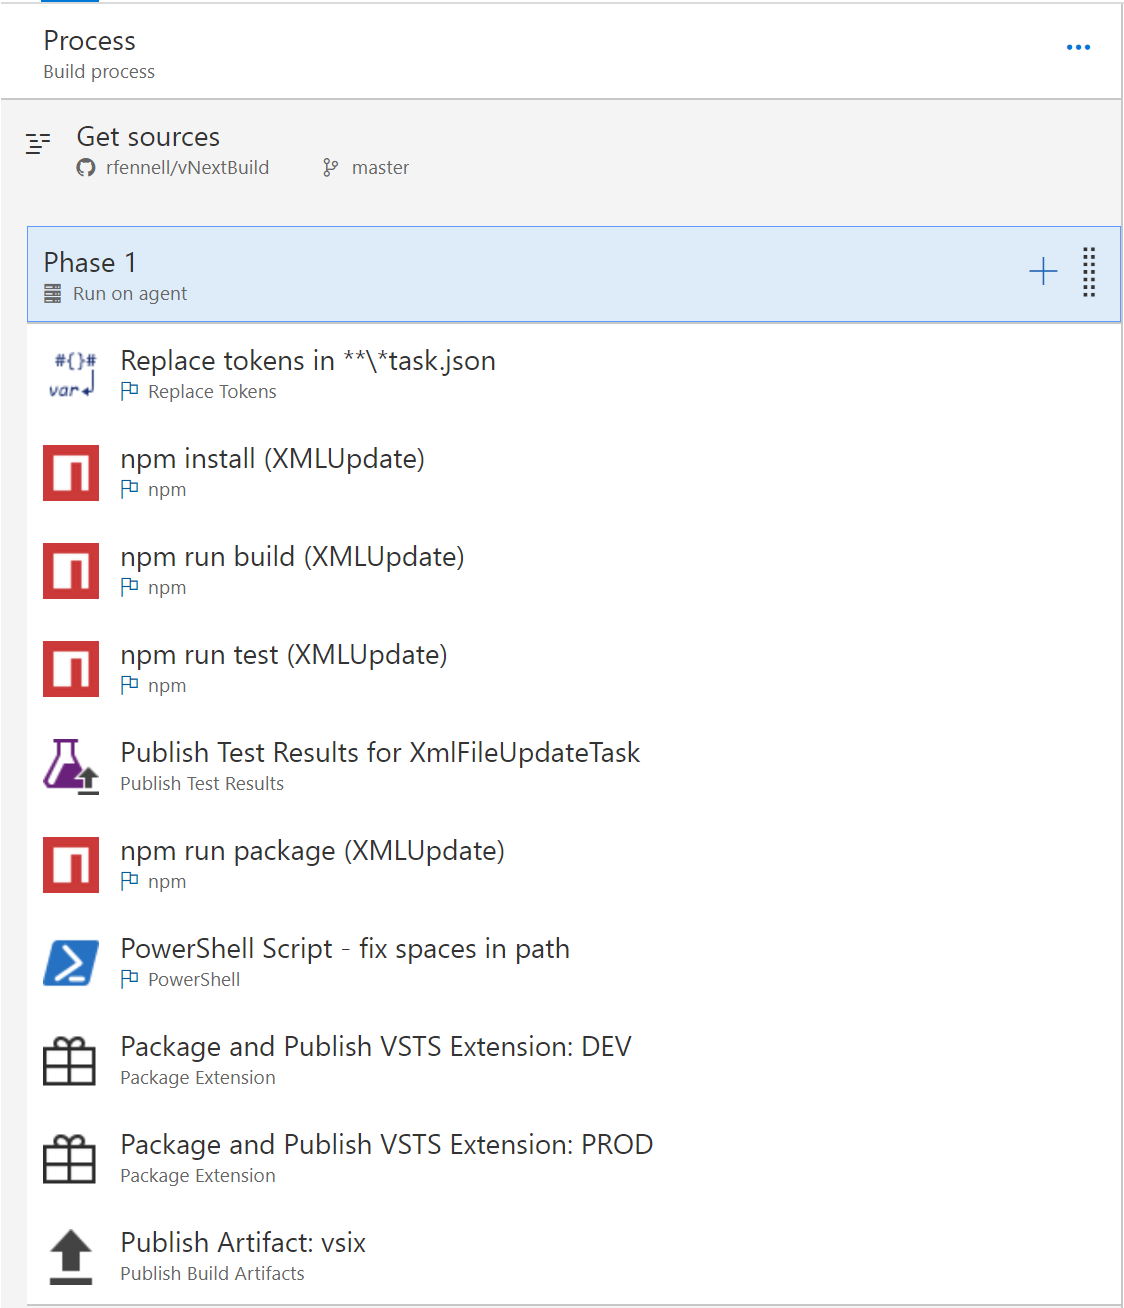
The one slightly unexpected step, differing from the local NPM build process, is the in-line Powershell. This fixes a problem that some NPM modules' documentation files contain invalid whitespace that tfx cannot handle. This script removes the offending spaces to allow the VSIX packaging to complete. This step does not appear to be needed for all NPM modules and seems to effect only CI build, as opposed to local packaging on a development PC. So, depending on the modules you require you might not need it.
The script is as follows.
dir -recurse | where {-Not $_.PsIscontainer -AND $_.name -match " "} | foreach {
    $New=$_.name.Replace(" ","_")
    Rename-Item -path $_.Fullname -newname $New -passthru
}
The build leaves two VSIX packages as build artifacts to be used in the CD process.
The CD process retains the previous version of the processes two environment. The first is a deploy as a private extension for testing, then as a public one for general usage. See my previously mentioned blog post for more details.
In the revised CD model I now aim to insert a number of (potentially) parallel environment/stages to run functional tests, thus removing/reducing my dependence on manual testing of a private build prior to public release to the marketplace.

The CD process commonly makes use of two artifacts
- The build that created the VSIX packages
- A Git repo (usually in my VSTS instance) that contains test data and associated functional tests
The first step deploys the private version of the extension as in the past
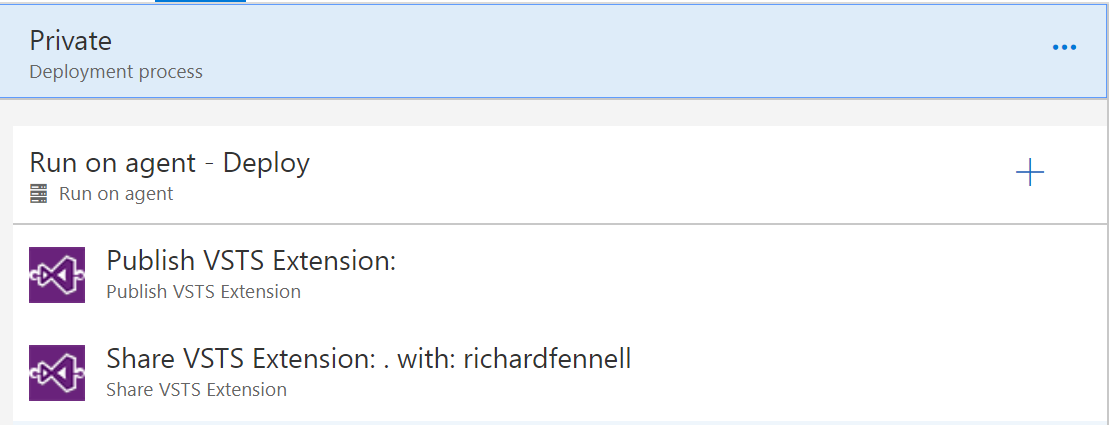
Note you will need to install the extension into any test VSTS install too before you can use it. There is a task for this but as it is only done one I have not put it in the pipeline. I have seen duplicate installation of the same extension cause issues in the past. I could also probably miss out the share step each time the private extension is updated, this only really needs to be done once.
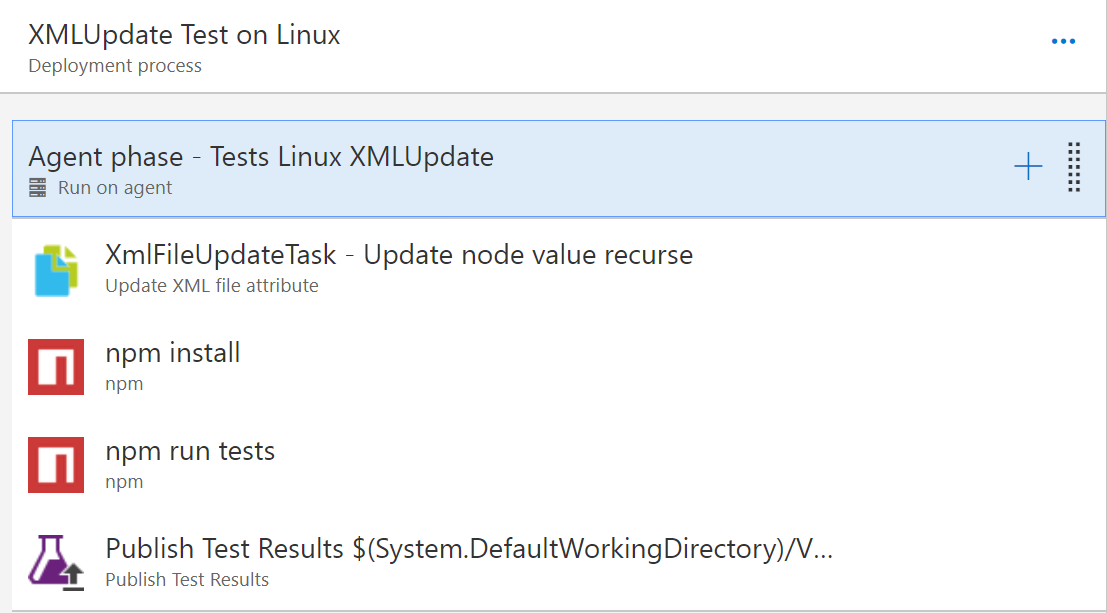
Next I run my test functional tests in their own environment(s). In this example case
- Typescript Chai based tests on a hosted Windows agent
- The same Typescript Chai based tests on a hosted Linux agent
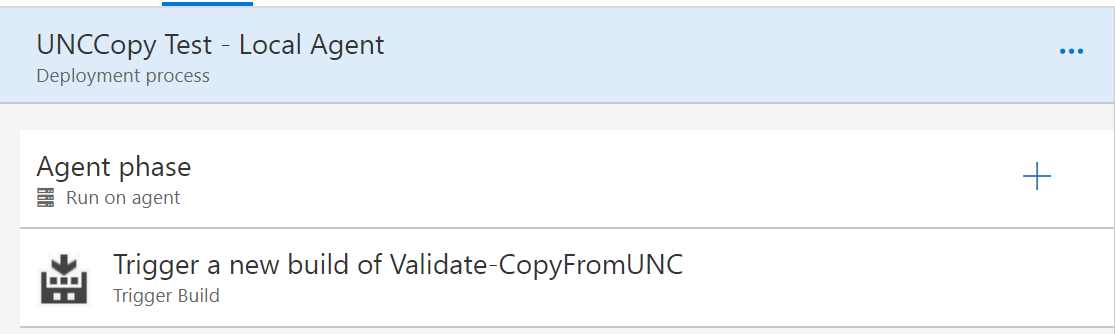
- Trigger a pair of validation VSTS build in environments that run on locally hosted private build agents that tests that a build containing the tested tasks, that interact with the local file systems, run without error. At the time of writing these environments contain no actual tests, they rely simply on the build completing without error. This is an area I am looking to enhance, probably by ceasing to trigger validation builds, but to pull the functionality into the release environment so it is easier to publish the test results.
IMPORTANT When triggering builds it is very easy to get yourself into a deadlock position if you have a single build agent in the requested agent pool. The CD release process is managed by a build agent so this can't be used at the same time to control sub-builds, if you set the CD process to wait for the sub-builds to complete before the process moves on (which you would normally want to do for a validation build). If you have multiple agents in a pool this is not an issue and VSTS will try to do as much in parallel as it can. As I have only single agents in each agent pool my release run serially and I have to specify different agent pools to that running the CD process to run the trigger validation builds in.
Running functional tests
Triggering a sub validation build
The final step is as before, publishing to the VSTS marketplace as a public extension, letting the world know and updating the extension build's version variable to make sure any future releases have a higher version number.
Historically the CI/CD process had a problem that the deployment of a VSTS extension, from the moment it is uploaded to when it’s tasks are available to a build agent, is not instantiation. The process can potentially take a few minutes to roll out. The problem this delay causes is a perfect candidate for using VSTS Release Gates; using the gate to make sure the expected version of a task is available to an agent before running the next stage of the CD pipeline e.g waiting after deploying a private build of an extension before trying to run functional tests.
To use gates create a new Azure Function. I did this using the Azure Portal, picking the consumption billing model, C# and securing the function with a function key, basically the default options.
Added the C# function code (stored in this GitHub), to the newly created Azure Function. This function code takes
- The name of the VSTS instance
- A personal access token (PAT) to access the VSTS instance
- The GUID of the task to check for
- And the version to check for It then returns a JSON block with true or false based on whether the required task version can be found. If any of the parameters are invalid an API error is returned
By passing in this set of arguments the idea is that a single Azure Function could be used to check for the deployment of all my tasks.
Using the Azure function is simple
- Added an Azure Function gate to a VSTS release
- Set the URL parameter for the Azure Function. This value can be found from the Azure Portal. Note that you don’t need the Function Code query parameter in the URL as this is provided with the next gate parameter. I chose to use a variable group variable for this parameter so it was easy to reuse between many CD pipelines
- Set the Function Key parameter for the Azure Function, again you get this from the Azure Portal. This time I used a secure variable group variable
- Set the Method parameter to POST
- Set the Header content type as JSON
{"Content-Type": "application/json"} - Set the Body to contain the details of the VSTS instance and Task to check. This time I used a mixture of variable group variables, release specific variables (the GUID) and environment build/release variables. The key here is I got the version from the primary release artifact $(BUILD.BUILDNUMBER) so the correct version of the tasks is tested for automatically
`{`
     `"instance": "$(instance)",`
     `"pat": "$(pat)",`
     `"taskguid": "$(taskGuid)",`
     `"version": "$(BUILD.BUILDNUMBER)"`
`}`
Finally set the Advanced/Completion Event to ApiResponse with the success criteria of
eq(root['Deployed'], 'True')`
Once this was done the gate can use the Azure function as a VSTS gate as required
This build process is constantly under review, so this WIKI may lag what you find in the code, but it should give a good broad overview of the local and CI/CD processes