-
Notifications
You must be signed in to change notification settings - Fork 42
Resistors (Optional)
If you will use a haptic feedback board, or most any I2C board, add the two I2C pull-up resistors, as the Pimoroni haptic board expects them on the host. The resistors are easier to solder without the MCU on the board.
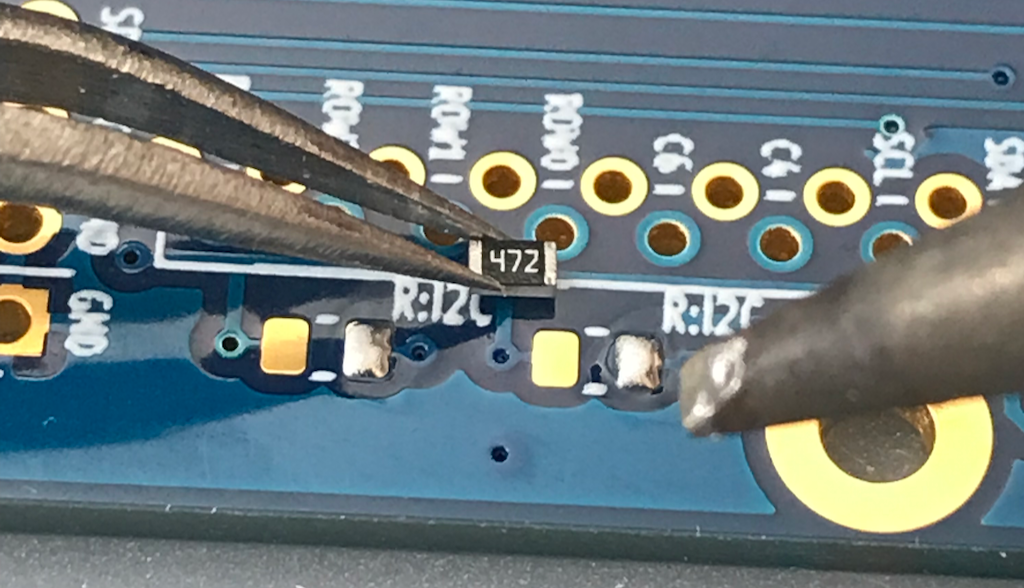
The process is similar to the LEDs. First tin one pad of each LED footprint. Then use reverse tweezers to hold the resistor. As you remelt the solder, slide the resistor into position, centering it between the pads.

Look closely at each resistor to see if it is flat and not sticking up into the air.
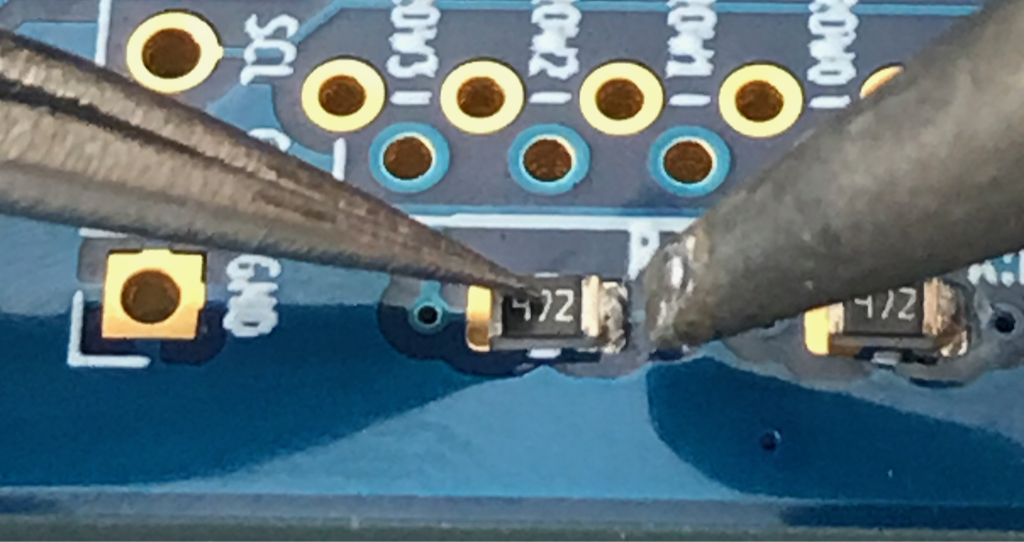
If it is not laying flat, which is likely, gentle pressure on the top with the tweezers plus touching the solder with the iron, but not the resistor, should melt the solder and settle the resistor into place. Too much pressure or touching the resistor with the iron will move things around, not just settle the resistor flat.

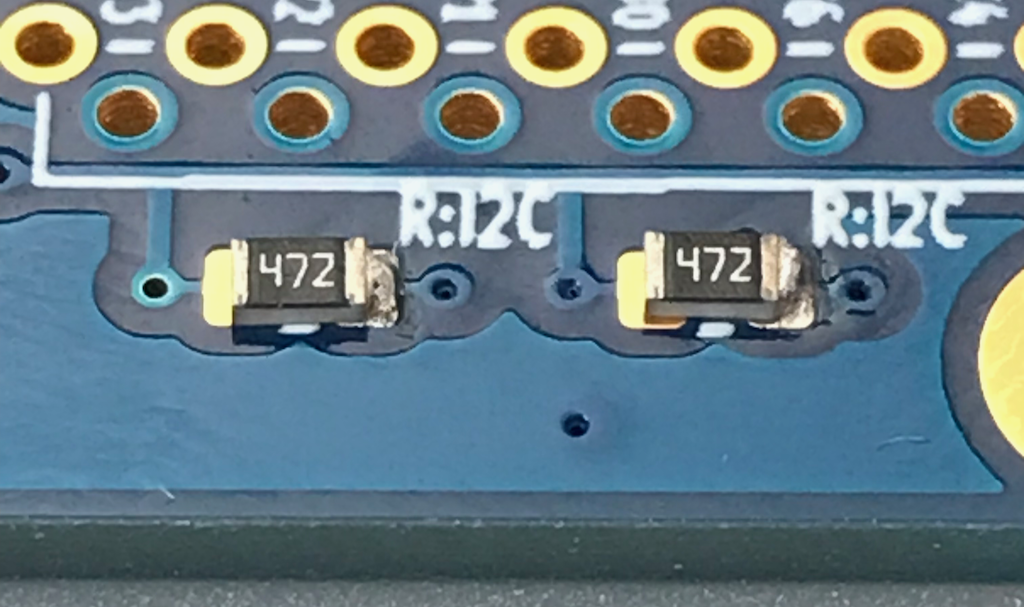
That should leave each resistor tacked down on one end.

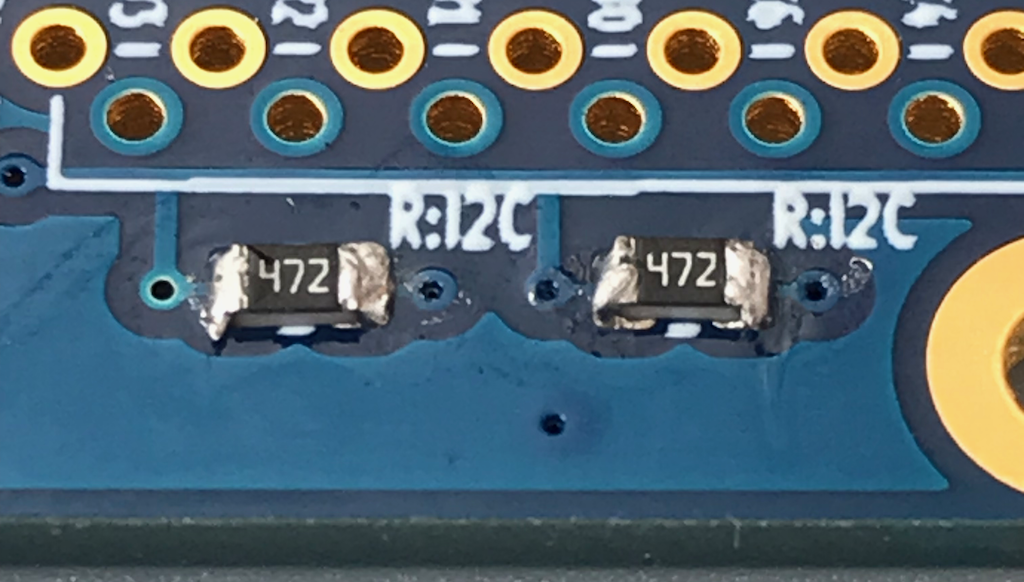
Now that little bit of solder is holding it in place on one side. Now you can solder each resistors other side. Once the other side is secure, go back to the first side and, if needed, remelt and add any needed additional solder to give it a good electrical connection.

Next: Diodes