Page Contents
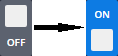
To start editing contents and contents options, reviewing content history and deleting contents, switch the pencil icon in the side menu to On:
There are four types of content, which could be added to the page: HTML, Markdown, Plain text content and Widgets. Content can be created by pressing 
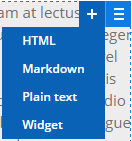
To insert HTML, Markdown or Plain text content, select appropriate option from the aforementioned dropdown. A modal window with the selected content edit form will appear:
- Content name. Used when sorting contents.
- A WYSIWYG editor. The toolbar will change accordingly to the selected content type. User guide for current editor can be found here.
- Live From, Live To - select these dates to show this content from specified date to specified date. Live to date is optional.
- If you wish, you can add custom CSS and JavaScript by switching to "JavaScript & CSS" tab. NOTE: remember, that CSS and JavaScript are global and can affect the whole page! If JavaScript contains errors, page can be displayed distorted or exception windows can be shown.
- If you wish to view how will content look in the page layout, press
Previewbutton. - If you are ready to publish created content, press
Save & Publishbutton. Page will go live immediately (if current date is in live dates interval). - If you are not ready to publish the content yet, press
Save Draftbutton. Draft copy will be created and you can return later and edit or publish it. If content was already published before, changed made in draft version will be invisible to public users.
When editing template's content, dynamic regions can be inserted directly to editing content. this is discussed in templates documentation section.
There are two types of widgets: created reusable HTML content or registered server control widget. To add the widget to the page, please select Widget option from Add new content dropdown. A modal window will open where you can select already created widgets or create a new one.
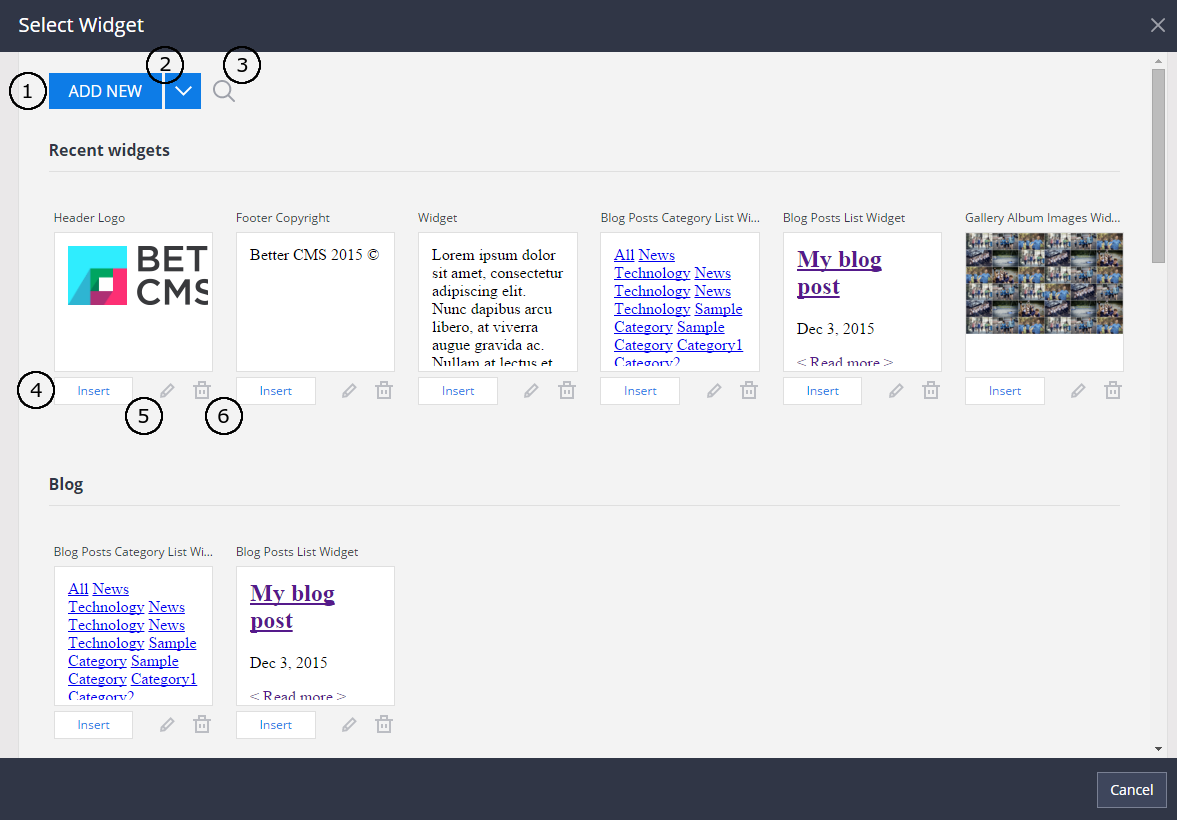
- To create a HTML content widget, press
Add Newbutton. - To register a server control widget, press the arrow button. Select
Registeroption from the dropdown menu that appeared. - Use search to find the widget wanted.
- To insert widget to the page, click on the desirable widget's
Insertbutton. - Widgets can be edited before inserting, by pressing pencil icon.
- They can also be deleted, by pressing
Deletebutton next to widget and confirming deletion.
NOTE: All the widgets are categorized. If category is not assigned, unassigned widgets are shown in Uncategorized group.
NOTE: A Widget can be added to another widget or to HTML content. Read more here.
For content editing, press Edit content icon when mouse cursor is over content you want to edit. When pressing edit icon, specific content editing modal window will open.

If content was saved as draft, the edit icon will turn red: 
Widgets can contain widget options. To edit content options, press configure button:

How to manage page content options, read here.
For deleting a content, press Delete content icon when mouse cursor is over content you want to delete and confirm deletion.

For viewing content history, press Content History icon when mouse cursor is over content, which versions you want to review.

Modal window with ability to preview and restore older versions will open:
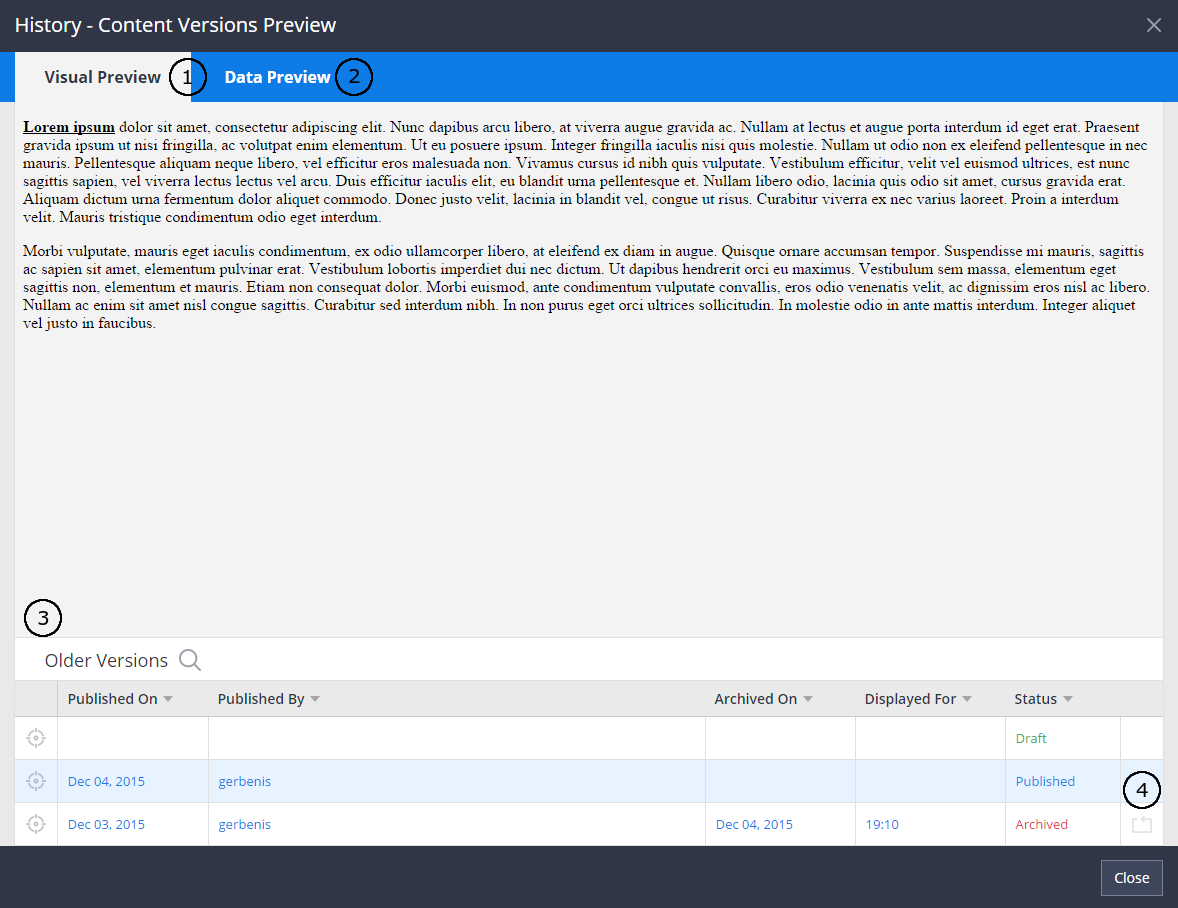
The history window contains 2 preview modes: Visual Preview mode, where rendered content is seen, Data Preview mode, where content's source and other options are seen.
- Switch to Visual Preview mode to see the rendered content.
- Switch to Data Preview mode to see the content's source.
- Select a version that you want to preview.
- Click the restore button to restore old (archived) version.
There are 3 types of content statuses:
- Draft. Draft version, invisible to public users. It's optional - page can be published and not contain draft version.
- Published. Currently active version, visible to public users. It's optional - page can contain only draft and not contain published version yet.
- Archived. Older version of content. If content was published, and re-published again, archived version of content is created.